Home & Decor · Joined motifs
Crochet Panda Granny Square Pattern
By Looplader · Tested row by row · Updated
- Skill
- Intermediate
- Hook
- 4.5 mm (G/6)
- Yarn
- Worsted-weight cotton or smooth acrylic (CYC 4)
- Time
- One evening per square, then a weekend for a small joined project
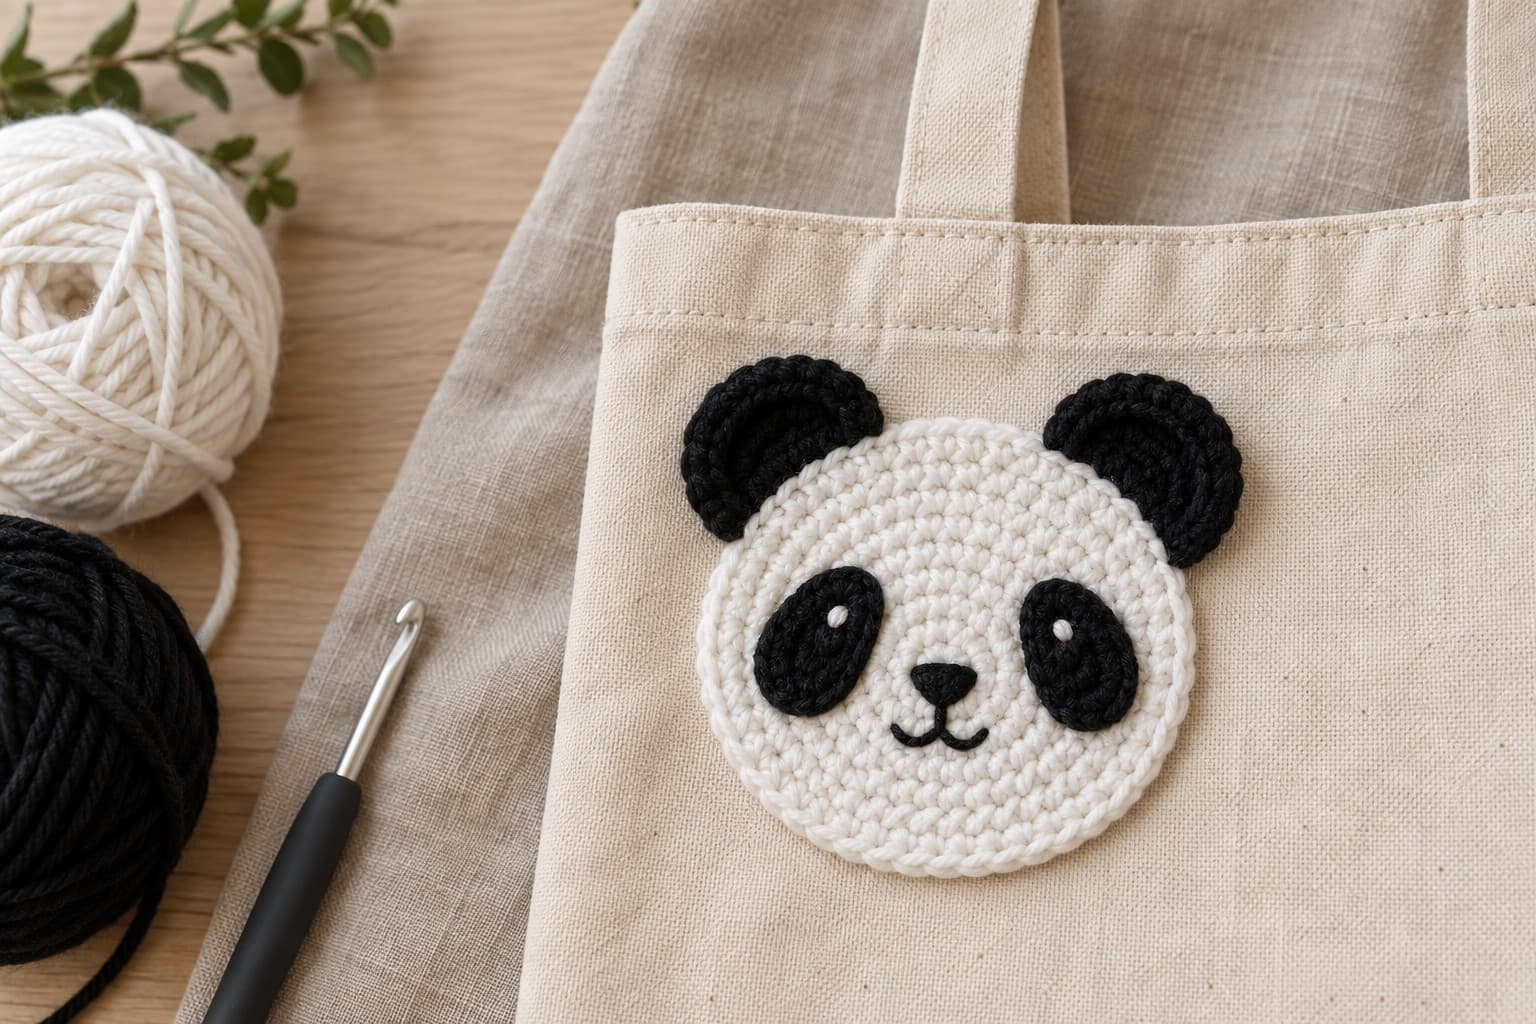
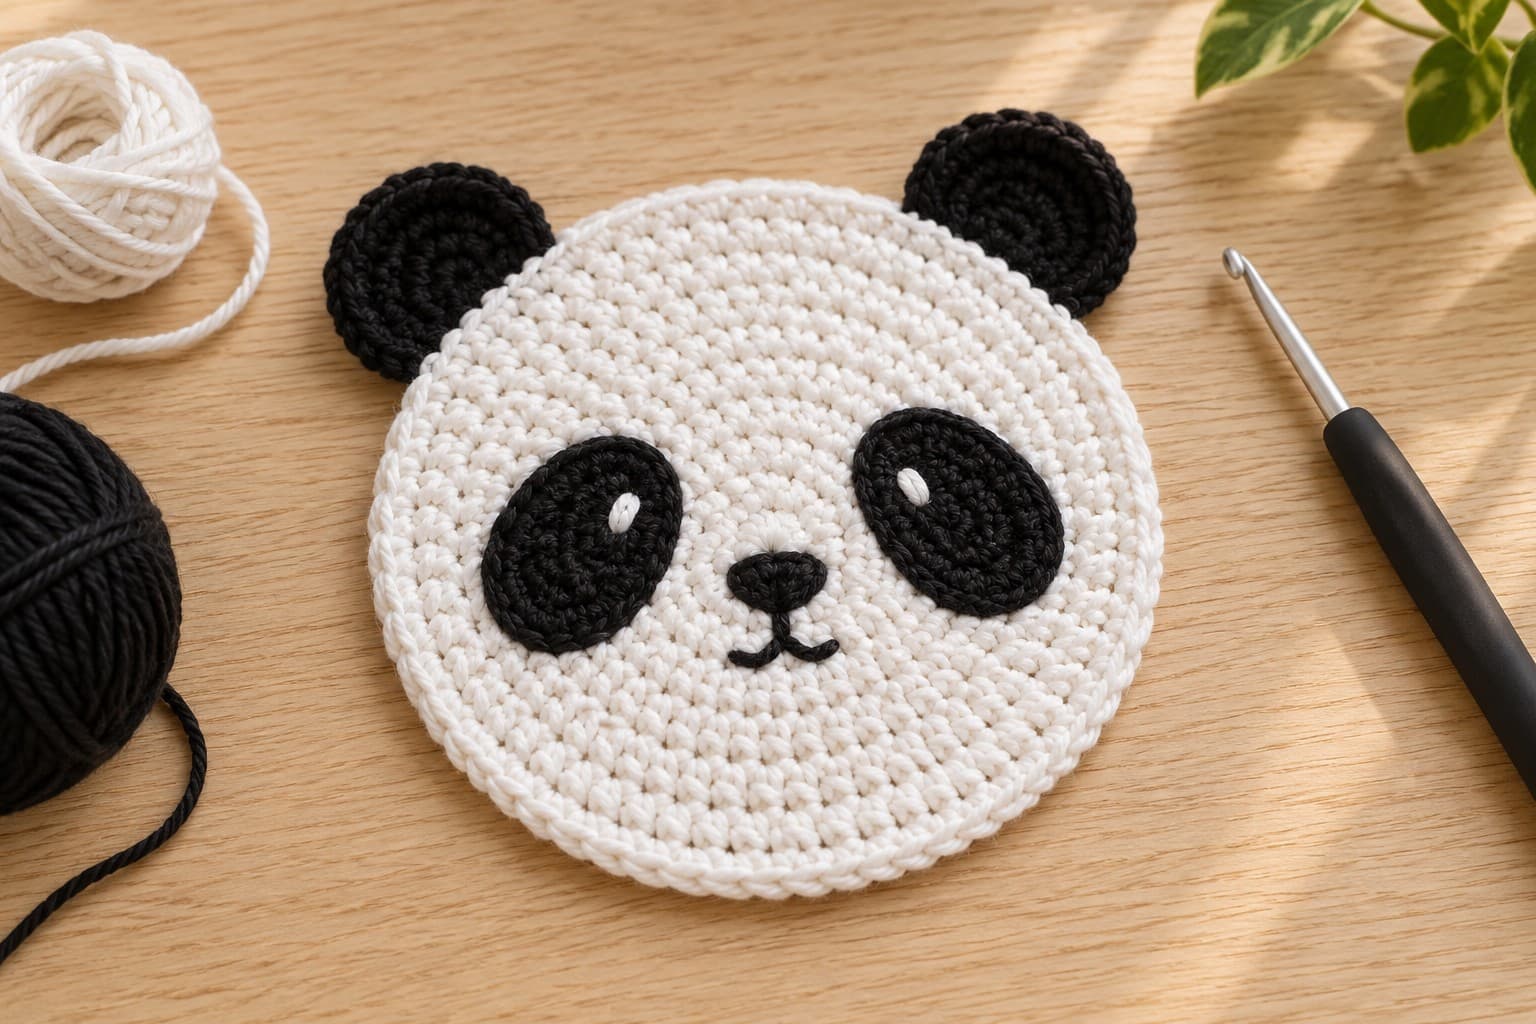
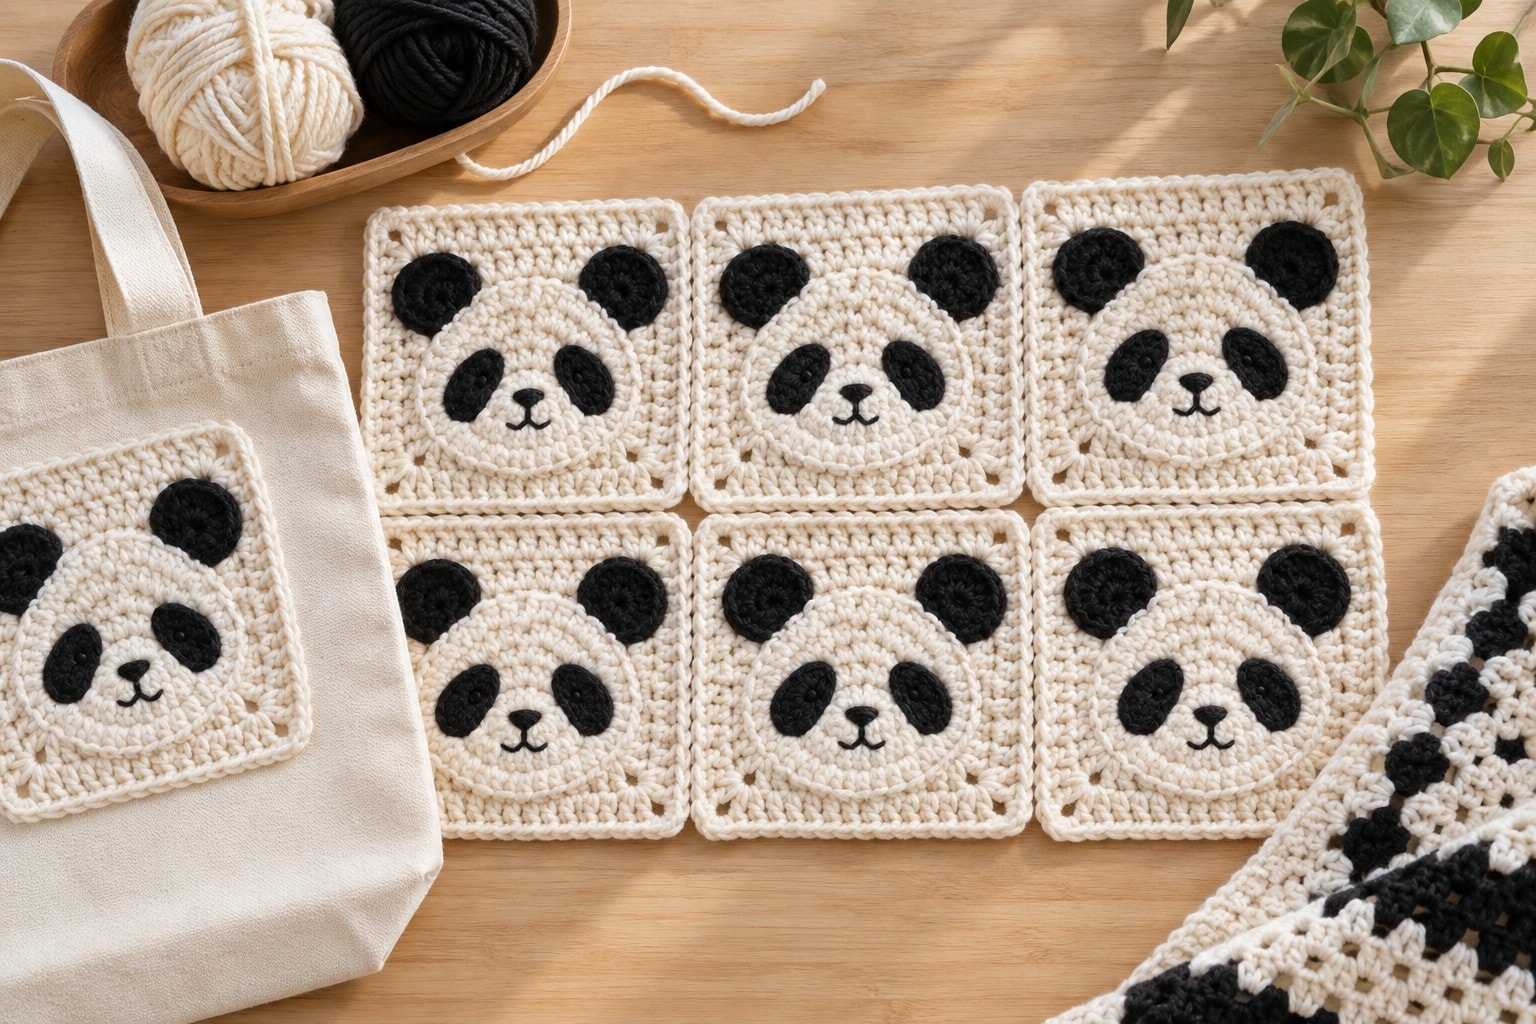
This crochet panda granny square starts as a five-round classic cream granny square, then gains two flat black ears, two narrow eye patches, and an embroidered face. Keeping the face pieces separate makes the motif readable, lets you position features before sewing, and avoids carrying black yarn across the cream square.
One finished square can be used as an appliqué or joined with matching motifs into a tote, cushion front, or blanket. The layouts below are planning guides; make and block one test square first, then calculate the final project from your own blocked square measurement.
Why you’ll love this pattern
- The classic five-round base keeps every side straight and provides obvious corner spaces for joining.
- Ears and eye patches are flat pieces, so the face does not become bulky when squares are joined into a larger fabric.
- The face uses embroidery rather than safety eyes, which makes it more suitable for a flat decorative motif.
- Three project layouts show how the same square can scale from a nine-square tote front to a blanket panel.
Instructions
- 1
Make one test square in your chosen base yarn before committing to a layout. The square must lie flat after five rounds; if the corners cup, use a larger hook, and if the side gaps are too loose for your intended tote or cushion, use a smaller hook. Finished-square size, project measurements, and yardage in this draft are targets to confirm with a physical test crochet.
- 2
Square Rnd 1, with cream: make a MR. Ch 3 (counts as dc), 2 dc into the ring, ch 2; [3 dc into the ring, ch 2] three times; sl st to the top of beginning ch-3. You have four 3-dc clusters and four ch-2 corner spaces. Pull the ring closed.
- 3
Rnd 2: sl st into the next ch-2 corner sp. Ch 3, 2 dc, ch 2, 3 dc in the same corner sp; ch 1. [In next ch-2 corner sp, 3 dc, ch 2, 3 dc; ch 1] three times. Sl st to the top of beginning ch-3. You have 8 clusters total, 2 at each corner.
- 4
Rnd 3: sl st into the next ch-2 corner sp. Ch 3, 2 dc, ch 2, 3 dc in the same corner; ch 1. In the next ch-1 side sp, 3 dc, ch 1. [In the next corner, 3 dc, ch 2, 3 dc; ch 1; in the next side sp, 3 dc, ch 1] three times. Sl st to join. You now have one side cluster between every pair of corners.
- 5
Rnd 4: work the same corner sequence. Work 3 dc, ch 1 in each ch-1 side sp between corners. Sl st to join. Each side now has two side clusters between the corner groups. Rnd 5: repeat Rnd 4, working into every side ch-1 sp. Each side now has three side clusters between the corner groups. FO cream and weave the tail into the wrong side.
- 6
Block the square before placing the face. Pin the four corners into a true square, straighten each side without stretching the cluster gaps open, and let the fabric dry fully. Blocking first means the ears and eye patches will not shift when the square relaxes later.
- 7
Ears, make 2 with black: Rnd 1: 6 sc in a MR. (6 sts) Rnd 2: 2 sc in each st around. (12 sts) Rnd 3: sc in every st. (12 sts) Sl st in the next st and FO, leaving a 6 in / 15 cm sewing tail. Flatten the circles; do not stuff them.
- 8
Eye patches, make 2 with black: ch 7. Sc in the second ch from hook and in the next 4 ch, 3 sc in the last ch; working along the underside of the foundation chain, sc in the next 4 ch, 2 sc in the last ch. (14 sts) Sl st to the first sc and FO, leaving a 6 in / 15 cm sewing tail. Flatten each oval gently with your fingers.
- 9
Face layout: set the ears so their lower halves sit on the top two corners and their upper halves extend beyond the square. Place the ovals in the upper-middle third, tilting the inner ends slightly downward. Pin all four pieces, stand back, and compare the left and right sides before sewing.
- 10
Sew the ears with small whipstitches only along their lower halves, catching the cream square without pulling its corner inward. Whipstitch around each eye patch through the outer edge stitches. Use black yarn for black pieces and carry it on the wrong side only behind those pieces, not across the open cream face.
- 11
Embroider the face with black yarn. Make one short horizontal stitch inside the upper half of each patch for the eyes. At the center of the square, make a short vertical nose stitch, then bring the yarn out one row below the nose and make two small curved mouth stitches that meet in a shallow V. Keep the embroidery flat so the square still blocks evenly.
- 12
For a flat mattress-style join: lay two blocked squares with right sides facing. Thread matching cream yarn through the bar between the edge stitch and its neighbor on the first square, then through the matching bar on the second; alternate side to side and pull every few stitches just until the edges meet. Join rows first, then join those rows into the final panel.
- 13
Finish the project: weave in ends as you complete each small batch of squares, then block the joined panel once more. For a tote, add a lining before use so the open granny-square gaps do not catch small items. For a cushion or blanket, add a simple single-crochet border in cream around the full outside edge, working 3 sc in each outer corner.
| Project | Layout | Square count | Planning note |
|---|---|---|---|
| Tote front | 3 x 3 | 9 | Make a matching plain granny-square back or line the panel |
| Cushion front | 4 x 4 | 16 | Match the blocked panel to your cushion insert before adding a back |
| Throw panel | 7 x 9 | 63 | Add a border after joining; calculate finished size from your blocked sample |
| Piece | Make | Placement on the blocked square |
|---|---|---|
| Ears | 2 black circles | Center each circle over a top corner, with half of the ear extending beyond the cream square |
| Eye patches | 2 black ovals | Place on the upper-middle third, with inner ends about 1 in / 2.5 cm apart |
| Embroidery | Nose, mouth, and eyes | Center the nose, then keep every stitch short and flat inside the eye patches |
Tips for success
- Use a smooth yarn for the cream base. Fuzzy yarn hides the cluster gaps and makes it much harder to place the eye patches symmetrically.
- Block every square to the same measurement before joining. A join cannot correct a square that is half an inch larger than its neighbor.
- Pin the face pieces before sewing and look at the square from arm’s length. The eyes need only a small tilt, but a large difference is obvious across a whole blanket of faces.
- For a bag, choose a lining or keep large gaps out of the final base. Classic granny-square fabric stretches under weight and can snag small items.
Pattern at a glance
- Time to make
- One evening per square, then a weekend for a small joined project
- Skill level
- Intermediate
- Hook
- 4.5 mm (G/6)
- Yarn weight
- Worsted-weight cotton or smooth acrylic (CYC 4)CYC standard
- Yardage
- Estimated: ~35 yd cream and ~12 yd black per square; allow extra for gauge differences
- Gauge
- Estimated: one blocked 5-round square measures 6 in / 15 cm; confirm by test crochet
- Finished size
- Estimated: 6 x 6 in / 15 x 15 cm per blocked square; check against your gauge and finished measurements
Free ebook
Get new patterns, and the ebook
New patterns as they land, plus our free beginner's crochet stitch guide. No daily blasts, unsubscribe in one click.
Frequently Asked Questions
Why is my panda granny square not lying flat?
A square that cups usually needs a larger hook or has missed corner spaces; a square that ruffles has too many stitches in a side or corner. Count the four ch-2 corners first, then compare the number of side clusters on each edge before blocking.
Can I use this panda granny square for a blanket?
Yes. Make one blocked test square, measure it, and multiply by your planned grid before making all the motifs. Keep all squares oriented with the ears toward the same edge, then use a flat join if you want the panda faces to remain visually continuous.
How do I stop the black sewing yarn from showing through the cream square?
Start and finish each black seam under its own ear or eye patch, and keep the yarn on the wrong side only within the footprint of that black piece. Do not carry black yarn across the bare cream face.
Can I make the square bigger?
Yes. Add more classic granny-square rounds in cream before blocking and placing the face. Keep the ear circles the same size for a smaller expression, or add one extra ear round and lengthen the eye-patch foundation by two chains for a proportionally larger face.