Home & Decor · Mixed construction
Crochet Panda Applique Pattern
By Looplader · Tested row by row · Updated
- Skill
- Easy
- Hook
- 4.0 mm (G/6)
- Yarn
- Medium/worsted (CYC 4)
- Time
- An evening
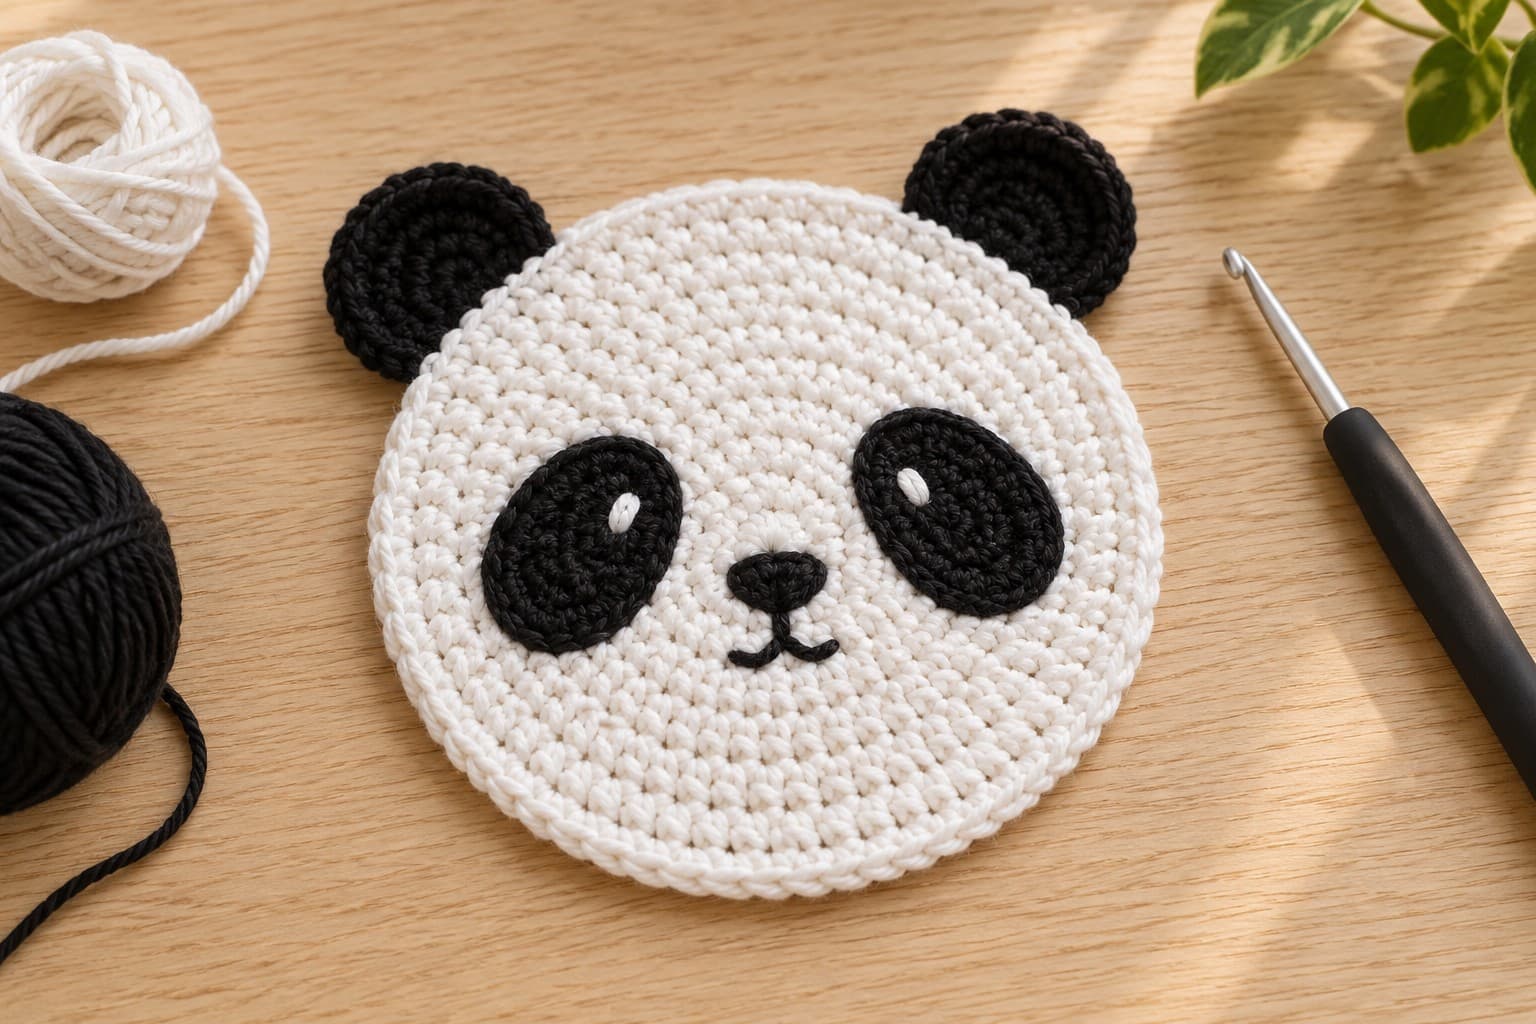
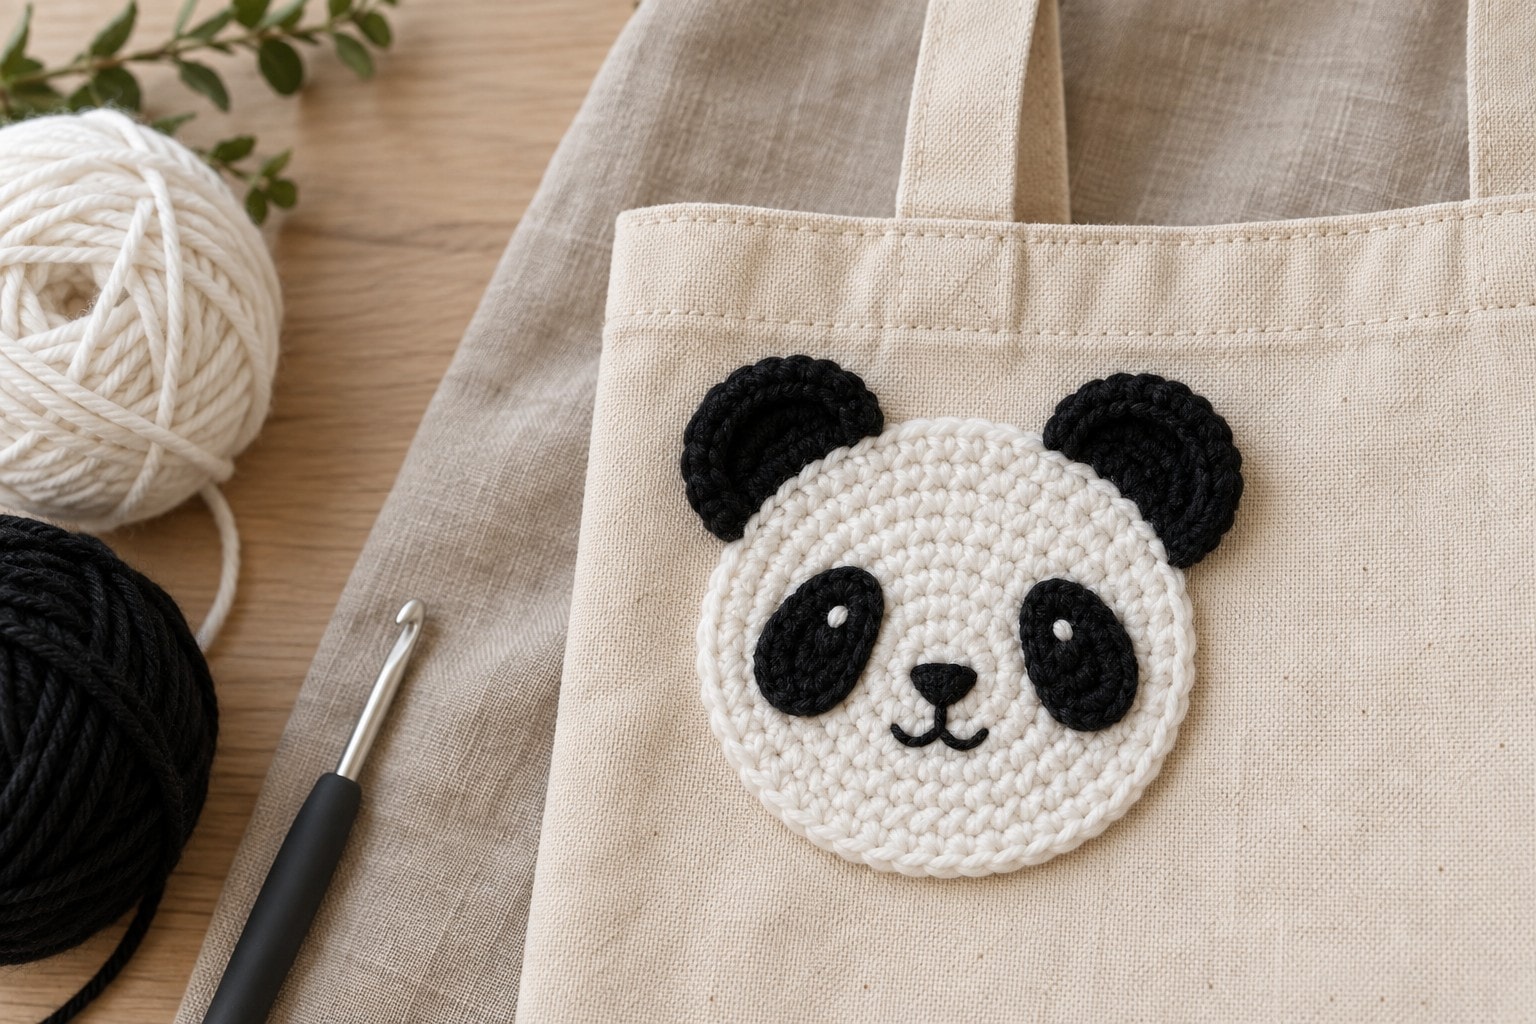
This crochet panda applique is a flat round face with two folded circle ears, two oval eye patches, and embroidered features, designed to be sewn onto a bag, blanket, cushion, or cardigan.
All color changes happen between separate pieces, not in the middle of a round. That keeps the white face clean and lets you pin the patches before committing to the final stitches.
Why you’ll love this pattern
- The face uses a simple six-increase circle, so every round has a count you can check.
- Black features are separate flat pieces, which avoids carrying yarn across the white face.
- The finished applique is light enough for a bag flap, blanket corner, or garment panel.
- You can change the scale by changing yarn and hook while keeping the same placement order.
Instructions
- 1
For a flat, tidy applique, use a hook small enough that the white fabric is firm but not stiff. A 4.0 mm hook with medium cotton or acrylic yarn is the reference sample; gauge is not critical, but keep the same hook for every piece.
- 26 sts
Face, with white: Rnd 1: Make an MR and work 6 sc into the ring. Pull closed; do not join.
- 324 sts
Rnd 2: Inc in every st around. (12 sts) Rnd 3: (sc, inc) rep 6 times. (18 sts) Rnd 4: (2 sc, inc) rep 6 times.
- 4
Rnd 5: (3 sc, inc) rep 6 times. (30 sts) Rnd 6: (4 sc, inc) rep 6 times. (36 sts) Rnd 7: (5 sc, inc) rep 6 times. (42 sts) The six increases keep the face round; if it cups, check that the six increases are evenly spaced.
- 5
Rnd 8: Sc in every st around. (42 sts) Sl st in the next st, fasten off, and weave the tail toward the center on the wrong side. Lay the face flat; it should be an approximately 4 in / 10 cm circle at the reference tension.
- 6
Ears, make 2 with black: Rnd 1: MR, 6 sc. (6 sts) Rnd 2: Inc in every st around. (12 sts) Rnd 3: Sc in every st around. (12 sts) Sl st, fasten off with a 10 in / 25 cm tail. Do not stuff; fold each circle in half to make a soft semicircle.
- 7
Eye patches, make 2 with black: Ch 6. Work hdc in the second ch from hook, hdc in each of the next 3 ch, 3 hdc in the last ch; rotate to work along the underside of the foundation chain, hdc in each of the next 3 ch, 2 hdc in the final ch, then sl st to the first hdc. (12 sts) Fasten off, leaving a long sewing tail.
- 8
Pin the ears to the upper back of the white face at roughly 10 o'clock and 2 o'clock, with their straight folded edges touching the face. Sew only along each straight edge, then remove the pins. This leaves the rounded halves free and keeps the applique flat.
- 9
Pin each eye patch on a gentle outward angle: place the inner ends about 3 stitches apart near the center of the face and keep the wider ends toward the outside. Sew around the outer edge of each patch with small whip stitches, taking only the white face loops on the back so the sewing stays nearly invisible from the front.
- 10
Embroider the face after the patches are attached. With black yarn or floss, make one small horizontal satin stitch at the center for the nose, then bring a straight stitch down one row and add a tiny shallow V for the mouth. Add two short black stitches at the inside of the patches for sleepy eyes, or sew small safety eyes through the patches only if the applique is not intended for a young child.
- 11
Attach the finished applique with matching yarn and small perimeter stitches, or use it as a removable patch by sewing a pin back to sturdy felt behind the face. For a blanket or garment, stitch through the applique edge and the target fabric without pulling the face tight; it should lie flat when the fabric is relaxed.
- 12
Steam lightly from above without pressing the iron onto acrylic yarn, or dampen-block cotton. Shape the face into a circle, settle the ear curves, and let the applique dry flat before attaching it to the final project.
Tips for success
- Move the stitch marker at the first stitch of every face round; a misplaced increase makes the circle look like a hexagon.
- Pin both eye patches before sewing either one. Check the face from arm's length, then stitch them down in the same order you pinned them.
- Keep sewing stitches small and catch only the back loops of the face when possible so the white fabric does not show dark yarn on the front.
- For an item intended for a young child, embroider the eyes and skip buttons, beads, and safety eyes.
Pattern at a glance
- Time to make
- An evening
- Skill level
- Easy
- Hook
- 4.0 mm (G/6)
- Yarn weight
- Medium/worsted (CYC 4)CYC standard
- Yardage
- About 34 yd / 31 m total
- Gauge
- Not critical; reference face is about 4 in / 10 cm across
- Finished size
- Approximately 4 in / 10 cm across at reference tension
Free ebook
Get new patterns, and the ebook
New patterns as they land, plus our free beginner's crochet stitch guide. No daily blasts, unsubscribe in one click.
Frequently Asked Questions
Can I make this panda applique larger?
Yes. The simplest way is to use thicker yarn and a larger hook for every piece. To enlarge the same yarn version, add another face round using (6 sc, inc) six times, then make the ears and eye patches proportionally larger.
Why does my panda face cup instead of lying flat?
A face that cups usually has too few increases or tight tension. Confirm that Rounds 2–7 each contain exactly six increases, then dampen the finished face and shape it flat before adding the patches.
Can I glue the panda applique onto a bag?
Sewing is more durable and keeps the edge flexible. Fabric glue can work for a display-only item, but it can show through crochet holes and may loosen after washing or bending.
What can I attach a panda applique to?
Use it on a tote, blanket, pillow cover, cardigan pocket, notebook sleeve, or a handmade card. Choose a stable fabric or crochet panel so the face is supported evenly around its edge.