Amigurumi · Low-sew
Crochet Panda Car Mirror Charm Pattern
By Looplader · Tested row by row · Updated
- Skill
- Easy
- Hook
- 2.75 mm (C/2)
- Yarn
- DK / light-worsted cotton (CYC 3)
- Time
- One quiet evening
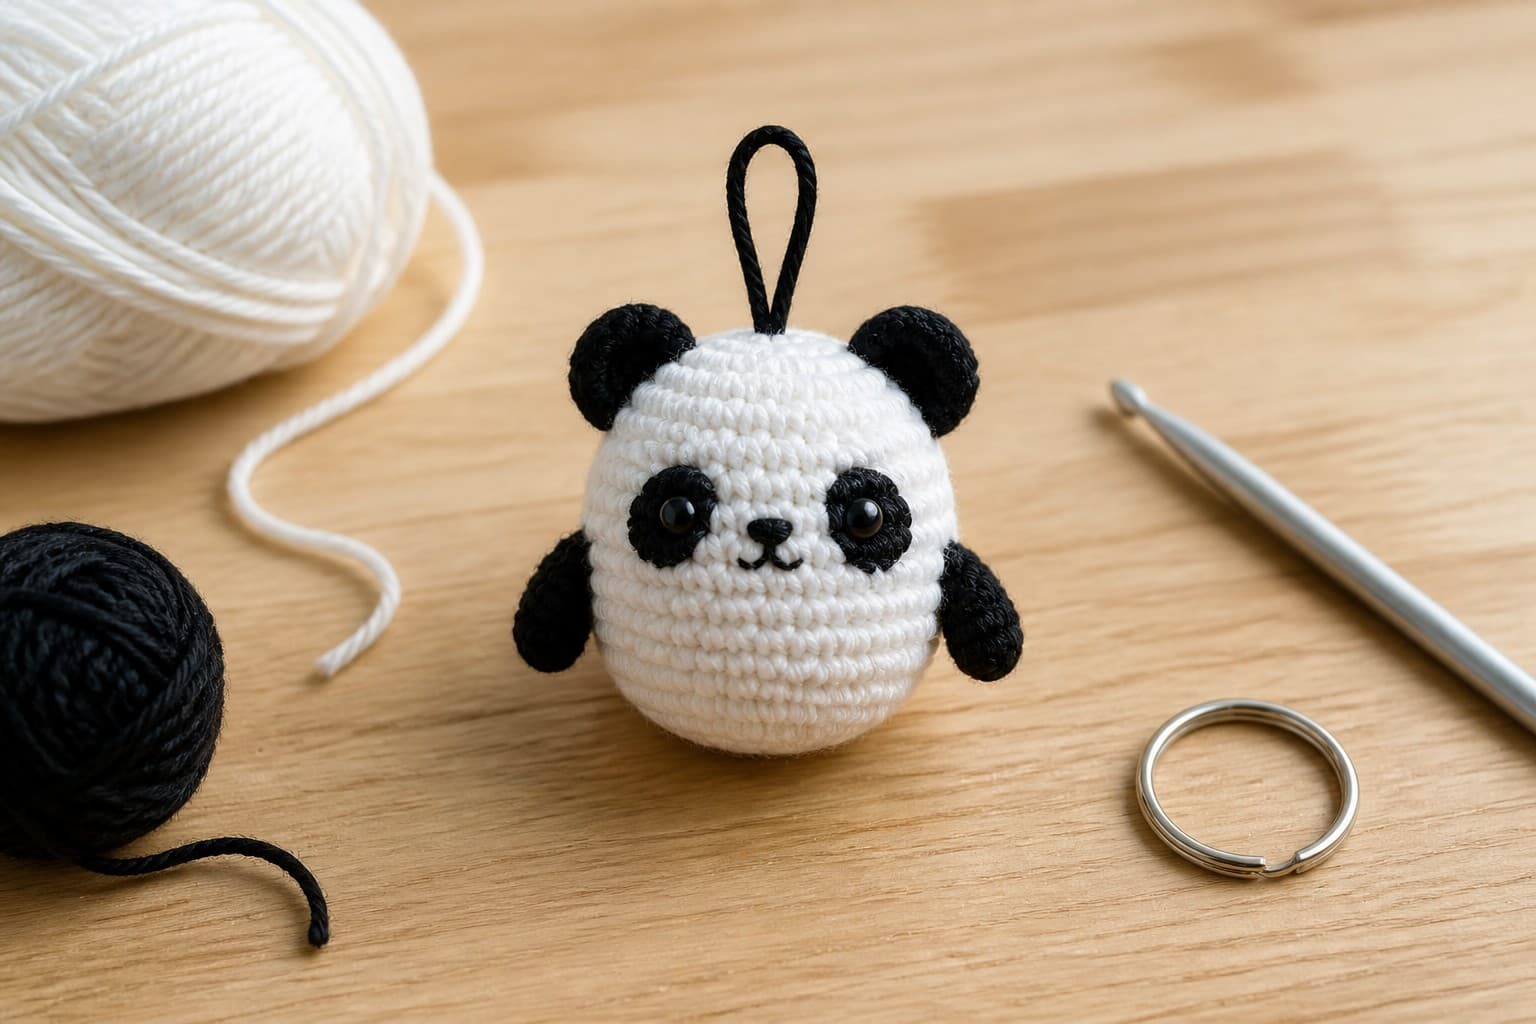
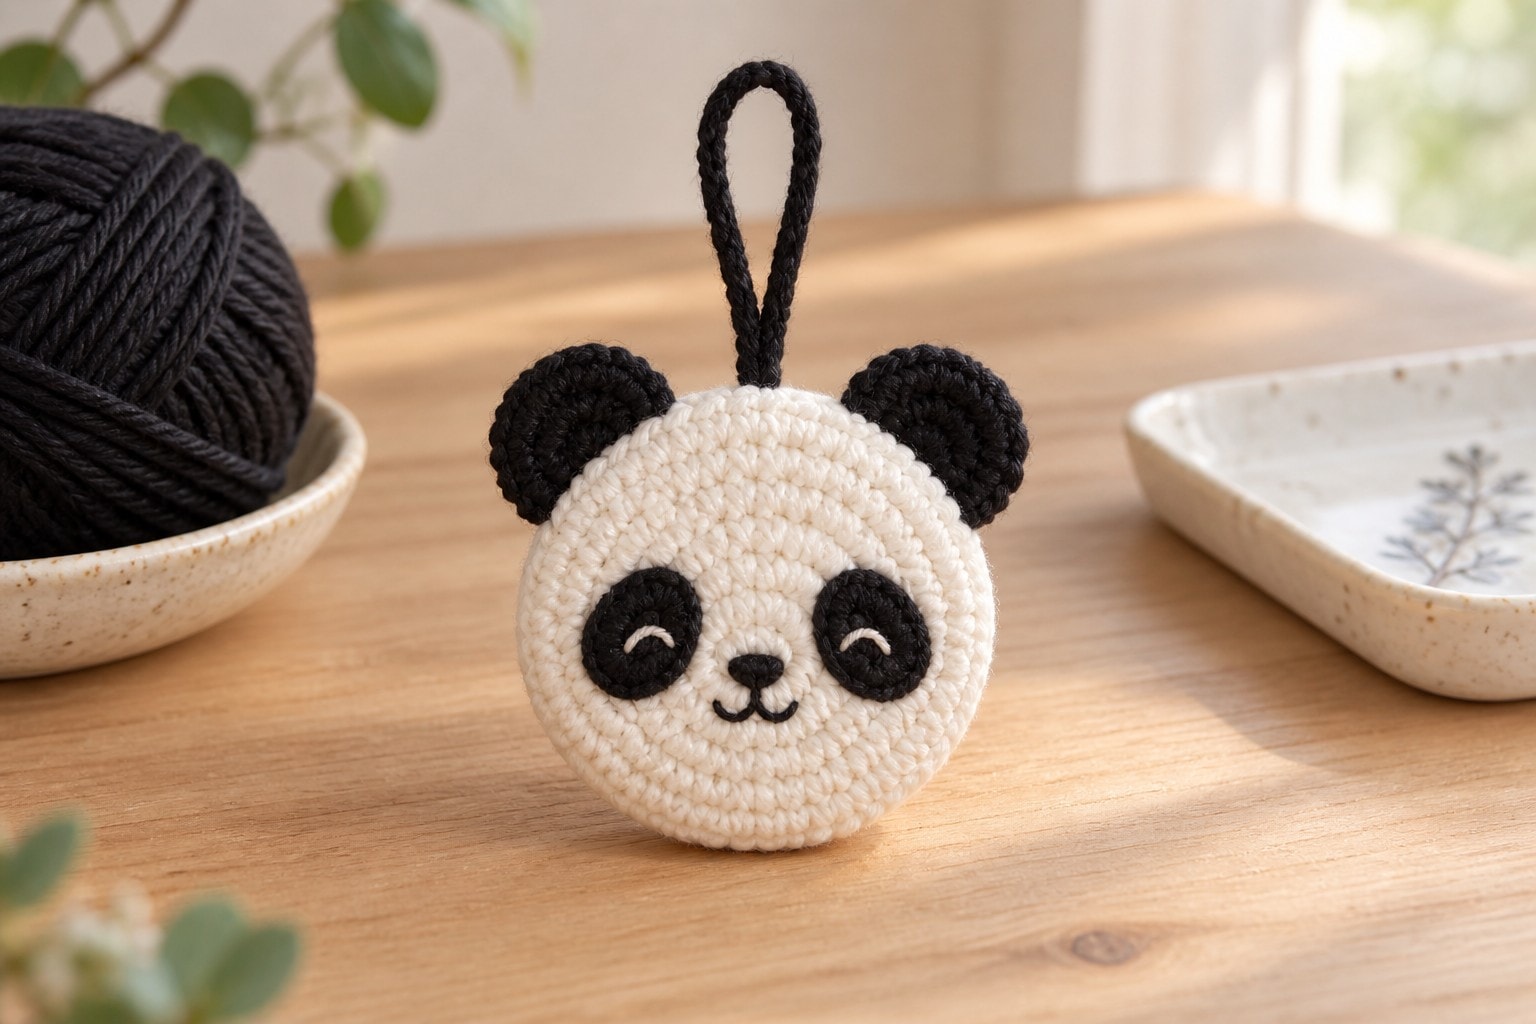
This crochet panda car mirror charm is a small, lightly stuffed two-disc amigurumi with separate ears and eye patches, finished with a crochet hanging cord. The front and back are worked flat in joined rounds, then whipstitched together around a thin layer of stuffing so the charm stays compact.
The same loop works for a bag, backpack, desk hook, or window display. If you use it in a vehicle, keep it small, remove it if it affects your view, and check the rules where you drive; a hanging charm must never obstruct the driver or interfere with vehicle equipment.
Why you’ll love this pattern
- The shallow two-disc construction uses much less stuffing than a round plush, so it stays light on a hanging loop.
- Embroidered eyes and nose keep the face soft, flat, and easy to customize without plastic parts.
- The body grows through seven counted rounds, with a 36-stitch checkpoint before assembly.
- A 55-chain cord is made separately, so you can shorten it for a bag or lengthen it for a display hook.
Instructions
- 1
Before starting, make a small single-crochet swatch with your chosen yarn and 2.75 mm hook. For this compact charm, the fabric should be firm enough that a dark yarn tail does not show through from the reverse; change to a smaller hook if it does. The stated size is a pre-publication target and must be confirmed by a test crochet.
- 212 sts
Front disc, with cream: Rnd 1: make 6 sc in a MR. (6 sts) Pull the ring fully closed. Rnd 2: (inc) x6.
- 3
Rnd 3: (sc, inc) x6. (18 sts). Rnd 4: (2 sc, inc) x6. (24 sts). Move the marker after the first stitch of each round so the increases do not drift.
- 4
Rnd 5: (3 sc, inc) x6. (30 sts). Rnd 6: (4 sc, inc) x6. (36 sts). Rnd 7: sc in every st. (36 sts) Sl st in the next st to finish the edge cleanly, FO, and weave in the tail on the wrong side.
- 5
Back disc: repeat Rnds 1-7 exactly as for the front disc. Do not fasten off after the final sl st; leave a 12 in / 30 cm tail for joining the discs later.
- 6
Ears, make 2 with black: Rnd 1: 6 sc in a MR. (6 sts) Rnd 2: (inc) x6. (12 sts) Rnd 3: sc in every st. (12 sts) Sl st in the next st, FO, leaving a 6 in / 15 cm sewing tail. Flatten each ear into a shallow semicircle rather than stuffing it.
- 7
Eye patches, make 2 with black: Ch 6. Rnd 1: sc in the second ch from hook and in the next 3 ch, 3 sc in the last ch; working along the underside of the foundation chain, sc in the next 3 ch, 2 sc in the last ch. (12 sts) Sl st to the first sc, FO leaving a 6 in / 15 cm tail. This makes a narrow oval; do not add a second round or the patches will overwhelm the small face.
- 8
Face layout: place the ears at the top edge of the front disc, about 5 stitches apart along the curve. Place each eye patch with its long direction slanting down toward the center. The inner ends should sit about 4 stitches apart. Pin or baste before sewing so you can compare both sides.
- 9
Sew each ear through the lower half of the ear only, catching the front disc without pulling the disc edge inward. Stitch around each eye patch with small whipstitches through the outer loops. Keep the sewing thread inside the black pieces so the cream face stays clean.
- 10
Embroider the face with charcoal or dark brown yarn: make one short vertical nose stitch at the center, then one small V-shaped mouth directly below it. Add a tiny straight eye stitch inside the upper half of each black patch. Keep every stitch short and flat; this is a decorative hanging charm, not a toy for a child.
- 11
Join the discs: hold wrong sides together with the face outward. Using the back-disc tail, whipstitch through both outer loops around the edge. Stop with a 2 in / 5 cm opening, add only a thin layer of fiberfill, then finish the seam. The charm should feel lightly padded, not round or heavy.
- 12
Hanging cord, with black: attach yarn at the seam between the ears. Ch 55, then sl st back into the same seam space to form a loop. FO with a 5 in / 13 cm tail. Thread both tails through the seam, knot them twice on the inside, and weave them in opposite directions. Pull firmly on the cord before using it.
- 13
Finish: trim every tail close only after it has been woven through at least three stitches. Weigh the finished charm in your hand and keep it unadorned: avoid beads, metal charms, or a heavy key ring if it will hang. Use the loop for a bag, display hook, or other safe location; for vehicle use, remove it if it could block your view and follow local rules.
Tips for success
- Use a hook smaller than the yarn label suggests on purpose. A dense face hides the dark sewing tails and makes the disc edges easier to join evenly.
- Count the edge of each disc before assembly. Both must have 36 stitches; one missed increase will show as a ripple when you whipstitch them together.
- Baste the eye patches first with a contrasting thread. The slight inward tilt is what keeps the panda expression balanced when the face is only a few inches across.
- Keep the stuffing to a single thin layer. Overstuffing turns the two flat discs into a ball, adds weight to the loop, and distorts the embroidered face.
Pattern at a glance
- Time to make
- One quiet evening
- Skill level
- Easy
- Hook
- 2.75 mm (C/2)
- Yarn weight
- DK / light-worsted cotton (CYC 3)CYC standard
- Yardage
- Estimated: ~20 yd cream, ~8 yd black, scraps for embroidery; allow extra for gauge differences
- Gauge
- Estimated: dense fabric; confirm by test crochet before publishing
- Finished size
- Estimated: about 2.25 in / 6 cm body with a 10 in / 25 cm hanging loop; check against your gauge and finished measurements
Free ebook
Get new patterns, and the ebook
New patterns as they land, plus our free beginner's crochet stitch guide. No daily blasts, unsubscribe in one click.
Frequently Asked Questions
Can I hang this crochet panda from my rearview mirror?
Only if it is legal where you drive and it does not obstruct your view or interfere with vehicle equipment. This pattern keeps the charm light, but the safer default is a bag, desk, or home display hook. Remove it immediately if it distracts you or blocks any sight line.
Why is my panda disc ruffling instead of lying flat?
Ruffling means the increases are too loose for your yarn or one round has extra stitches. Count Rnds 3-6 against 18, 24, 30, and 36 stitches, then try a smaller hook if your count is correct but the edge still waves.
Can I use safety eyes for the panda charm?
You can, but embroidery is lighter and sits flat against the face. Do not treat the finished charm as a child’s toy; small parts and hanging cords are unsuitable for young children.
How do I make the hanging cord shorter?
Change only the chain count. Make a short test loop around the intended display hook, then subtract or add chains in pairs before fastening the cord to the seam. The panda body instructions stay unchanged.