Accessories · Worked in rows
Crochet Baby Bandana Bib Pattern
By Looplader · Tested row by row · Updated
- Skill
- Easy
- Hook
- 4.0 mm (G/6)
- Yarn
- Light/DK cotton (CYC 3)
- Time
- One relaxed afternoon
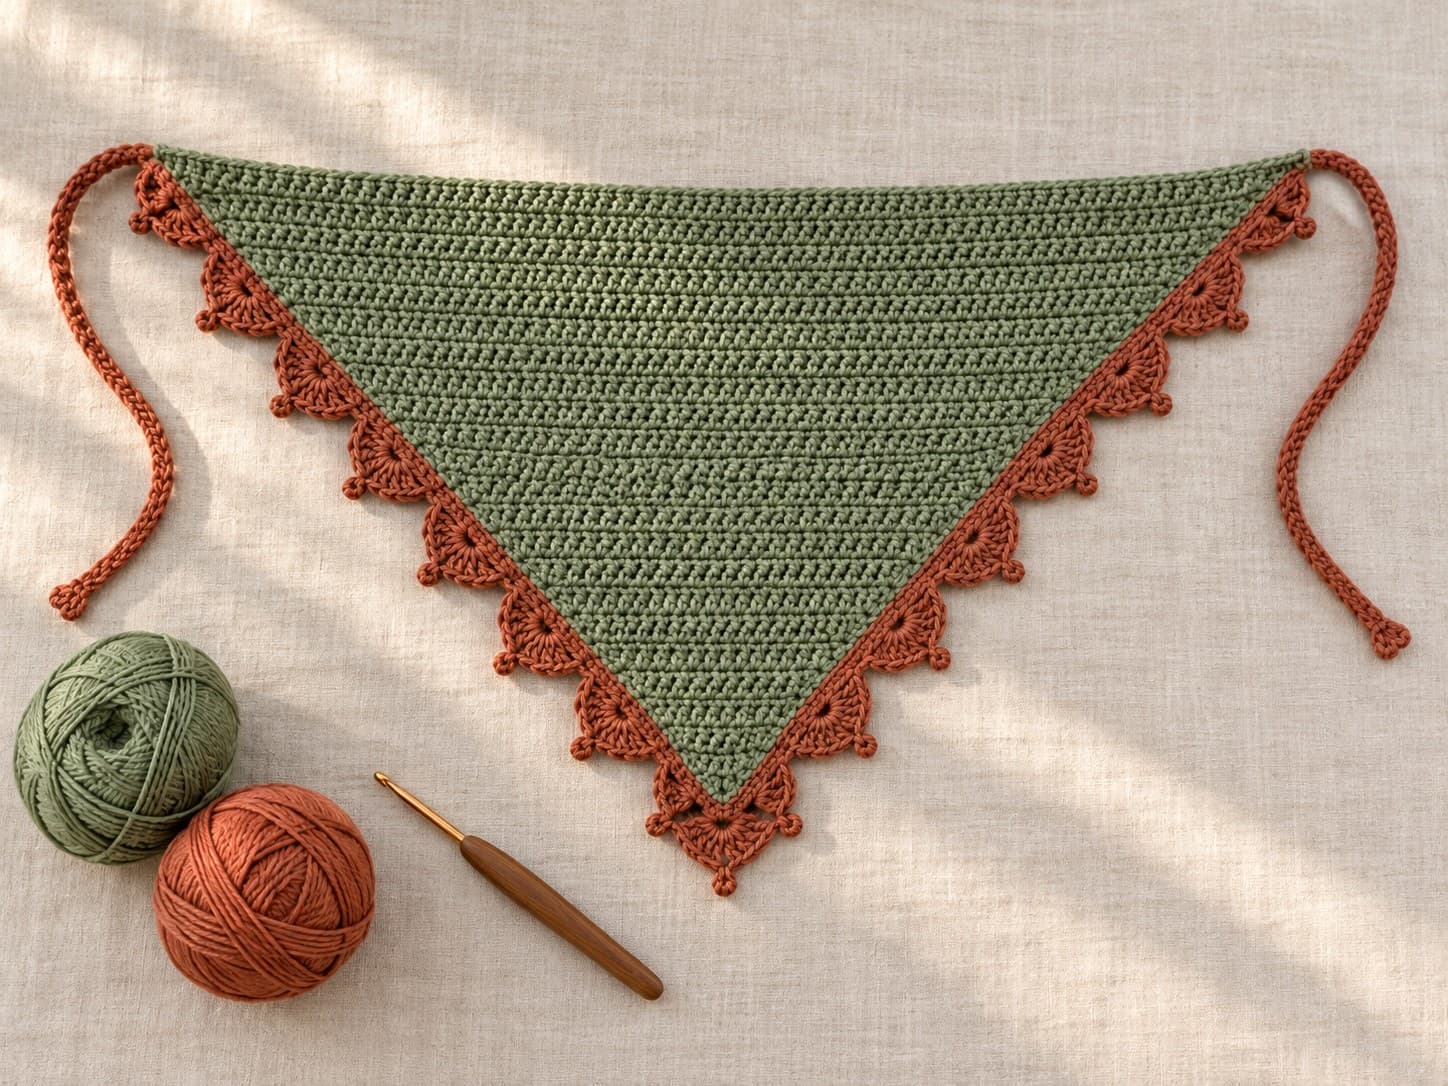
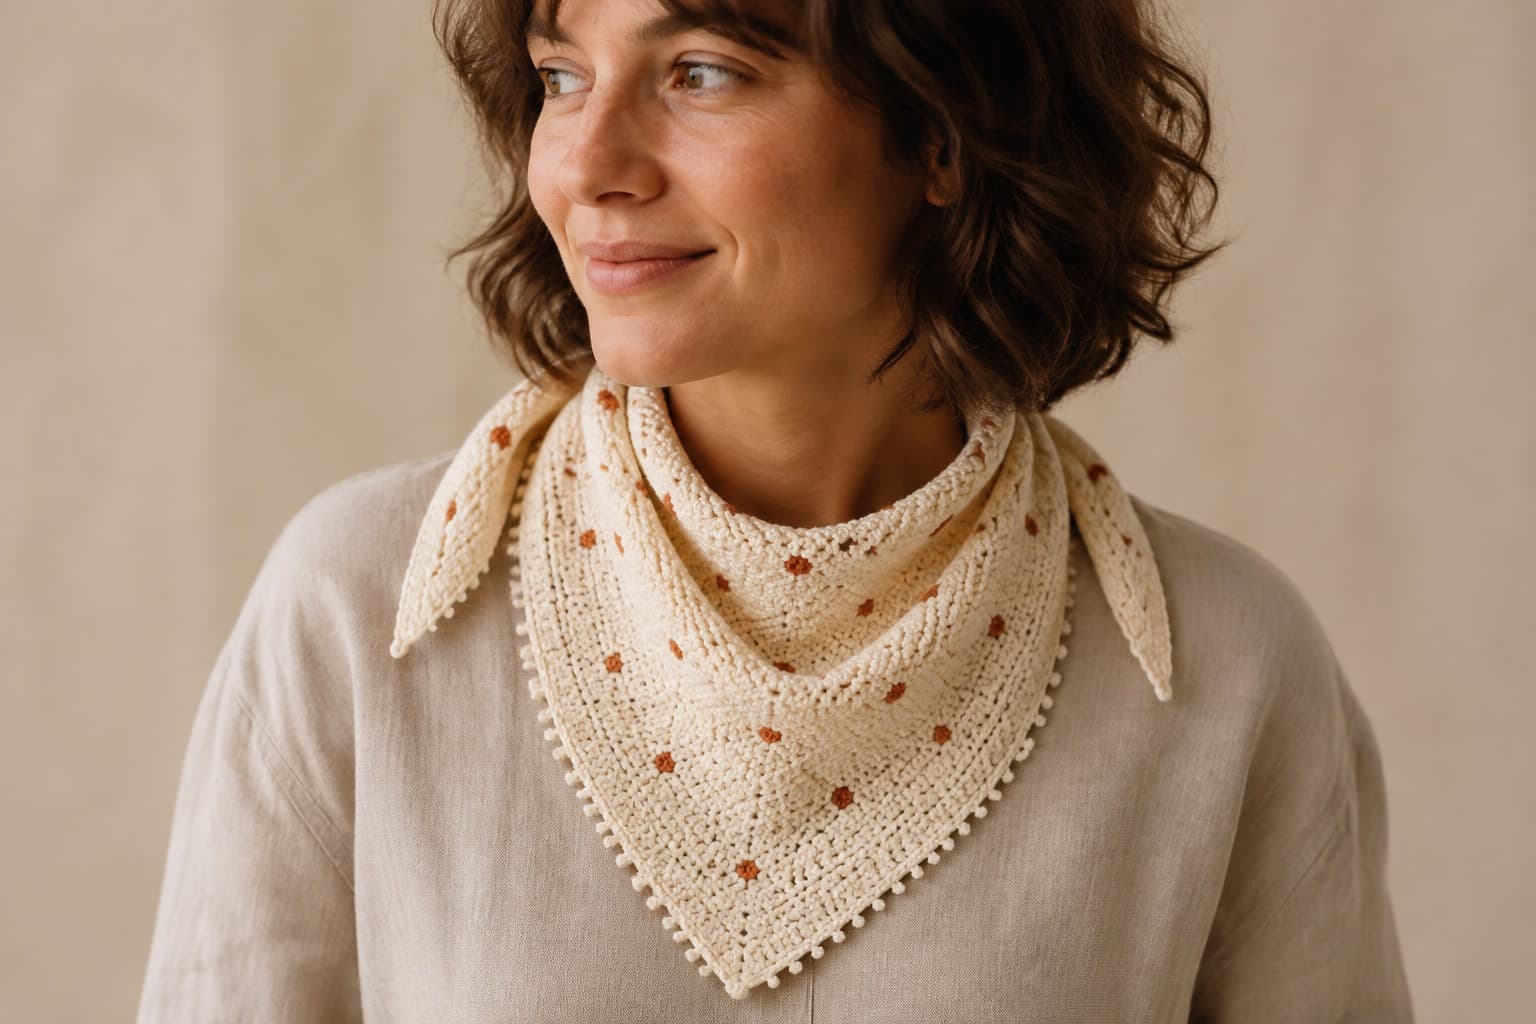
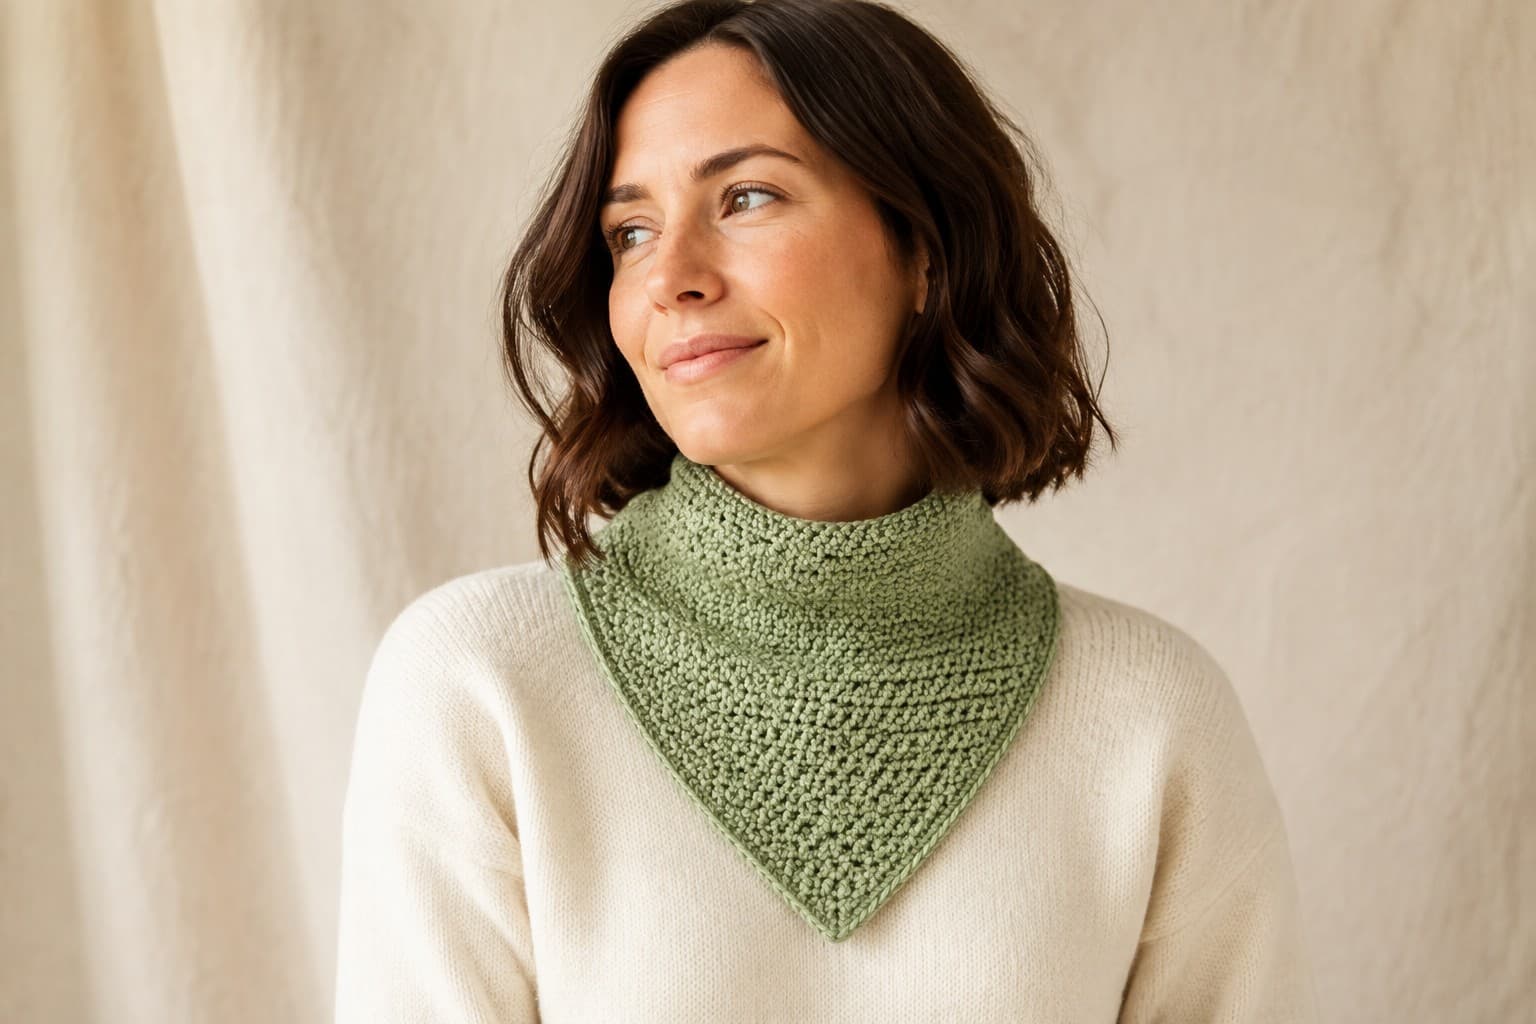
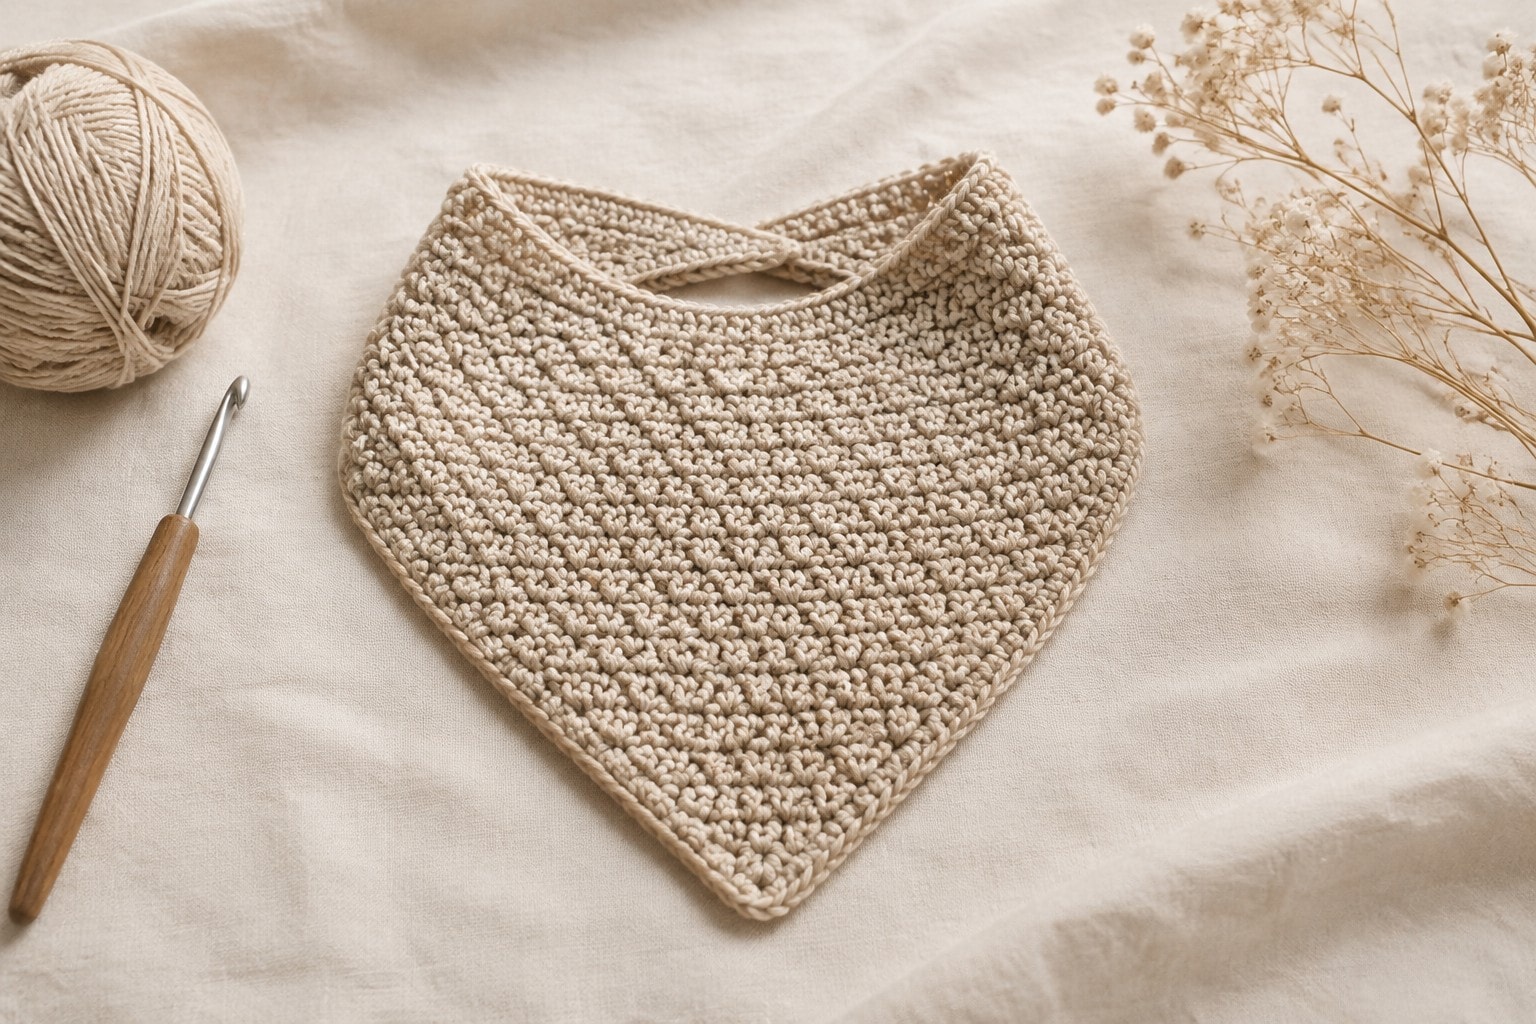
This crochet baby bandana bib is a point-up triangle worked in rows, then finished with two narrow snap straps and a firm crab-stitch edge. The shape gives the front of a shirt coverage without a bulky full-circle bib, and the row count sets the size.
Use smooth, machine-washable cotton at the stated gauge so the stitches stay compact. This is a handmade accessory for supervised wear only, never sleep; inspect the fabric, seams, and snaps before every use and remove it at the first sign of wear.
Why you’ll love this pattern
- The body is one simple two-increase repeat, so the stitch count is easy to check at every row.
- Three row-count sizes use the same construction; choose a snap position after measuring the actual child.
- A reverse-single-crochet edge stabilizes the triangle without adding a stiff border.
- It uses about one small skein of cotton, with leftover yarn for a second contrast-edge bib.
Instructions
- 1
Read the safety note before beginning: this pattern is not a safety-certified product. Use it only while a caregiver is watching, never for sleep, and check that every snap and stitch is secure before each wear.
- 2
Make a 4 in / 10 cm swatch in hdc. Aim for 16 hdc and 12 rows. Wash and dry the swatch as you plan to launder the bib, then remeasure; cotton can change after the first wash.
- 3
Choose a size: small for approximately 3–6 months, medium for approximately 6–12 months, or large for approximately 12–24 months. These are starting points, not a substitute for measuring the child; use the finished dimensions and strap overlap to choose the fit.
- 4
Foundation, all sizes: ch 3. Row 1: work 3 hdc in the third ch from hook; turn. (3 sts) The first little row is the point of the bib.
- 55 sts
Row 2: ch 2 (does not count as a st), turn, inc in the first st, hdc in each st to the last st, inc in the last st; turn.
- 6
Repeat Row 2, adding 2 sts on every row, until you have worked 20 rows for small (41 sts), 24 rows for medium (49 sts), or 28 rows for large (57 sts). Put a marker in the first and last stitch of a few rows if the edge increases start to disappear into the turning chain.
- 7
Pause at the last body row and measure before adding straps. At the stated gauge, the body should be about 6 3/4, 8, or 9 1/4 in / 17, 20, or 23.5 cm deep from point to top edge for small, medium, or large. If the depth is wrong, change hook size and remake rather than adding random rows, because the strap placement depends on the top edge.
- 86 sts
Left strap: with the RS facing and the point down, join yarn at the left end of the top edge. Ch 1, sc evenly across the first 6 sts of that top edge; turn.
- 9
Work ch 1, turn, sc in each st across for 19 rows total for small, 22 rows total for medium, or 25 rows total for large. Do not pull the first sc tight; a relaxed turning edge lets the strap lie flat. Fasten off, leaving a 6 in / 15 cm tail.
- 106 sts
Right strap: with the RS facing and the point down, join yarn at the right end of the top edge. Ch 1, sc evenly across the last 6 sts; turn.
- 11
Work the right strap exactly as the left: ch 1, turn, sc in each st across to the same total row count for your size. Lay both straps toward each other over the top edge. They should be mirror images and the free ends should overlap by at least 1 in / 2.5 cm around the measured neck.
- 12
Weave in the yarn tails from the body and straps now. Keep the tails inside the stitch columns for 2–3 in / 5–7.5 cm, then change direction once before trimming; this avoids a bulky knot at the neck.
- 13
With the RS facing, join yarn at one strap edge and work rsc evenly around the full outer edge: down the strap, across the first sloping side, around the point, up the second slope, along the second strap, and across the top edge between straps. Work 2 rsc in the point and 2 rsc at each strap corner. Slip stitch to the first rsc and fasten off.
- 14
Block the bib flat to the finished measurements using the yarn label's care instructions. Do not stretch the straps longer while blocking; their job is to keep the snap placement predictable.
- 15
Mark the snaps only after checking the bib around the measured neck with the straps overlapped. Sew one snap half near the free end of one strap, then place one or two matching positions on the other strap for adjustment. Put a small tightly woven cotton reinforcement patch behind each snap if the crochet fabric spreads when you pull it gently.
- 16
Sew each snap through the yarn and the reinforcement patch with multiple firm passes, keeping the thread stitches small and away from the outer edge. Pull-test each snap by hand after sewing; if it shifts, distorts the crochet, or feels loose, remove it and reinforce it before use. Do not use buttons, ties, or loose embellishments in place of the snaps.
- 17
Wash the finished bib according to the yarn label before gifting. Recheck the snap stitching and the edge after laundering, because a handmade cotton item needs inspection throughout its use.
| Size | Body rows / final sts | Approx. top width | Approx. depth | Strap rows | Yarn |
|---|---|---|---|---|---|
| Small | 20 / 41 sts | 10 1/4 in / 26 cm | 6 3/4 in / 17 cm | 19 | 70 yd / 64 m |
| Medium | 24 / 49 sts | 12 1/4 in / 31 cm | 8 in / 20 cm | 22 | 85 yd / 78 m |
| Large | 28 / 57 sts | 14 1/4 in / 36 cm | 9 1/4 in / 23.5 cm | 25 | 100 yd / 92 m |
Tips for success
- If the triangle ruffles, the first or last stitch of a row probably received more than one unintended increase. Count from the edges before undoing the row.
- If the body is narrower or deeper than the size chart at the stated row count, change hook size and re-swatch. Adding rows changes both width and depth.
- Reverse single crochet naturally pulls inward. Work it with a relaxed hand, especially on the two sloping sides; if the edge puckers, go up one hook size only for the border.
- Sew the snaps after blocking, not before. A damp cotton bib can relax enough to alter a close snap overlap.
Pattern at a glance
- Time to make
- One relaxed afternoon
- Skill level
- Easy
- Hook
- 4.0 mm (G/6)
- Yarn weight
- Light/DK cotton (CYC 3)CYC standard
- Yardage
- About 70–100 yd / 64–92 m, depending on size
- Gauge
- 16 hdc x 12 rows = 4 in / 10 cm, measured after washing and drying the swatch
- Finished size
- Small: about 6 3/4 in deep; Medium: 8 in deep; Large: 9 1/4 in deep, at stated gauge
Free ebook
Get new patterns, and the ebook
New patterns as they land, plus our free beginner's crochet stitch guide. No daily blasts, unsubscribe in one click.
Frequently Asked Questions
Can I use acrylic yarn for this crochet baby bandana bib?
You can, but choose a soft, washable yarn and make a swatch first. The pattern's dimensions and compact fabric were planned around smooth CYC 3 cotton at 16 hdc per 4 in, so acrylic may change both drape and finished size.
How do I make the baby bandana bib larger?
Use the next size's body-row and strap-row counts, then confirm the depth and strap overlap against the actual child. Do not lengthen only the straps: the top edge of the triangle must still sit comfortably across the chest.
Why are the sloping edges of my bib wavy?
A wavy edge usually means extra stitches were added beside an intended edge increase. Each body row has exactly two increases, one in the first stitch and one in the last stitch; count before turning.
Can this bib be used for naps or overnight?
No. Remove the bib for sleep and use it only under active caregiver supervision. Handmade neckwear and attached parts require regular inspection and are not a substitute for sleep clothing designed for safe sleep.