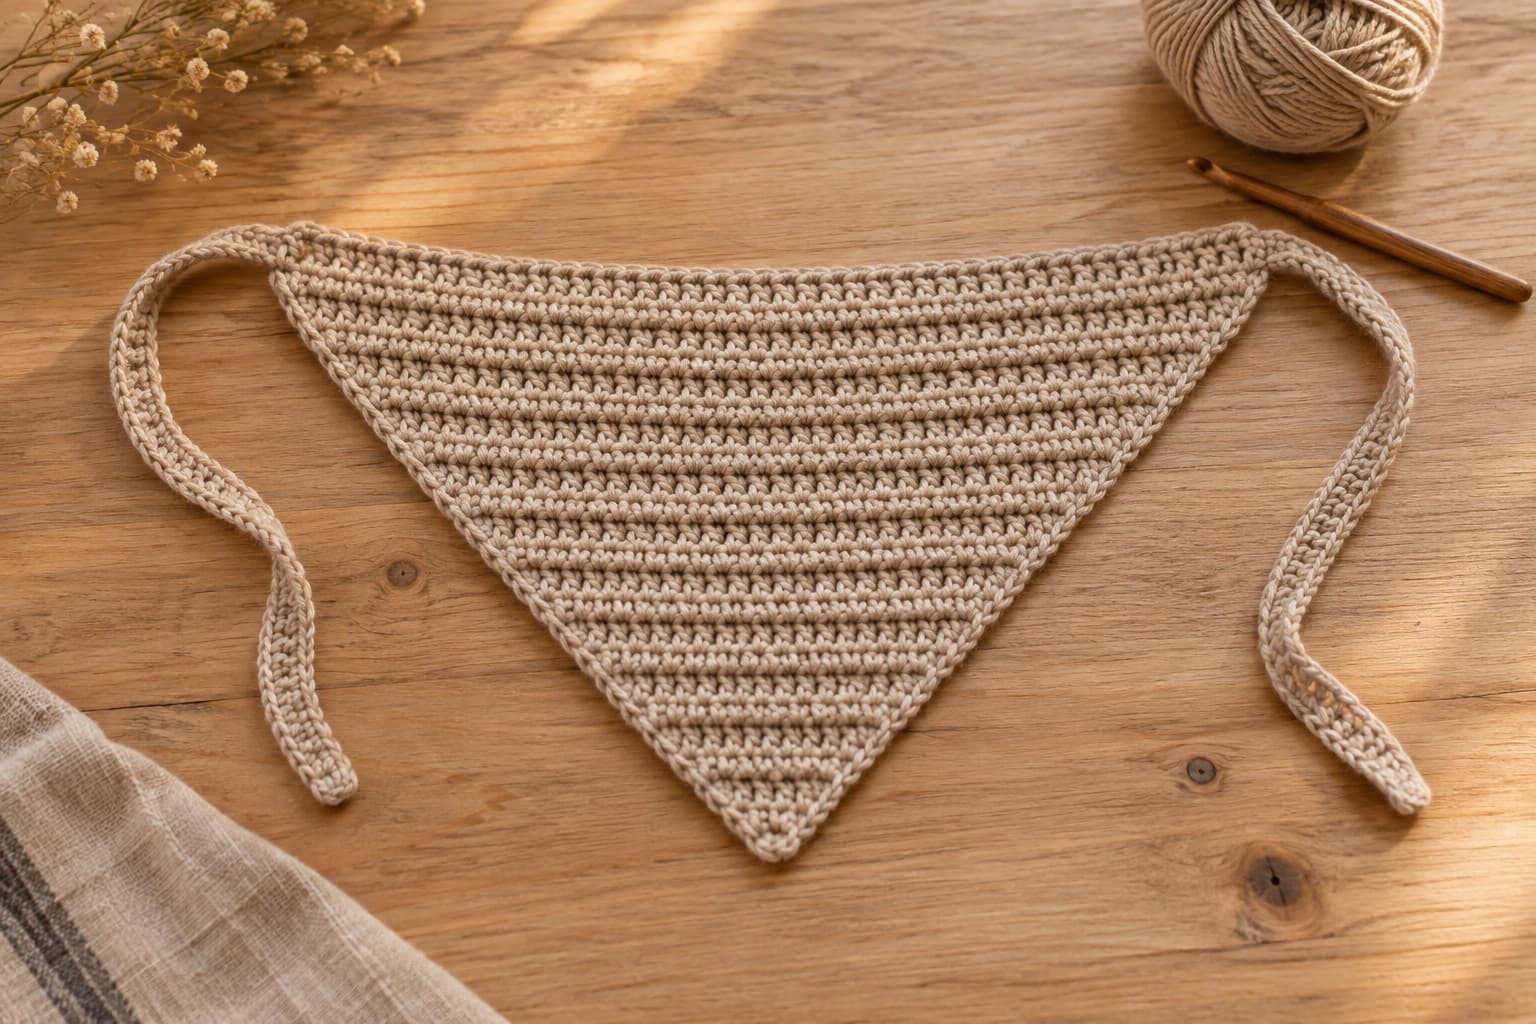
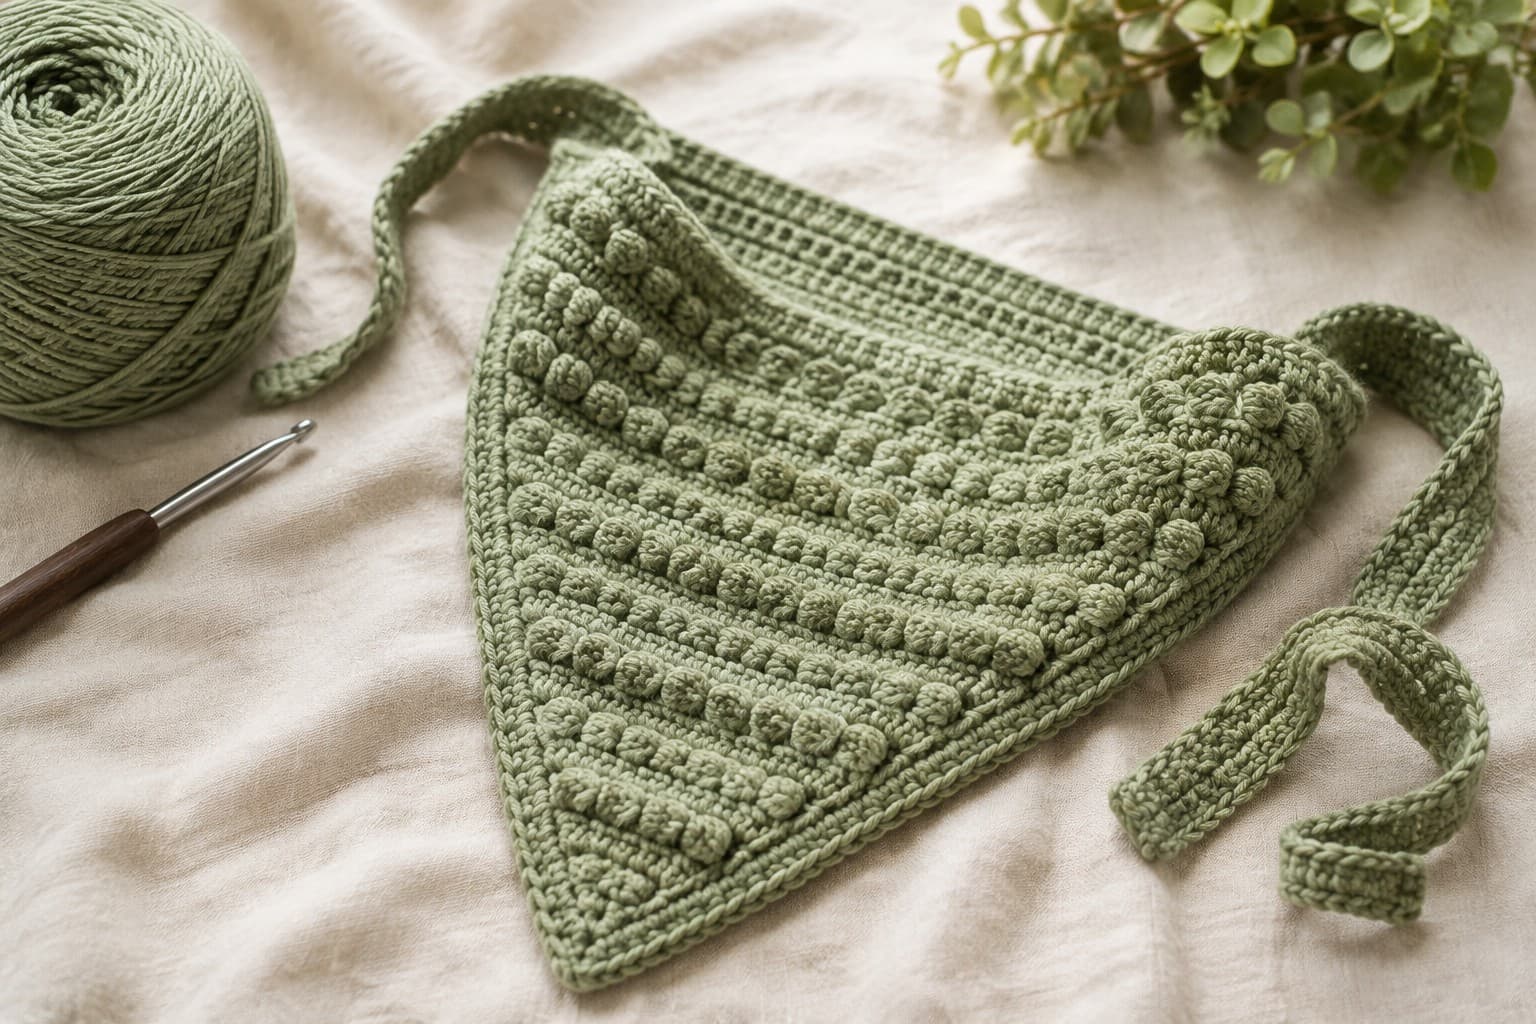
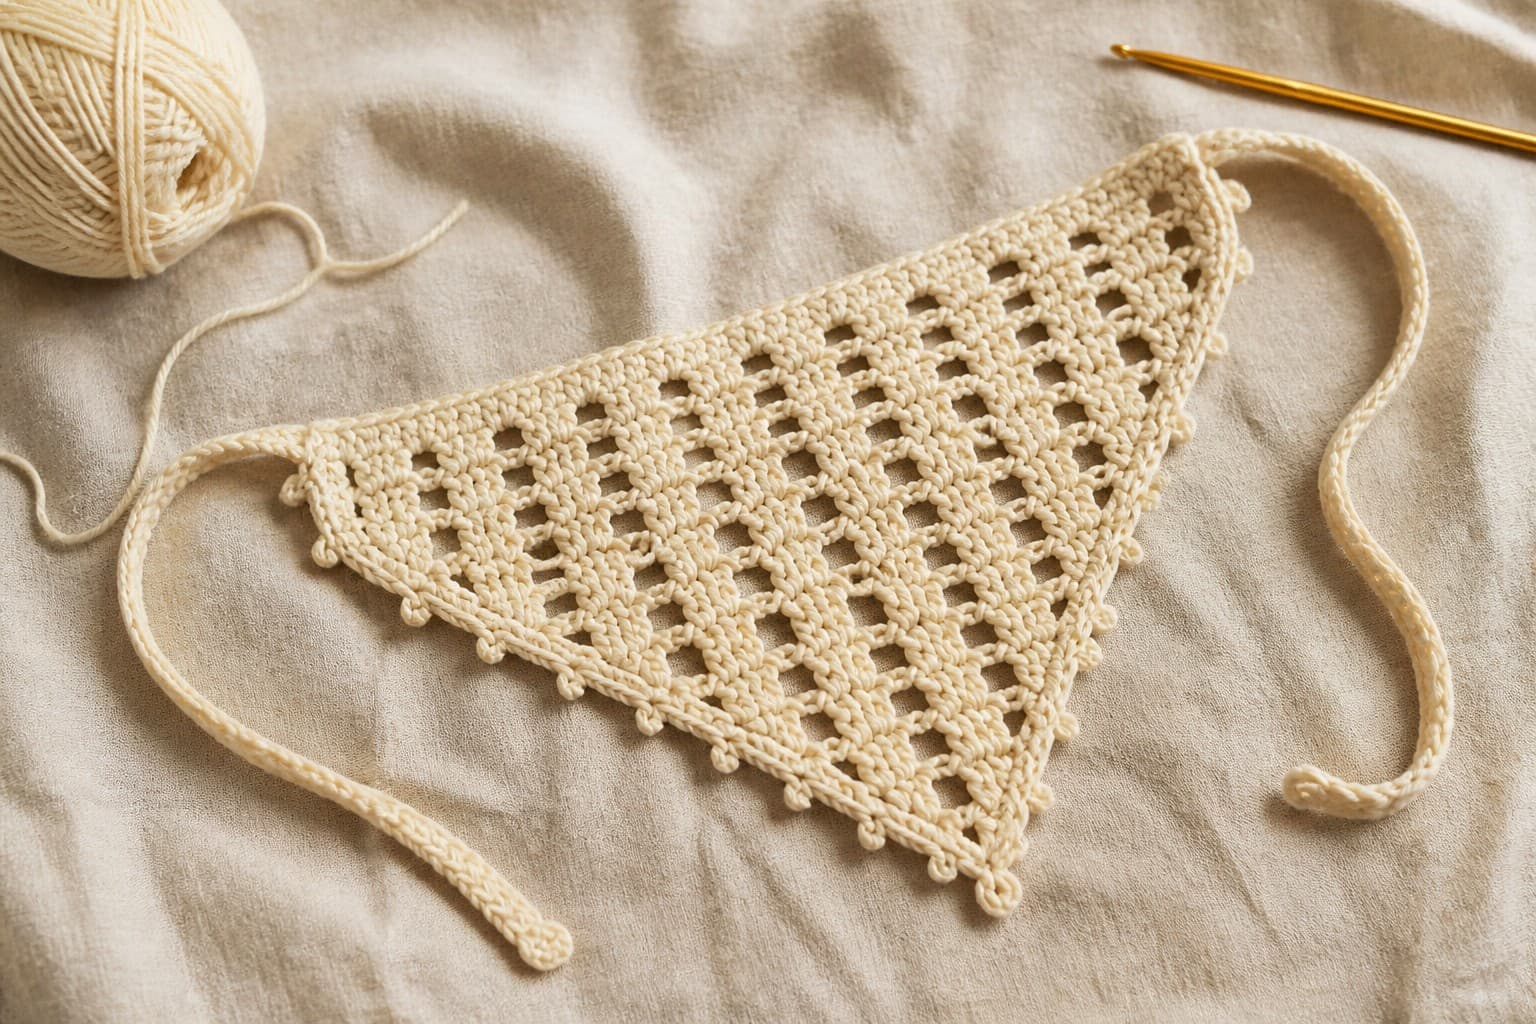
Accessories · Worked in rows
Crochet Bandana Guide: From the First Triangle to a Comfortable Fit
By Looplader · Project guide · Updated
- Skill
- Easy
- Hook
- Follow your chosen pattern, then adjust after swatching.
- Yarn
- Match the chosen pattern; lightweight cotton is illustrated.
- Time
- Plan separate sittings for swatching, the triangle and finishing; allow drying time.
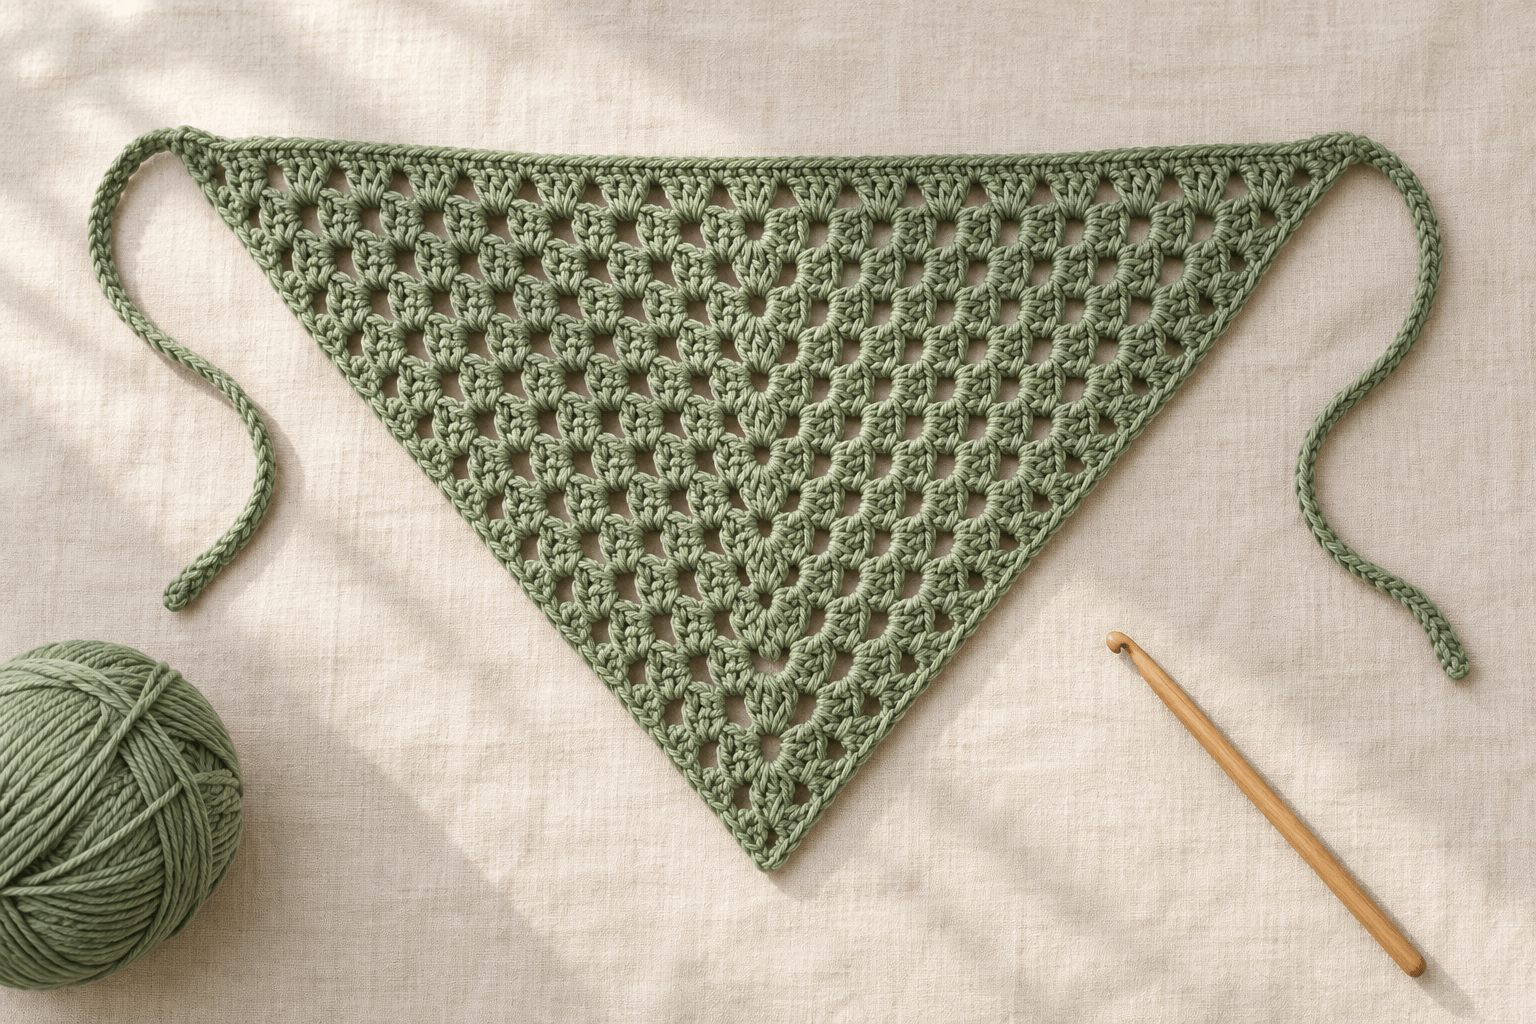
A crochet bandana is a triangular headscarf with a long edge that frames the face and two ties that fasten behind the head. This guide follows a center-out granny-stitch triangle through yarn selection, swatching, shaping, fitting, edging and finishing, with separate checkpoints for the mistakes that are easiest to miss.
Use this technique and fitting guide alongside your chosen row-by-row pattern. The sage-green illustrations show the stages, measurement directions and general shape. Follow the written pattern for stitch counts, and use your swatch and measurements to determine the finished scarf. Numerical examples are labelled as examples.
Pattern, Pinterest & resources
- Craft Yarn Council: standard yarn weights
Yarn categories and general hook guidance; these are not the gauge of a particular bandana.
- Craft Yarn Council: US and UK crochet terminology
Check stitch names and abbreviations before starting.
- Craft Yarn Council: crochet gauge worksheet
Swatching in the specified stitch pattern and adjusting hook size.
- Lion Brand: blocking and yarn-care guidance
Choose a blocking method compatible with the yarn label.
- Center-out pattern example: MJ's Off the Hook Designs
Michelle Moore's Caribbean Boho Bandana, with the designer's own row instructions and video. Its shell border differs from the plain illustrative border here.
- Motif construction example: Sandra Stitches
Sandra Regev's Adriene bandana demonstrates the separate-motif approach. Follow her original page for that design's instructions.
What this project includes
- Learn to distinguish the center space, side spaces and row ends before an extra group changes the shape.
- Measure body width, depth and tie length separately, so extra ties do not disguise a triangle that is too small.
- Use arithmetic checks for gauge and return-row ties without treating an illustration as a stitch chart.
- Diagnose a border that waves, a top edge that tightens and a center point that drifts.
Detailed project guide
- 1
Choose the construction before choosing the row count
Three bandanas can look triangular and still be built differently. A point-up triangle begins at the lower tip and adds width as horizontal rows grow. A center-out triangle begins near the middle of the long edge; its rows travel down one slope, around the center corner and up the other slope. A motif bandana joins separate squares and triangles. Their increase rules are not interchangeable.
The illustrations here follow the center-out granny approach. The center opening continues toward the bottom point as the triangle grows. That is different from starting at the bottom point and working straight across. For complete written instructions, choose a designer's pattern from the resources. The MJ's Off the Hook example demonstrates center-out construction; the Sandra Stitches example demonstrates joined motifs. Their counts, gauges and borders belong to those individual designs.
- 2
Choose yarn for a fabric you will wear against your hair
Begin with the yarn weight specified by your selected pattern. In the Craft Yarn Council system, fingering is commonly in category 1, sport in category 2 and DK in category 3. Those names describe a thickness category, not the fibre or the weight of the ball. A 100 g ball can contain very different lengths of different yarns. The Council's hook ranges are guidelines, not a replacement for the pattern's gauge.
For a first attempt, choose a smooth, light-coloured yarn that lets you see the chain spaces and the tops of the stitches. Test the swatch against the forehead and hairline: it should bend comfortably rather than feel like a stiff placemat. A cotton blend can work, but inspect the actual fabric before assuming it behaves like another blend. If substituting yarn, keep the label and compare both thickness and drape, then swatch again.
- 3
Read the four notes that control every row
Before making a slip knot, find these four items in the pattern: whether the instructions use US or UK terminology; whether the turning chain counts as a stitch; where the first and last groups go; and how the center corner is formed. Write them at the top of your working notes. This guide uses US terminology: US double crochet is UK treble crochet, while US single crochet is UK double crochet.
Also read the designer's definition of cluster. Here, a granny group means three double crochets completed separately in one space. In another pattern, cluster can mean several partially completed stitches closed together. The abbreviation alone does not tell you which operation to use. A chain space is an opening under a chain arch; working into that opening is different from inserting the hook under the top loops of an individual chain.
- 4
Make and measure the actual stitch-pattern swatch
Use the swatch instructions and stitch pattern specified by your chosen design. A solid double-crochet square does not establish the gauge of an open granny fabric. If the pattern asks for a rectangular swatch, make enough fabric to measure an interior area without including the turning edges. If it specifies a triangular sample, measure that sample as directed. Record the hook size before you change anything.
Measure the sample, care for it as the yarn label allows, let it dry fully and measure again. Note whether the pattern's gauge is given before or after blocking. Count the units it specifies: individual stitches, groups, spaces or repeats are different units. The image shows an interior area marked for measuring; it does not supply a gauge or an exact number of groups. A ruler resting on the fabric should not stretch it.
- 5
Use gauge arithmetic only where the measurement is straight
For a straight solid-stitch swatch, width in centimetres equals stitch count divided by stitches per centimetre. Example only: 16 stitches over 10 cm means 1.6 stitches per centimetre. A straight span of 48 stitches at that gauge would be about 30 cm wide. This is arithmetic, not the gauge or size of the illustrated bandana. Use the exact unit in the pattern: 4 inches is 10.16 cm, not exactly 10 cm.
Do not apply that calculation to the total stitch count along a center-out V-shaped row to predict the straight top-edge width. That row bends around the point. Likewise, a gauge measured in granny groups cannot be substituted directly into a formula expecting individual stitches. If the measured stitch density is too high, try a larger hook; if it is too low, try a smaller one, then remeasure. Assess row height and fabric feel as well.
- 6
Set the first triangle down and identify its three landmarks
Work the foundation and opening rows exactly as the selected pattern directs. A chain-ring start and an adjustable-ring start are alternatives used by different designs, not interchangeable instructions to improvise halfway through the foundation. Before continuing, set the small piece down without pulling it into shape. Find the two row ends and the central corner space.
Mark the center space with the contrasting marker. Mark the beginning and end positions according to the pattern's turning-chain rule. Move those markers as new rows replace the old ones; do not keep working into a marker left several rows below the live edge. At this stage the sample is too small for a fit decision, but it is large enough to check that there are two sides separated by one center corner, rather than a closed square or a strip.
- 7
Work into the opening, not through a stray yarn strand
For an ordinary granny group worked into a chain space, insert the hook through the opening beneath the chain arch. Avoid catching only one strand accidentally; it can pull a long loop out of the fabric. Complete each double crochet before starting the next one. At the end of a completed double crochet, one working loop remains on the hook.
An ordinary US double crochet uses a yarn-over before insertion, draws up a loop, then pulls yarn through two loops twice. In a three-double-crochet granny group, all three stitches share the same insertion space but each has its own completed top. Pause after the group and locate those tops. Work any separating chains only if the pattern calls for them. Adding an extra chain between every group because the fabric feels tight changes both width and the next row's insertion points.
- 8
Treat the center corner as a distinct instruction
The center is where the row changes direction. In many granny triangles, the pattern places one group, a chain arch and another group into the same center space. Both groups belong in that old space; the new arch becomes the center opening for the next row. Follow your pattern's exact group size and chain count rather than borrowing them from the illustration.
After completing the corner, move the center marker to the new chain space. Check that you worked both sides of the corner before carrying on. If you make only an ordinary side group there, the point can lose its shaping. If you add an extra group, the corner can fan outward. Read and count the written corner sequence to keep the shaping consistent.
- 9
Check both row ends before turning
The center increase alone may not create the intended triangle. The row-end instructions also control its spread. Locate the last insertion point before working the final group: it might be a turning-chain top, an edge space or a stitch, depending on the pattern. Do not substitute the large nearby gap because it is easier to see.
If the turning chain counts as a stitch, include it once in the count and use its designated top when the next row reaches it. If it does not count, do not invent an extra stitch there. Follow the stated beginning sequence rather than applying a universal rule about skipping the first stitch. A missed final stitch repeated over several rows can make one side visibly shorter even while the central corner remains correctly formed.
- 10
Keep a count record that separates groups from chains
For each completed row, record its number, the left-side groups, the right-side groups, the center-space check and the edge-stitch check. Use the designer's counting convention. Some patterns include a partial edge group in a total; others count it separately. Compare equivalent units on both sides, not a full group on one side with a turning chain on the other.
Check the row against its written total before starting the next one. If a pattern supplies only a repeat, work out what that repeat adds on each side and verify it on the first repeated row. Do not assume all granny triangles gain the same number of groups. Leave a marker in a known-correct row if you tend to lose your place; it gives you a place to recount from without guessing which visible ridge corresponds to the row number.
- 11
Measure width, depth and ties as three separate dimensions
Lay the triangle on a flat surface with its long edge horizontal. Measure body width in a straight line from one upper corner to the other, excluding any ties. Measure depth perpendicular to that line, from its midpoint to the lower point. The sloping side length is neither of those measurements. Measure each completed tie separately from its attachment to its tip.
Write whether each measurement was taken before or after washing and drying. The image shows the two body-measurement directions, not target numbers. For a center-out triangle, adding rows generally changes both width and depth together. If the width fits but the point hangs much lower than you want, a different triangle construction or gauge proportion may suit you better than simply making longer or shorter ties.
- 12
Choose coverage with a physical fit check
Decide where the front edge should sit and where you want the point to end. A narrow headscarf that holds hair back needs different coverage from a scarf intended to cover most of the crown. Hold the dry triangle in that position with the point facing the back of the head. Keep it relaxed; stretching until the corners meet creates a misleading fit check.
An existing comfortable scarf can serve as a measuring reference. Record its body width and depth rather than treating an adult, teen or child label as a complete size specification. For a first sample, check the growing triangle after several rows and again before finishing. The test is whether the cloth covers the intended area while the corners leave a sensible route for the ties. Head circumference alone does not determine those two body measurements.
- 13
Allow for the border before fastening off the body
Read the finishing section while the last body row is still easy to undo. Check which edges receive a border, whether the ties are integrated with that border and whether the final body row must end on a particular side or repeat. A decorative edging may require a multiple of a stitch count; adding an arbitrary row can change that relationship.
If border depth matters to the fit, make a short trial on the swatch and measure it. A border on a sloping side does not necessarily add its full depth directly to the straight top width or vertical depth. Use the trial and a fit check instead of simply adding the same number to every dimension. Stop the body at an allowed repeat boundary, then recount the last row before committing to the border.
- 14
Set tie length with a knot test, not a universal chain count
Place the triangle in its intended wearing position and use two lengths of soft scrap cord to test the route from the upper corners to the fastening point. Tie the knot or bow you actually intend to wear. Mark the cord lengths that give a comfortable closure and usable ends, then measure them. A bow consumes more length than a compact knot. Hair volume and the position of the scarf also change the route.
Treat those cord measurements as starting targets, since a crochet tie may have a different thickness and stretch. Make a tie sample using the planned return stitch, let it relax and check its finished length. Counting chains alone does not measure a finished tie: the return row can shorten it. If the ties are integrated into the edging, follow the pattern's order and adjust only within its stated options.
- 15
Understand the return-row tie count
A chain can be used alone, returned over with slip stitches, or returned over with single crochet, depending on the pattern. Single crochet makes a wider strip than an unworked chain; a very tight slip-stitch return can shorten the chain or make it curl. Test the method before completing two full-length ties.
For a simple single-crochet return beginning in the second chain from the hook, a foundation of N chains receives N minus 1 single crochet stitches. Example only: a 31-chain practice cord receives 30 single crochets. The loop currently on the hook is not an extra chain. A separate stitch that attaches the tie to the bandana is not part of those 30 return stitches. Use the written attachment method so the return row ends at the corner, rather than accidentally continuing along the body edge.
- 16
Match the second tie and check the attachment
Record the first tie's chain count, return count, hook and relaxed length. Make the second with the same method, then lay the two side by side without stretching them. Equal chain counts do not guarantee equal lengths if your tension changed. Correct a noticeably shorter tie before weaving in the final end.
Gently tension each attachment and inspect the corner. It should not pull out a single long loop or distort a large open space. If the instructions anchor through a corner stitch or specified edge position, use that position rather than the most convenient gap. Try the closure while the ends remain accessible for adjustment. A comfortable bow should secure the scarf without requiring the whole front edge to be stretched tightly across the forehead.
- 17
Place edging stitches according to the edge you have
An edge made of stitch tops and an edge made of row ends need different attention. Along stitch tops, follow the specified stitches and chain spaces. Along row ends, there is no universal one-stitch-per-row rule: the height of those rows and the width of the border stitches determine how many are needed. In a center-out triangle, identify the row-end edge before starting; do not assume both slopes are row ends.
For a plain border that asks you to work evenly, a swatch can supply a starting estimate. Example only: if a 10 cm edge segment spans 8 row ends and 16 border single crochets occupy 10 cm, that suggests about 2 border stitches per row end for that particular fabric. Try a short section and check that it lies flat. This calculation does not replace the counts of a written decorative border.
- 18
Fix waves or puckering while the border is still short
Set the work down after the first section of edging. If the new border ripples while the body stays flat, it may contain too many stitches or stitches worked too loosely for that edge. If it draws the fabric inward, it may contain too few stitches or be too tight. Check both placement and tension before choosing a correction.
Undo the affected border section and adjust the cause, then check again. At a corner, use the corner treatment specified by the pattern; an improvised extra handful of stitches can create a frill instead of a clean point. Do not force a distorted border flat with pins and assume the problem has disappeared. The useful checkpoint is a relaxed edge that sits sensibly beside the body before blocking.
- 19
Secure the tails without leaving a hard lump
Thread a yarn tail through a blunt tapestry needle and weave it through the bodies of nearby stitches on the reverse. Change direction and spread the path across several stitches, keeping the tension similar to the surrounding fabric. Avoid running the tail in one straight, easily pulled-out line across an open chain space. If a starting ring was used, secure that starting tail as well as the finishing tail.
Flex the area and inspect the front before trimming. A tightly pulled woven end can pucker the fabric; a bulky knot can be uncomfortable where the scarf touches the head. Leave enough tail to revise the path if necessary. With a smooth yarn, check that the end stays secure when the fabric is gently handled instead of assuming one pass through a couple of loops is sufficient.
- 20
Block to settle the fabric, not to repair the stitch count
Follow the yarn label's care instructions. If wet blocking is appropriate, wash or wet the piece as directed, support it while lifting and press out water in a towel without wringing. Place it on a clean flat surface, straighten the top edge and position the point beneath its midpoint. Arrange both ties in relaxed lines rather than stretching them taut.
Use rust-resistant pins if needed and let the bandana dry completely before unpinning. Lion Brand's blocking guidance describes washing according to the label, towel-pressing and drying in shape. Avoid applying heat to an unfamiliar fibre or blend. Blocking can help stitches settle, but it does not insert a missing group, correct an extra increase or make incompatible proportions disappear. Recheck width, depth and tie lengths when the fabric is dry.
- 21
Troubleshoot the triangle by comparing the two halves
If the point drifts to one side, compare the group counts on the two halves, then check the beginning and final insertion points. If one edge has been losing a stitch or group, the center can look misplaced even when its own increase was worked correctly. Find the first row where the counts stop matching the pattern and correct from there.
If counts are correct but the fabric cups, compare corner chains, stitch height and tension with the pattern. If it flares, check for unintended extra groups or spaces. Persistent distortion with correct counts calls for a swatch or a fresh small sample, not more rows in the hope it will resolve itself. Photographing the work flat at a known-correct checkpoint can help you compare the next few rows without relying on memory.
- 22
Record what you actually used for the next bandana
Before calling the project finished, note the yarn name and fibre, hook size, final body row, border method, tie counts, dry dimensions and any changes you made. Check the scarf with the hairstyle and fastening you intend to use. If it slips, first check its position, the body coverage and whether the ties loosen; pulling harder on an undersized body is not a fit adjustment.
To record yarn use, weigh the yarn assigned to the project before and after making it, accounting separately for the swatch and cut-off lengths if you want an item-only figure. A label-based length conversion is approximate: used grams multiplied by the label's metres per gram. Do not turn that result into a promise for another yarn or size. Store the care label with your notes so a second bandana starts from evidence rather than a guessed ball count.
| Method | Where the work begins | What to check |
|---|---|---|
| Point-up rows | The lower tip | Both row-end increases; width and depth grow together |
| Center-out granny rows | Near the midpoint of the long edge | Row ends, two sides and center corner; each row follows a V |
| Joined motifs | Separate squares or triangles | Motif gauge, layout, joins and finished triangle dimensions |
| Measurement | How to take it | Record twice |
|---|---|---|
| Body width | Straight between upper corners; exclude ties | Before finishing and fully dry after blocking |
| Body depth | Perpendicular from top-edge midpoint to lower point | Before finishing and fully dry after blocking |
| Each tie | Attachment to tip, relaxed | After return row and fully dry after blocking |
| Example | Calculation | Result |
|---|---|---|
| Straight solid-stitch span | 48 stitches ÷ (16 stitches / 10 cm) | 30 cm; not the width of a V-shaped row |
| Return over a practice chain | 31 chains − 1 skipped chain | 30 single crochet stitches; excludes an attachment stitch |
| Plain row-end border estimate | 16 border stitches / 8 row ends over the same 10 cm | 2 stitches per row end as a swatch-based starting point |
Tips for success
- Keep the center marker a different colour from the two row-end markers, and move it into the newly formed space after every row.
- Count before measuring. A distorted triangle with a missing group does not become correct simply because its width is close to the target.
- Photograph your own known-correct early rows for comparison; do not count stitches from the illustrations.
- Record before-and-after washing measurements so the next project uses the fabric's relaxed dimensions.
Pattern at a glance
- Time to make
- Plan separate sittings for swatching, the triangle and finishing; allow drying time.
- Skill level
- Easy
- Hook
- Follow your chosen pattern, then adjust after swatching.
- Yarn weight
- Match the chosen pattern; lightweight cotton is illustrated.CYC standard
- Yardage
- Use the chosen pattern's requirement and account for swatching. No measured usage is claimed here.
- Gauge
- Use your selected pattern's stitch-pattern gauge.
- Finished size
- Measure body width, perpendicular depth and each tie separately; fit to the wearer.
Free ebook
Get new patterns, and the ebook
New patterns as they land, plus our free beginner's crochet stitch guide. No daily blasts, unsubscribe in one click.
Frequently Asked Questions
How big should a crochet bandana be?
Choose the body width and depth for the coverage you want, then fit the ties separately. There is no single adult measurement that suits every hairstyle and wearing position. Measure a scarf you like, check the dry triangle on the wearer and record the dimensions before and after blocking.
Can I substitute a thicker yarn?
You can explore a thicker yarn, but it changes the fabric and the size produced by each repeat. Swatch first, check the drape and follow the pattern's sizing options. Fewer rows may reduce coverage, but they can also change the stitch multiple available for a decorative border.
Why is my crochet bandana uneven?
Check the two row ends and the counts on each side of the center first. A missed final stitch or an extra edge group can make one half grow differently. If the counts match the pattern, compare tension and corner-chain height before trying to reshape the piece with blocking.
How many chains do I need for the ties?
Use the pattern's tie instructions as a starting point, then measure the completed tie rather than the unworked chain. Test the intended knot or bow on the wearer. A return row can change the length, and equal chain counts only produce matching ties when the tension is similar.
Can I count the stitches in these process images?
Use the illustrations to recognise the stages, measurement directions and general shape. For stitch counts, follow your selected pattern's written instructions and your own swatch for the foundation, increases, border and finished measurements.