Accessories · Worked in rows
Crochet Gingham Bandana Pattern
By Looplader · Tested row by row · Updated
- Skill
- Intermediate
- Hook
- 3.5 mm (E/4)
- Yarn
- DK / light cotton (CYC 3)
- Time
- Two to three evenings
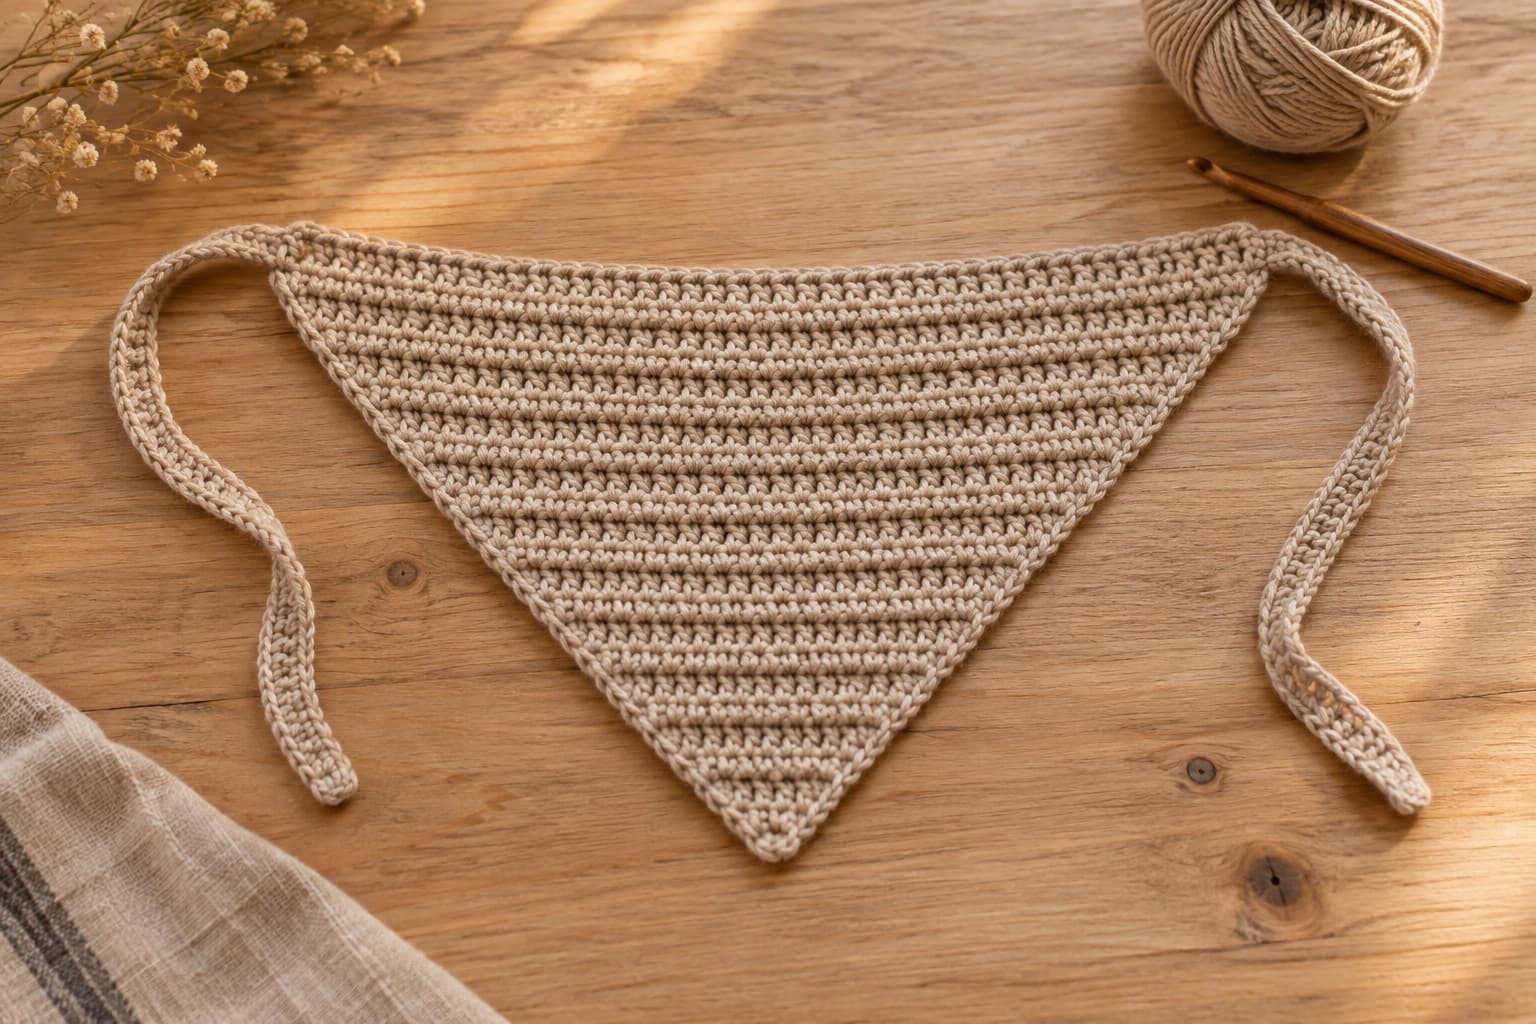
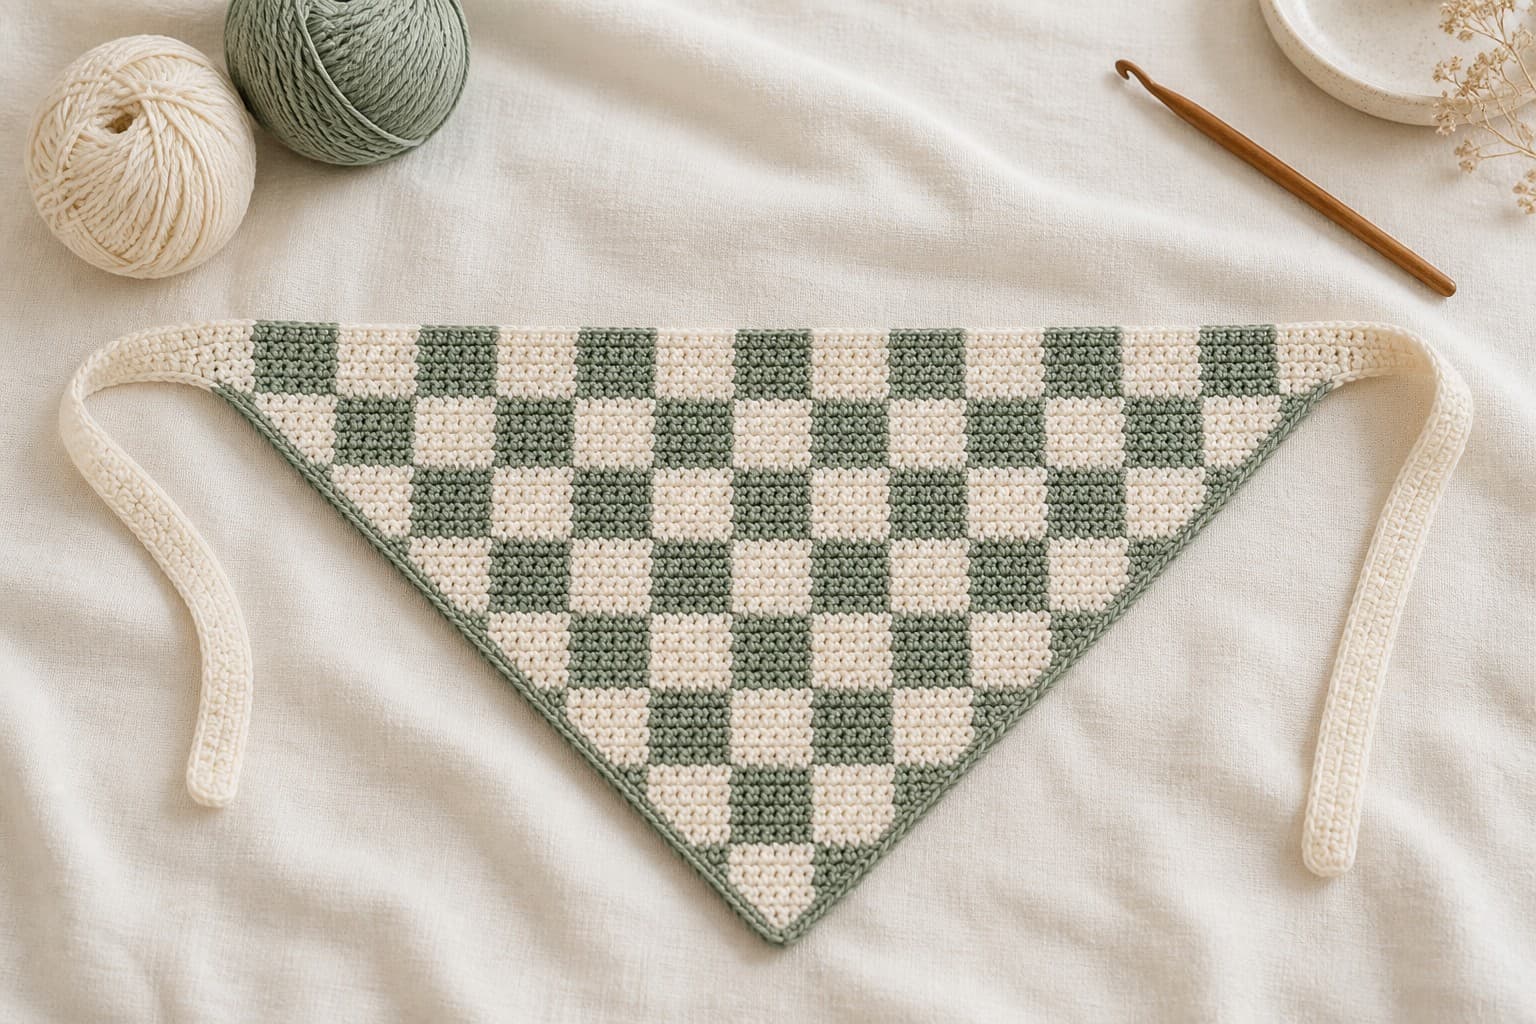
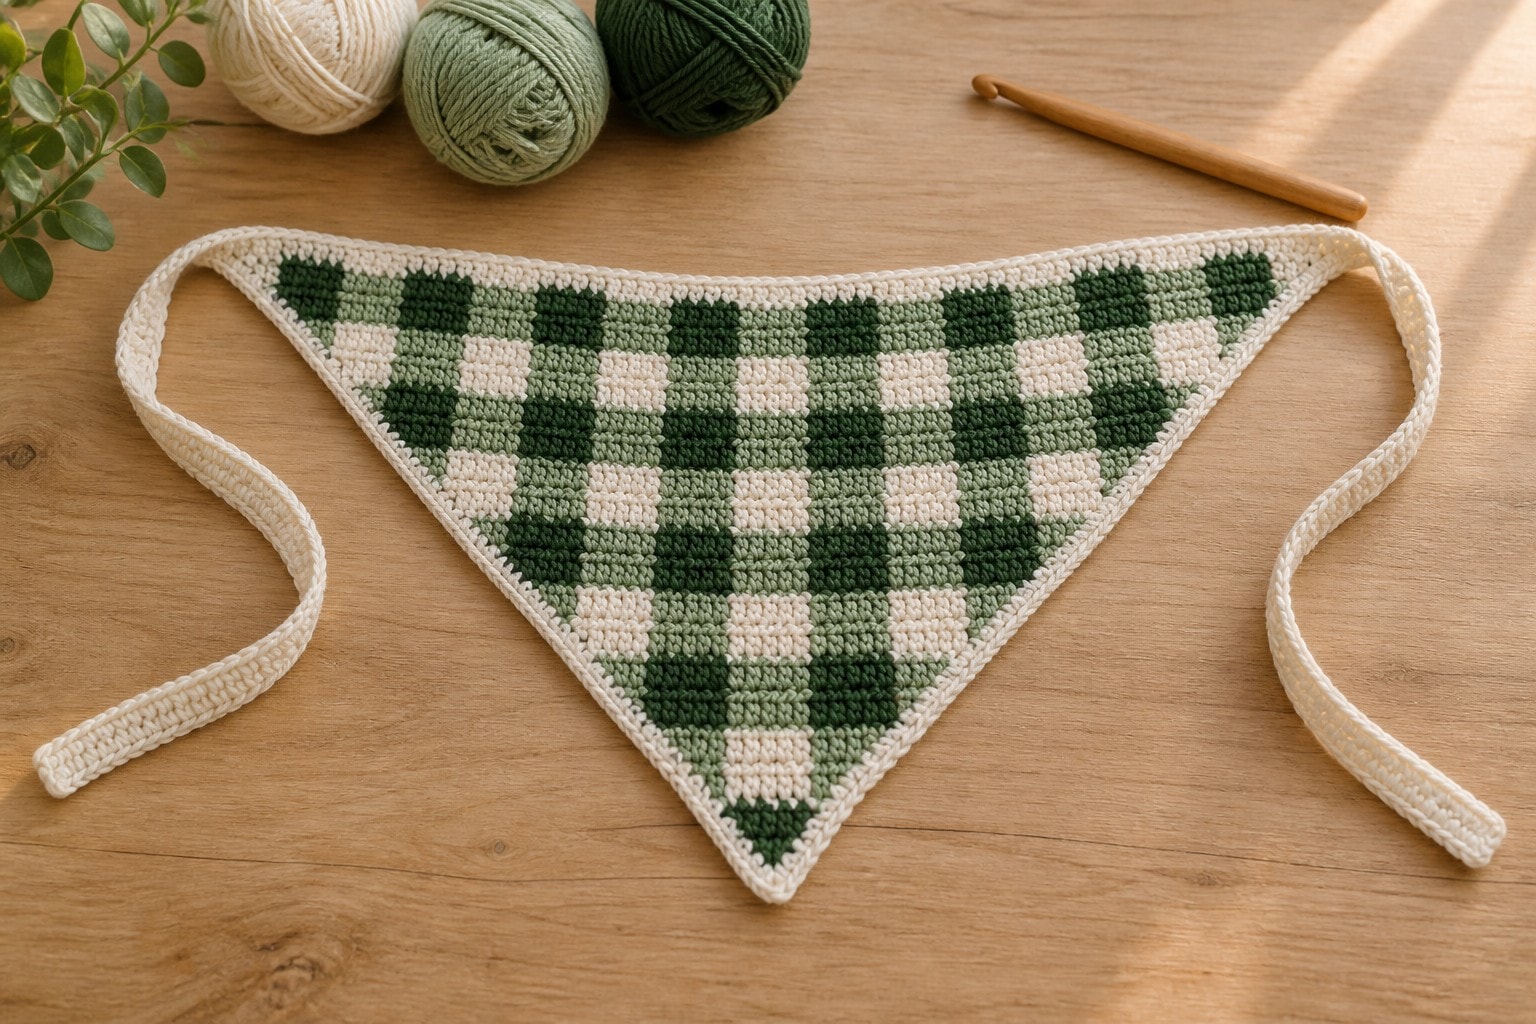
This crochet gingham bandana is a top-down triangle worked in rows, with two increases at every row and a three-shade tapestry-check panel framed by a solid border. The four-row color repeat makes small woven-looking checks without cutting yarn at every block.
The instructions make an adult-sized scarf when worked to the stated target gauge, but the triangle is intentionally easy to shorten or deepen. Make a swatch first, practice the carry with all three colors, and compare your fabric to the stated target before committing to the full chart.
Why you’ll love this pattern
- The triangle grows from one point, so depth is adjusted simply by stopping after any completed four-row color cycle.
- A four-row chart repeat uses three shades to create a real gingham effect instead of a two-color checkerboard.
- A two-stitch solid border at each side keeps the colorwork away from the shaped edges and makes the finish easier to read.
- Long flat ties are worked directly from the top edge, with no separate sewing or hardware.
Instructions
- 1
Make a tapestry swatch before the bandana. With A, B, and C attached, work 12 sc across for 8 rows following the four chart rows twice, carrying the unused colors loosely inside the stitches. The fabric must lie flat when relaxed and stretch side to side without a tight carry line. The measurements and yardage below are pre-publication targets that require a physical test crochet before approval.
- 2
Foundation: with A, ch 2. Row 1: sc in the second ch from hook. (1 st) Ch 1 and turn. The turning chain never counts as a stitch in this pattern.
- 3
Row 2: inc in the first and only st. (2 sts) Ch 1 and turn. Row 3: inc in the first st, sc in the next st, inc in the last st. (4 sts) Ch 1 and turn.
- 4
Row 4: inc in first st, sc across to the last st, inc in last st. (6 sts) Ch 1 and turn. From now on, every foundation and chart row uses this same triangle increase: 2 sc in the first stitch, sc across, 2 sc in the last stitch. Each row therefore grows by 2 stitches.
- 5
Rows 5-8: repeat the triangle increase. Counts after each row: 8, 10, 12, 14 sts. Keep all work in A for these rows; this makes a stable solid point below the gingham panel.
- 6
Set up the three colors before Row 9. Keep A as the working yarn at the start of each row and place B and C over the top of the prior row so every sc encloses the inactive strands. To change color, make the sc to its final yarn-over with the old color, then yarn over and pull through both loops with the new color. Do not pull the carried colors after a change.
- 7
Row 9, chart row 1: inc in A in the first st; work A A B B repeatedly over the body stitches while carrying the other two colors; use A for any incomplete final block; inc in A in the last st. (16 sts) Ch 1 and turn. The two edge increases are always A and do not count as chart cells.
- 8
Row 10, chart row 2: use the triangle increase, then work the body as A A B B repeated from the direction you are crocheting. Use A for an incomplete final block. (18 sts) Ch 1 and turn. Because this is a WS row, read the same chart sequence from right to left while you work.
- 9
Row 11, chart row 3: use the triangle increase, then work B B C C repeatedly over the body. Use A only for the two edge increases and any incomplete final block. (20 sts) Ch 1 and turn. Row 12, chart row 4: repeat Row 11's color sequence from the WS. (22 sts) Ch 1 and turn.
- 10
Rows 13-36: repeat Rows 9-12 six more times, continuing the triangle increase on every row. Checkpoint counts after Rows 16, 20, 24, 28, 32, and 36 are 30, 38, 46, 54, 62, and 70 sts. Pause after each four-row cycle, lay the bandana flat, and gently spread the top edge; if it pulls inward, loosen the carried yarn before continuing.
- 11
Do not fasten off after Row 36. Edge round: ch 1, turn, and sc evenly down the first diagonal edge, work 3 sc in the point, sc evenly up the second diagonal edge, then sc once in each stitch across the top edge. Work the three colors only as needed to hide the final carry; use A for the visible edging. Sl st to the first edge sc and FO.
- 12
Left tie: attach A at the left top corner. Ch 58, then sc in the second ch from hook and in every ch back to the corner. Sl st into the corner and FO. Right tie: repeat at the right top corner. This turns the chain into a flatter, more comfortable tie than a bare chain.
- 13
Finish: weave each color tail through several stitches of its own shade on the WS, without drawing the fabric tight. Wet-block or steam-block only as the yarn label allows: pin the top edge straight, open the triangle to your preferred depth, and let it dry fully. Do not stretch the checks into rectangles; blocking should settle the carry tension, not change the design.
| Chart row | Color sequence across the body | How to read it |
|---|---|---|
| 1 | A A B B, repeat | Read left to right on RS rows |
| 2 | A A B B, repeat | Read right to left on WS rows |
| 3 | B B C C, repeat | Read left to right on RS rows |
| 4 | B B C C, repeat | Read right to left on WS rows |
| Symbol | Suggested shade | Role |
|---|---|---|
| A | Light cream | Light gingham ground and solid edge |
| B | Muted sage | Middle tone |
| C | Deep forest green | Dark check |
Tips for success
- Keep all three yarn balls or bobbins on the same side of the work. At every color change, turn the new working yarn under the old one so the strands do not build a twist that tightens the carry.
- Give the carried yarn a tiny amount of slack before completing the first stitch after a change. The correct carry lies flat on the previous row; it should neither bow the edge inward nor peek through the front.
- If the darker C shows through A, use a smaller hook or choose colors closer in value. A denser fabric hides a carry better, but a hook that is too small makes the whole triangle stiff.
- Mark the first row of every four-row cycle. That small marker catches the most common error: repeating the A/A/B/B rows one time too many before switching to B/B/C/C.
Pattern at a glance
- Time to make
- Two to three evenings
- Skill level
- Intermediate
- Hook
- 3.5 mm (E/4)
- Yarn weight
- DK / light cotton (CYC 3)CYC standard
- Yardage
- Estimated: ~55 yd A, ~40 yd B, ~30 yd C; allow extra for gauge differences
- Gauge
- Estimated: 18 sc x 20 rows = 4 in / 10 cm in tapestry single crochet; confirm by test crochet
- Finished size
- Estimated: about 16 in / 41 cm across the top edge and 7 in / 18 cm deep before ties; check against your gauge and finished measurements
Free ebook
Get new patterns, and the ebook
New patterns as they land, plus our free beginner's crochet stitch guide. No daily blasts, unsubscribe in one click.
Frequently Asked Questions
Why does my crochet gingham bandana pull in at the sides?
The carried yarn is too tight. Spread the completed row gently before you turn, then keep the inactive colors lying straight across the top of the prior row while you crochet over them. Do not tug them at color changes.
Can I make the bandana deeper or shallower?
Yes. Stop after any complete four-row gingham cycle to keep the checks aligned, then add the edge and ties. Each extra four rows adds eight stitches across the top edge and increases the depth by four rows at your gauge.
Do I have to carry all three colors across every row?
For this compact gingham repeat, yes: carrying the inactive colors is what avoids dozens of ends and keeps the checks continuous. If your yarn is very high-contrast and peeks through, use a smaller hook or choose closer-value shades.
Why are my checks not square?
Single crochet stitches are taller than they are wide, so the two-row-by-two-stitch blocks may look slightly rectangular before blocking. Check that you changed chart rows after two rows, then block lightly to settle the stitches rather than stretching the fabric.