Accessories
Boho Crochet Bandana Pattern
By Looplader · Tested row by row · Updated
- Skill
- Easy
- Hook
- 4.5 mm
- Yarn
- DK-weight cotton (CYC 3)
- Time
- One relaxed day or two short evenings
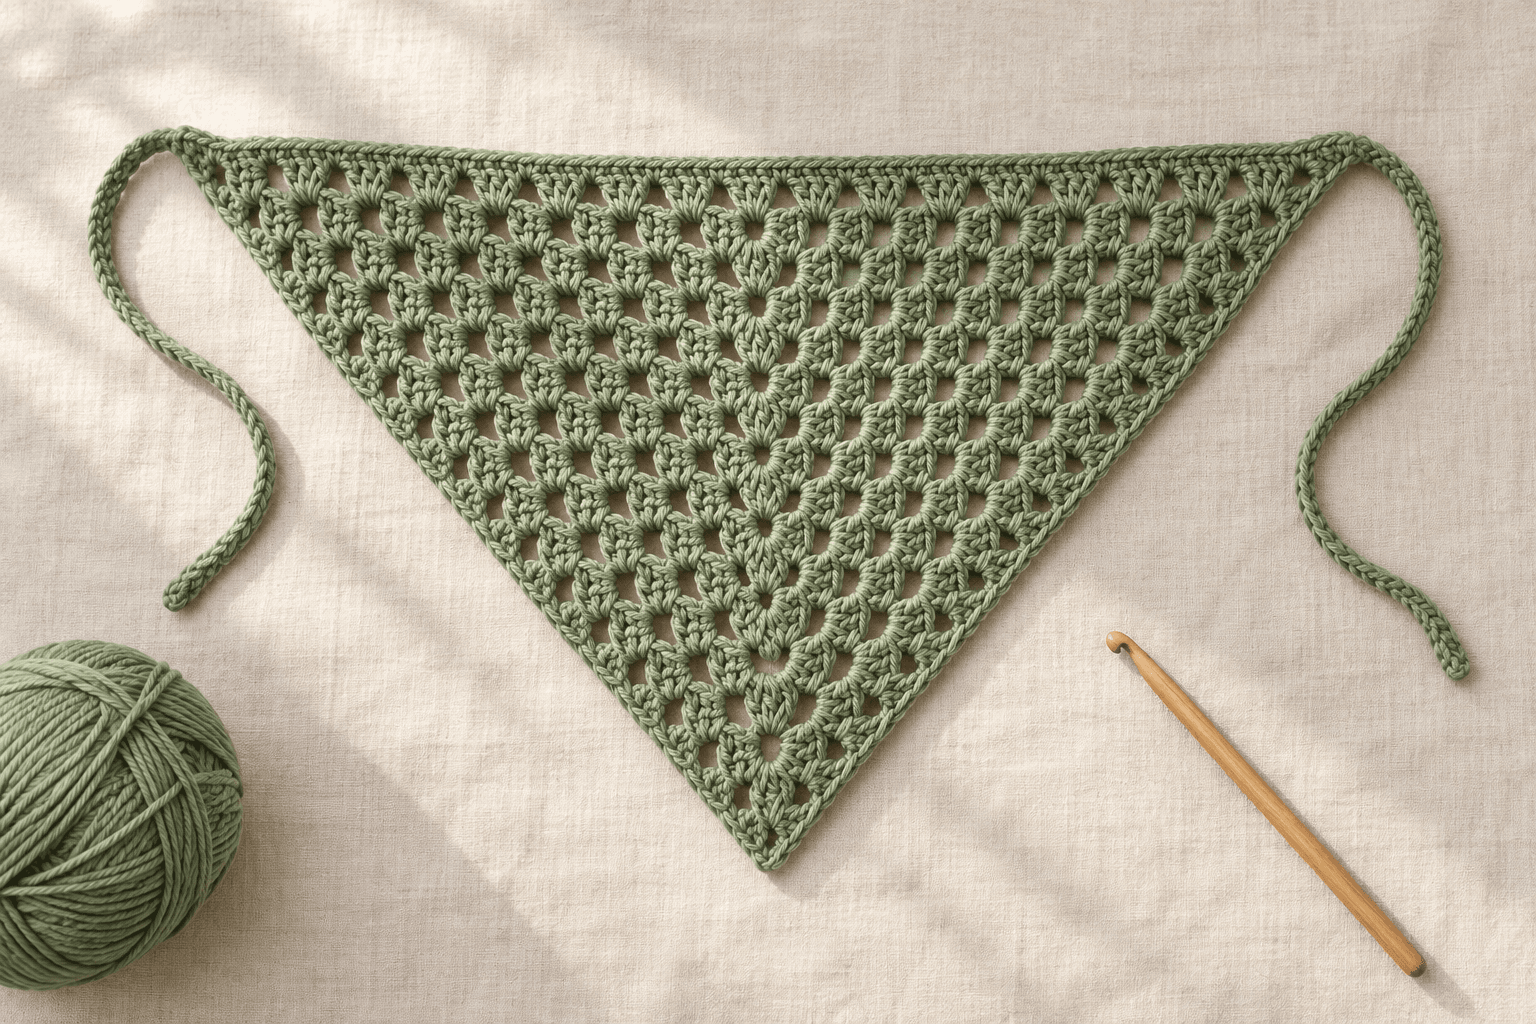
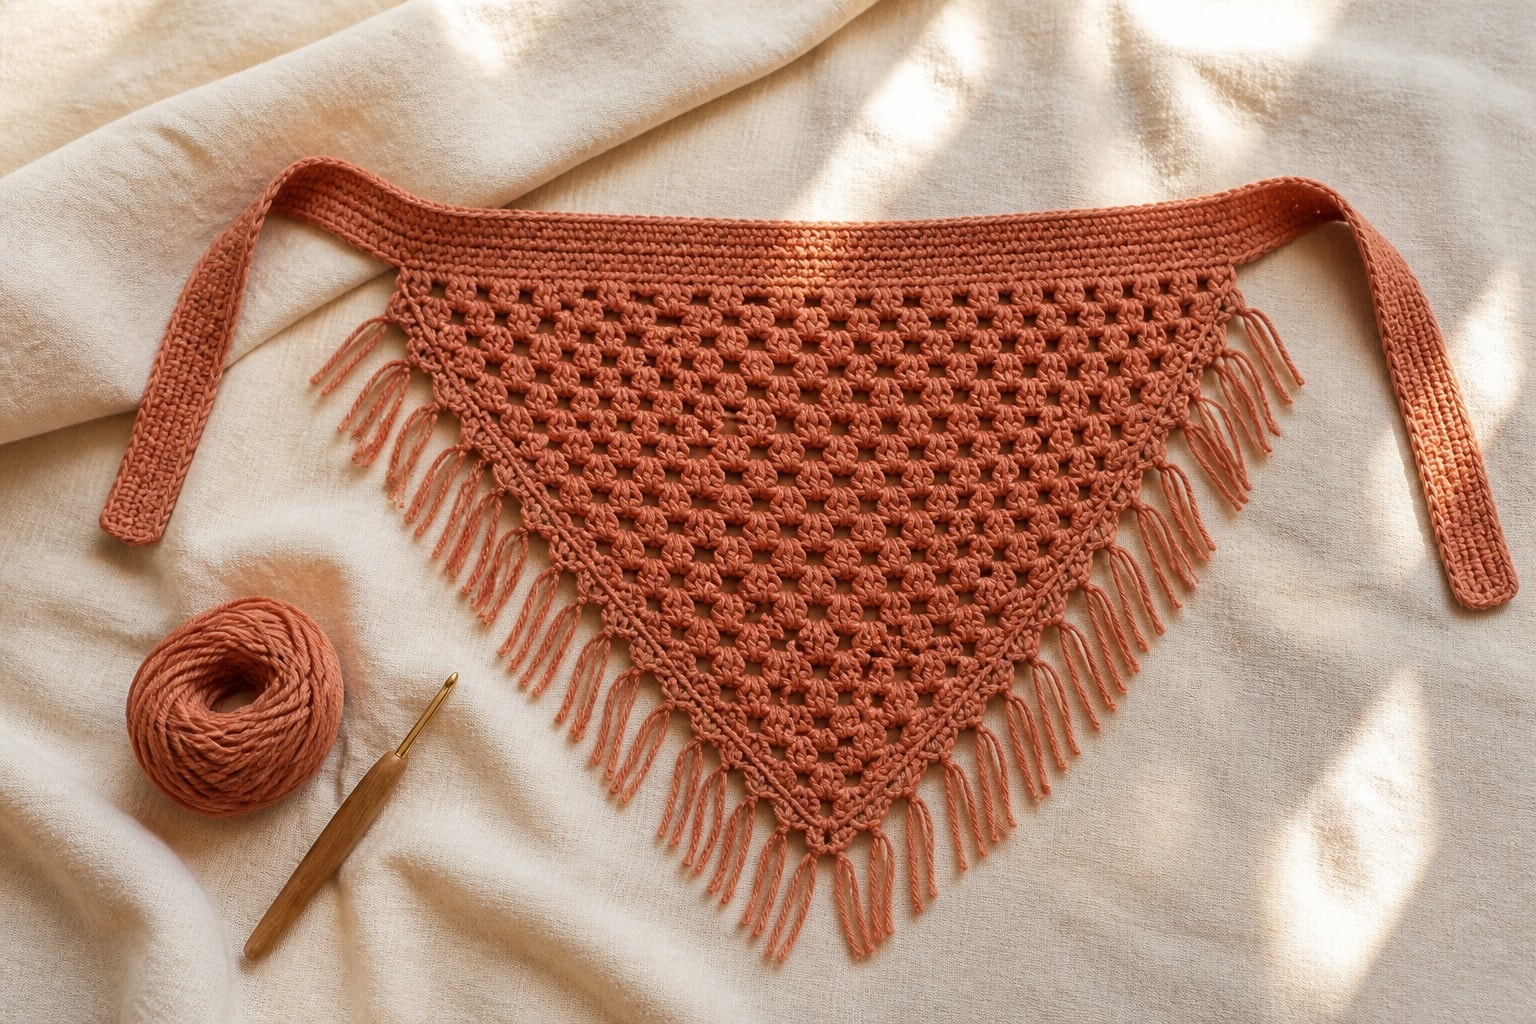
This boho crochet bandana is a one-piece half-granny triangle made in DK-weight cotton, then finished with a laced side edge, light fringe, and flat ties. The body grows by one three-double-crochet cluster per row, so the shape stays easy to count while the open fabric gives the scarf its relaxed look.
The pattern stops after 22 cluster rows for a medium hair scarf, but the final body row is a fit decision rather than a fixed rule. Make the gauge swatch, measure the triangle across your head, and add or remove whole rows before the edging and ties are worked.
Why you’ll love this pattern
- The bandana is worked in one piece from the point upward, with no separate motifs or seams.
- One cluster is added to each row, so the repeat is easy to memorise and check.
- The laced edge gives the fringe defined attachment points instead of knots placed directly into the fabric.
- You choose the depth by stopping at a measured row before adding the finishing details.
Instructions
- 1
Make a gauge swatch before starting the triangle. Work 5 rows of the body repeat described below, wet the swatch, press it in a towel, and dry it flat without stretching. Aim for 4 three-dc clusters and 8 rows = 4 in / 10 cm after blocking. The fabric should be open but the cluster stitches should not pull apart when held over your hair.
- 2
Foundation and Row 1: ch 4. Work 2 dc in the 4th ch from hook. The skipped 3 ch count as the first dc, so the first cluster has 3 dc. Turn. (1 three-dc cluster, 3 dc total) Mark the top of the starting ch if you find it difficult to identify on the next row.
- 3
Row 2: ch 3; the ch 3 counts as the first dc. Work 2 dc in the first st to complete the first 3-dc cluster, ch 1, then work 3 dc in the top of the turning ch-3 from Row 1. Turn. (2 clusters, 1 ch-1 space, 6 dc total) The ch-1 space is what keeps the triangle airy.
- 4
Row 3: ch 3, 2 dc in the first st, ch 1, 3 dc in the next ch-1 space, ch 1, 3 dc in the top of the turning ch-3. Turn. (3 clusters, 2 ch-1 spaces, 9 dc total) You now have the full repeat: make one cluster in every ch-1 space, with a cluster at each outside edge.
- 5
Body repeat: ch 3, 2 dc in the first st, ch 1, work 3 dc in every ch-1 space across with ch 1 between clusters, then work 3 dc in the top of the turning ch-3. Turn. Each completed row adds one cluster and one ch-1 space. If a row has n clusters, it has n − 1 ch-1 spaces and 3n dc; use that relationship to catch a skipped space immediately.
- 6
Rows 4-10: repeat the body repeat. The rows finish with 4, 5, 6, 7, 8, 9, and 10 clusters; 3, 4, 5, 6, 7, 8, and 9 ch-1 spaces; and 12, 15, 18, 21, 24, 27, and 30 dc. Lay the work flat after Row 10. The point should sit under the midpoint of the top edge, with the same number of clusters on both slopes.
- 7
Rows 11-18: repeat the body repeat. The rows finish with 11, 12, 13, 14, 15, 16, 17, and 18 clusters; 10, 11, 12, 13, 14, 15, 16, and 17 ch-1 spaces; and 33, 36, 39, 42, 45, 48, 51, and 54 dc. At this point, measure the top edge across the back of your head. Continue only while you want more depth; the side edge and fringe are added later.
- 8
Rows 19-22: repeat the body repeat. The rows finish with 19, 20, 21, and 22 clusters; 18, 19, 20, and 21 ch-1 spaces; and 57, 60, 63, and 66 dc. At the stated blocked gauge, Row 22 is about 22 in / 56 cm across the top and 11 in / 28 cm deep. Stop after a smaller row for a shallow scarf, or keep repeating for a deeper one. Do not turn after the final row.
- 9
Stabilize the straight top edge: with the RS facing, work 1 sc in each dc and 1 sc in each ch-1 space across the final row. For Row 22, that is 87 sc: 66 dc plus 21 ch-1 spaces. Keep this row relaxed; it gives the ties a firm, flat base without closing the decorative body.
- 10
First tie: at the left top corner, ch 80. Sc in the 2nd ch from hook and in every remaining ch back to the corner. (79 sc) Sl st into the corner to anchor it. A returned sc tie is flatter and more comfortable than a bare chain, and it is less likely to pull through loose hair.
- 11
Laced side edge: continue down the first sloping side. Work [sc in the next row end, ch 3, sc in the next row end] 11 times; this uses all 22 row ends and makes 11 ch-3 loops. At the point, ch 2, then work the same bracketed sequence 11 times up the second slope. Sl st into the right top corner. The loops are the fringe anchors, so keep them large enough to pass a crochet hook through.
- 12
Second tie: at the right top corner, ch 80, then sc in the 2nd ch from hook and in every remaining ch back to the corner. (79 sc) Fasten off and weave the tie and edging tails through several stitches on the WS. Keep the knot-free ends inside the dense top-edge sc row, not inside a loose mesh space.
- 13
Add fringe only if you want the full boho finish. Cut 44 strands, each 10 in / 25 cm long. Fold 2 strands in half, pull the folded loop through one ch-3 loop, pass the four loose ends through that loop, and tighten gently. Repeat in all 22 side loops. Each finished fringe group has four ends and hangs about 4½ in / 11 cm long before trimming.
- 14
Wet-block the finished scarf. Soak it briefly, press out water in a towel, then pin the top corners and point into an even triangle. Smooth the laced loops and lay the fringe in the same direction; do not stretch the top edge wider than your measured fit. Let it dry completely, remove the pins, and trim the fringe ends evenly while the scarf lies flat.
Tips for success
- Count clusters, not individual dc, while you work the body. On Row 22 there must be 22 clusters and 21 chain spaces; the spaces are one fewer than the clusters.
- If one slope grows longer, the usual cause is working the final cluster into the last dc instead of the turning-chain top. Put a marker in that top chain for the first few rows.
- Cotton gets heavier when wet, so make the fit decision from a dried swatch and block the finished scarf without pulling the top edge wider.
- Skip the fringe for a cleaner everyday scarf. The laced edging still looks intentional and uses much less yarn.
Pattern at a glance
- Time to make
- One relaxed day or two short evenings
- Skill level
- Easy
- Hook
- 4.5 mm
- Yarn weight
- DK-weight cotton (CYC 3)CYC standard
- Yardage
- ~190 yd / 174 m DK-weight cotton, including optional fringe
- Gauge
- 4 three-dc clusters x 8 rows = 4 in / 10 cm after wet blocking
- Finished size
- About 22 in / 56 cm across the top edge and 11 in / 28 cm deep after blocking, excluding ties and fringe
Free ebook
Get new patterns, and the ebook
New patterns as they land, plus our free beginner's crochet stitch guide. No daily blasts, unsubscribe in one click.
Frequently Asked Questions
How do I make this boho crochet bandana larger?
Keep repeating the body repeat before you work the top edge. Each extra row adds one cluster, one chain space, and roughly 1/2 in / 1.25 cm of depth at the stated gauge. Measure the top edge across your head rather than relying on a row total alone.
Why is my crochet bandana triangle uneven?
An uneven triangle usually means the final edge cluster was missed or placed in the wrong stitch. Every row needs a first cluster, one cluster in each chain space, and a final cluster in the turning-chain top. Count the clusters before turning.
Can I use worsted-weight yarn instead of DK cotton?
Yes, but use the hook recommended on that yarn label, make a new blocked swatch, and expect a larger, denser scarf at the same row count. The CYC weight number is only a starting point; the finished gauge and your measured fit decide where to stop.
Can I make the bandana without fringe?
Yes. Work the laced side edge, add the second tie, weave in the ends, and block as written. The chain-loop edge reads as a deliberate border even without fringe and avoids the extra yarn bulk around the neck.