Amigurumi
Easy Crochet Red Panda Pattern – Mini Pocket Plush
By Looplader · Tested row by row · Updated
- Skill
- Easy
- Hook
- 2.75 mm (C/2)
- Yarn
- Sport (CYC 2)
- Time
- One relaxed afternoon
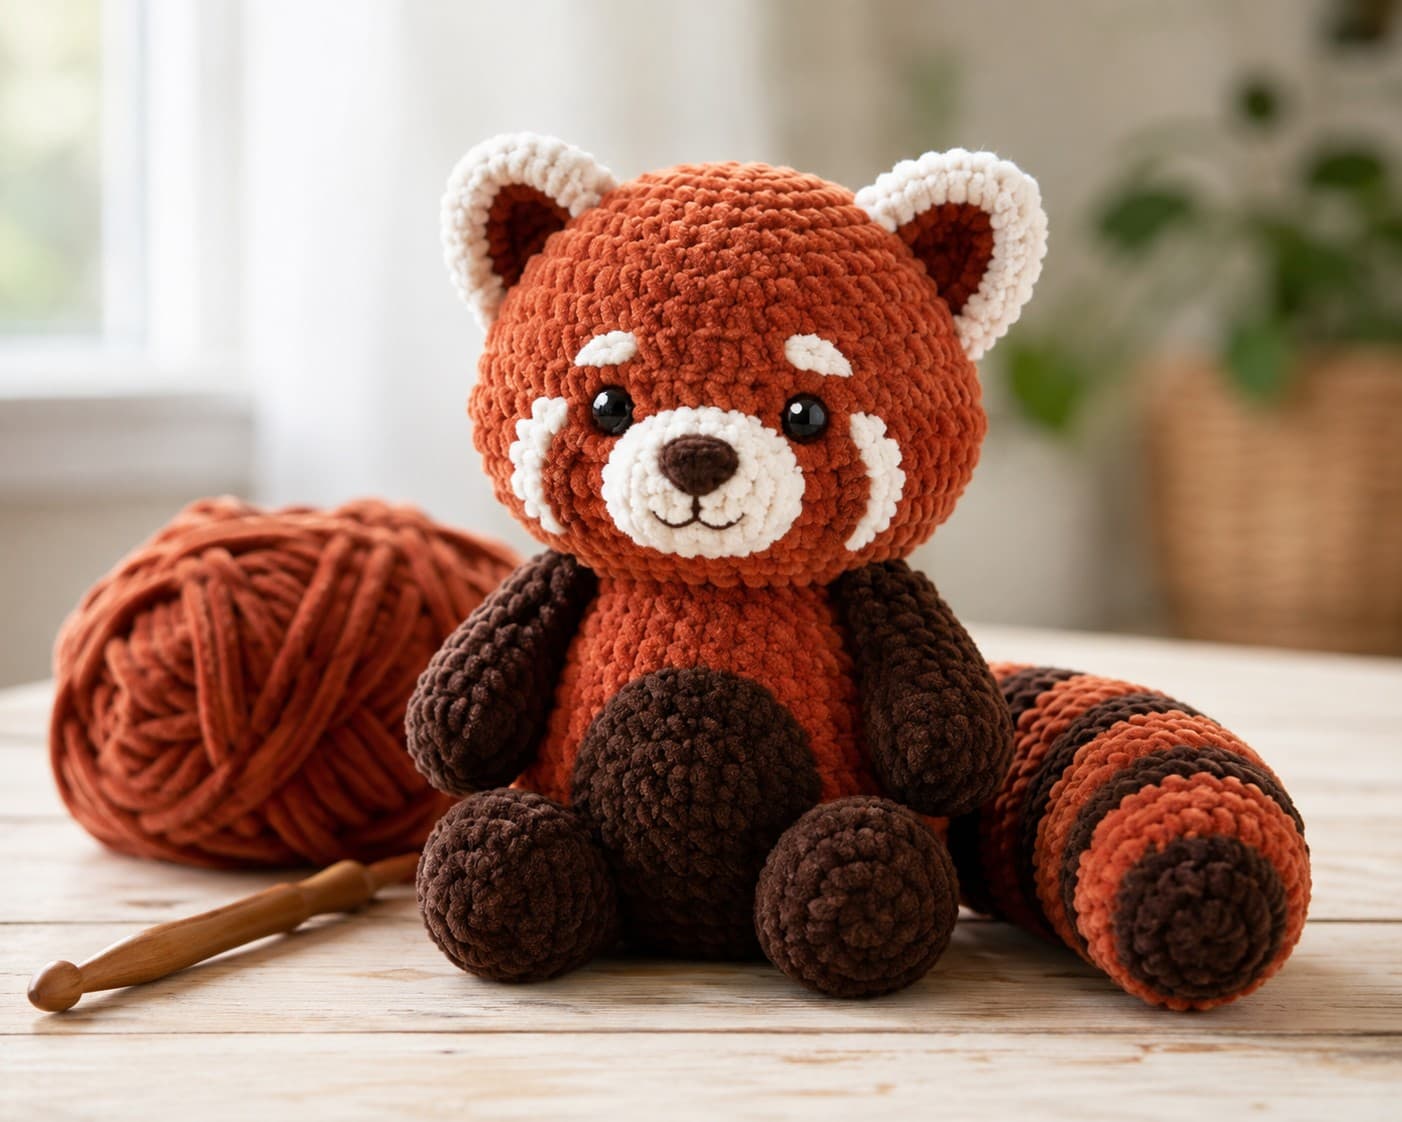
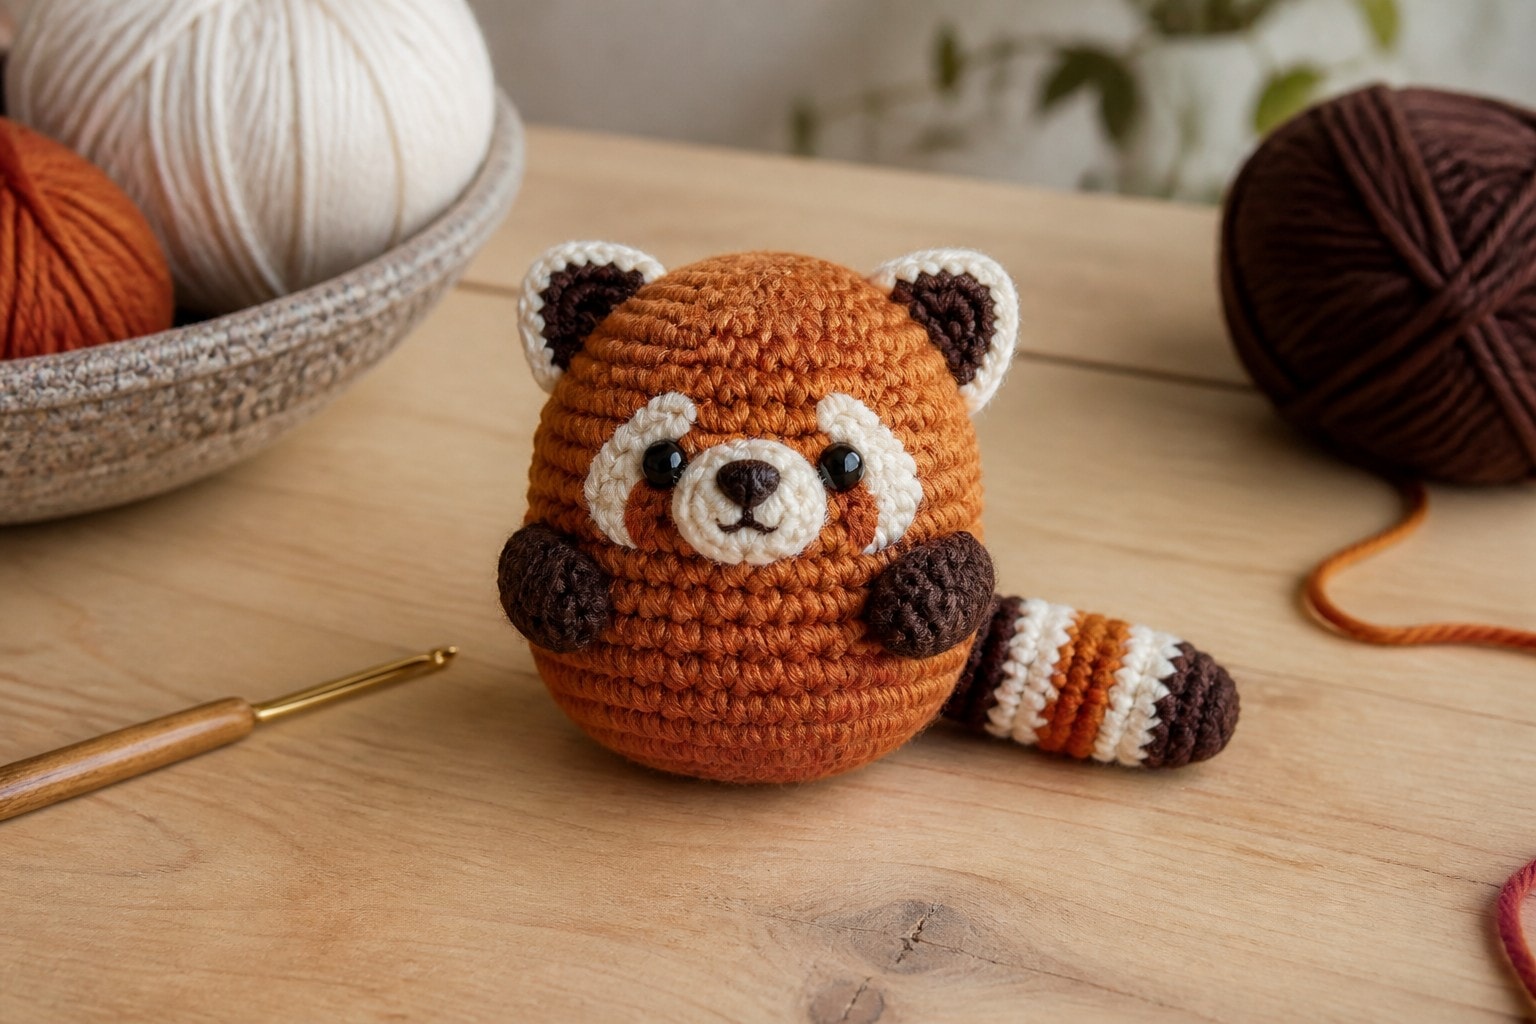
This easy crochet red panda pattern makes a small, round pocket plush with a warm rust body, cream face patch, dark arms, and a lightly stuffed striped tail. The body is worked in one spiral from the crown down, then the facial patch, ears, tail, and arms are added in a deliberate order.
The character comes from a few specific colour placements rather than difficult shaping. Work the body tightly with sport-weight cotton, place the face before the opening narrows, and use the tail stripes as a countable finishing detail.
Why you’ll love this pattern
- The main body is one simple egg shape with a stitch count on every shaping round.
- The cream face patch and ringed tail make the animal read as a red panda instead of a fox.
- Sport-weight yarn keeps the finished plush small enough for a desk, shelf, or pocket gift.
- The tail is lightly stuffed, so it keeps a soft curve without making the toy top-heavy.
Instructions
- 1
Plan the colour placement first. Put the stitch marker at the back of the body for every round; the opposite side will become the face. Work the body in a continuous spiral, without joining or chaining between rounds.
- 2
Body, with rust orange: Rnd 1: Make an MR and work 6 sc into the ring. (6 sts) Pull the center closed and place the marker in the first stitch.
- 312 sts
Rnd 2: (inc) x6.
- 418 sts
Rnd 3: (sc, inc) x6.
- 5
Rnd 4: (2 sc, inc) x6. (24 sts) The piece should be a shallow, even cup. Ruffling means an increase was added too often; sharp cupping means your stitches are unusually tight.
- 6
Rnds 5–7: sc in every st around. (24 sts per rnd) This straight section gives the plush its little oval body. Keep the marker at the back and do not flatten the work as you crochet; let the cup stand up naturally.
- 7
Place the eyes between Rnds 5 and 6 on the side opposite the marker, 6 stitches apart. Do this before decreasing the body so the safety-eye backs sit flat. If the finished project could reach a child under 3, use embroidered eyes instead.
- 8
Rnd 8: (2 sc, dec) x6. (18 sts) Begin adding fibrefill in small pinches.
- 9
Rnd 9: sc in every st around. (18 sts) Smooth the stuffing to the side walls before the opening gets smaller.
- 10
Rnd 10: (sc, dec) x6. (12 sts) Finish stuffing. Rnd 11: (dec) x6. (6 sts) Fasten off with a 6 in / 15 cm tail. Thread the tail through the front loops of the last 6 stitches, pull closed, and weave the end into the body.
- 11
Cream face patch: Ch 6. Rnd 1: sc in the second ch from the hook, sc in the next 3 ch, 3 sc in the last ch; turn to work along the underside of the chain, sc in the next 3 ch, inc in the last ch. (12 sts) Fasten off, leaving a sewing tail. Center the oval under the eyes and sew it down with small whip stitches. Keep the lower edge slightly below the eyes so their dark placement remains visible.
- 12
With dark brown yarn, embroider a short upside-down Y for the nose and mouth at the center of the cream patch. Use two tiny rust-orange diagonal stitches at the outer top corners of the patch for simple red-panda-style face markings.
- 13
Ears, make 2 with dark brown: Make an MR. Rnd 1: 6 sc into the ring. (6 sts) Pull closed, sl st in the first sc, and fasten off with a sewing tail. Place the ears at the crown, one on each side of the closed body seam, and sew each base down twice. The ears should angle out slightly rather than stand straight up.
- 14
Tail, start with dark brown: Rnd 1: MR, 5 sc into the ring. (5 sts) Rnds 2–3: sc in every st around. (5 sts per rnd) Change to rust orange. Rnds 4–5: sc in every st. Change to cream for Rnd 6. Change to rust for Rnds 7–8. Change to dark brown for Rnd 9. (5 sts per rnd throughout) Add only a thin line of stuffing, flatten the open end, and sew it to the lower back of the body with the dark tip pointing down.
- 15
Arms, make 2 with dark brown: Join yarn at Rnd 8, about 3 stitches behind the side of the face. Ch 5, sc in the second ch from the hook and in the next 3 ch, then sl st into the next body stitch. Fasten off and weave in the end. Repeat on the other side at the same height. These short chain arms lie flat against the body and do not need to be sewn on.
- 16
Finish by checking that the face patch lies flat, the ears are even, and the tail seam is hidden against the lower back. This is a decorative pocket plush, not a toy for children under 3 because safety eyes and small sewn details can become hazards.
Tips for success
- Use a hook small enough that stuffing does not show. A compact fabric matters more than matching a garment gauge on this small plush.
- Sew the face patch down from the center outward. If you pull the first stitches tight along one edge, the oval will curl and the face will look lopsided.
- Leave the tail lightly stuffed. A firm tail will stick straight out; a thin fill lets it bend naturally against the body.
- Carry the unused yarn behind the tiny tail rounds only when the next stripe is one round away. For wider colour gaps, cut and rejoin to avoid bulky floats.
Pattern at a glance
- Time to make
- One relaxed afternoon
- Skill level
- Easy
- Hook
- 2.75 mm (C/2)
- Yarn weight
- Sport (CYC 2)CYC standard
- Yardage
- ~22 yd rust orange, ~8 yd cream, ~7 yd dark brown
- Gauge
- Not critical — work tightly enough that fibrefill does not show; first 4 rnds measure about 1.25 in / 3 cm across
- Finished size
- About 3.25 in / 8 cm tall, tail excluded, depending on yarn and tension
Free ebook
Get new patterns, and the ebook
New patterns as they land, plus our free beginner's crochet stitch guide. No daily blasts, unsubscribe in one click.
Frequently Asked Questions
Can I make this red panda larger?
Yes. Use a heavier smooth yarn and a hook that still makes a dense fabric; the stitch counts stay the same but the plush grows with the yarn. Size the eyes and face patch up visually rather than adding extra body rounds.
Why is my cream face patch curling?
The oval curls when the edge stitches are pulled tighter than the center or when the sewing tail is drawn too hard. Steam the patch lightly before attachment, then use small relaxed whip stitches placed evenly around its edge.
Can I use chenille yarn for this pattern?
You can, but the small face patch and tail stripes will lose definition. Chenille makes a larger plush from the same counts, so embroider the face, make the ears larger if needed, and treat the result as a soft display plush.
Are the tail stripes meant to be exact red panda markings?
No. The alternating tail bands are a simplified crochet interpretation that helps the plush read as a red panda. Real red pandas have varied facial markings and ringed tails, so slight colour and spacing variations are appropriate.