Seasonal & Holiday · Worked in the round
Halloween Ghost Crochet Pattern: Little Lantern Ghosts Guide
By Looplader · Project guide · Updated
- Skill
- Intermediate
- Hook
- 3.5 mm starting point; check fabric
- Yarn
- Worsted cotton (CYC 4)
- Time
- Work in separate sittings; timing varies
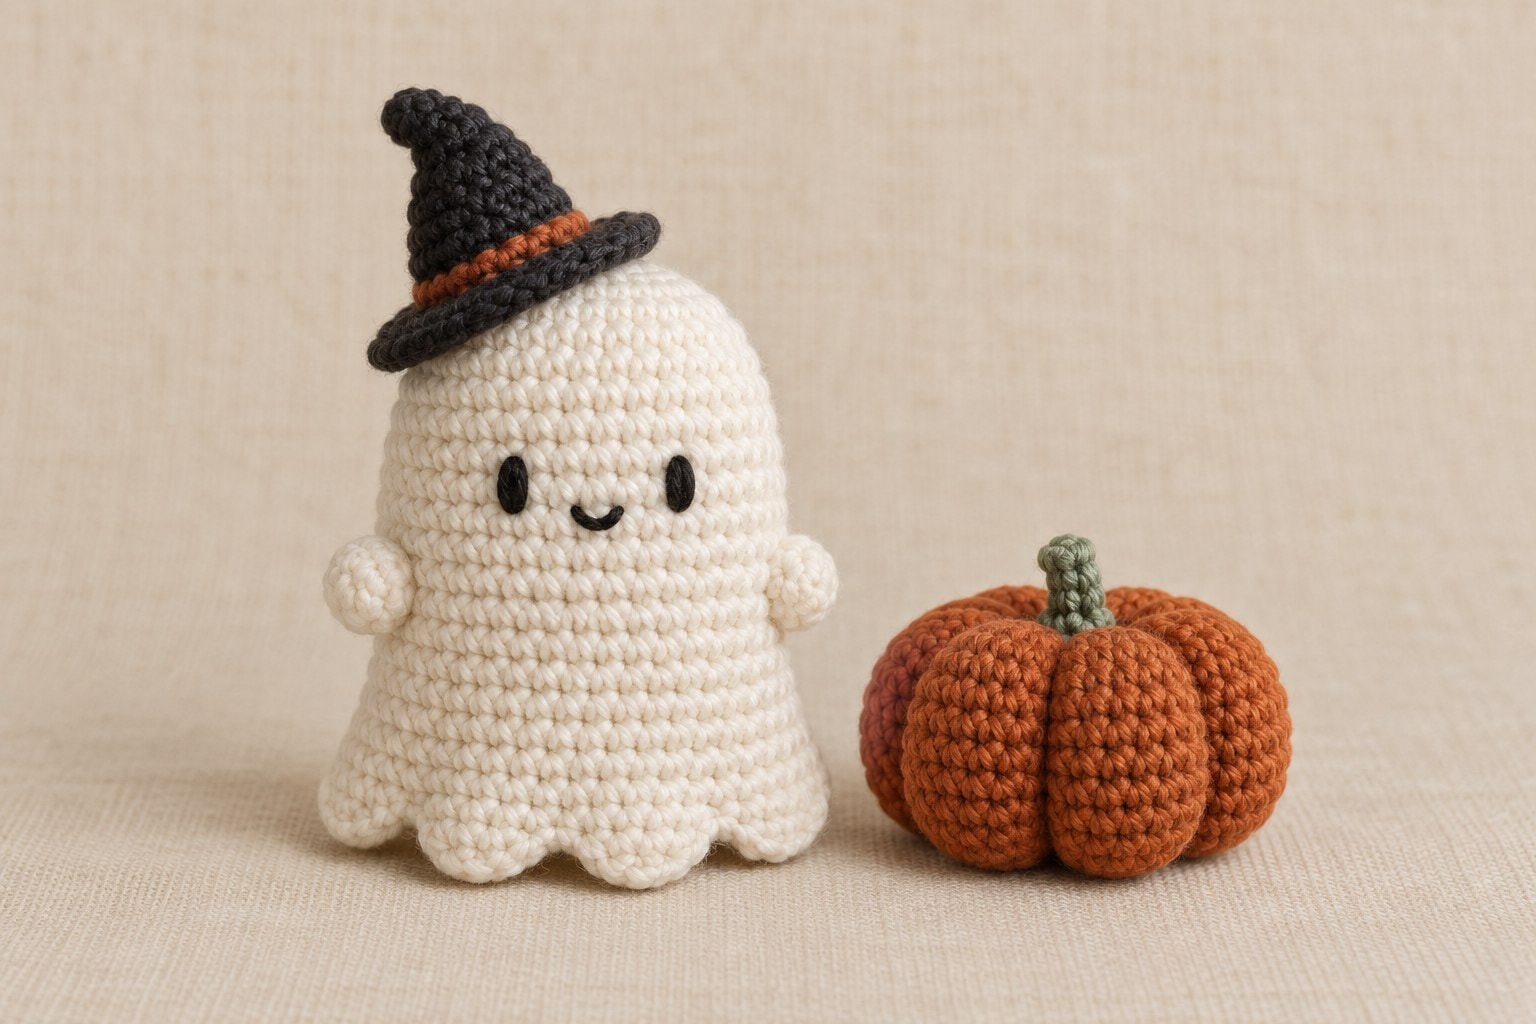
Little Lantern Ghosts is a Halloween crochet set made from a top-down ivory ghost, a removable witch hat and a separate sculpted pumpkin. The ghost’s tiny bobble arms are worked into the body, its face is embroidered, and a scalloped border finishes the lower edge. This guide explains the construction and the decisions that help each part hold its shape.
This is the detailed companion article to our paid PDF, not the complete round-by-round pattern. Use it to prepare your materials, understand the process and troubleshoot the finishing. The full written instructions are in our Etsy listing; the linked Pinterest pin gives you a shorter visual overview to save for later. The process illustrations explain stages and placement, rather than providing a stitch-by-stitch chart.
Pattern, Pinterest & resources
- Get the complete Little Lantern Ghosts PDF on Etsy
Our paid digital pattern for the ghost, witch hat and pumpkin, with illustrated and printer-friendly editions. This is a pattern download, not a finished crochet set.
- Save the crochet overview on Pinterest
Open our numbered visual overview and save it to your Halloween crochet board.
- Craft Yarn Council: yarn weights
Reference for yarn categories and general hook ranges; check your own swatch for the fabric you need.
- Craft Yarn Council: US crochet abbreviations
Standard terminology and the differences between US and UK stitch names.
- PlanetJune: invisible decrease tutorial
A separate technique demonstration for single crochet worked in the round.
- PlanetJune: front loops and back loops
A visual reference for identifying which strand of a stitch to work into.
What this project includes
- The two bobble arms are crocheted into the ghost, so there are no separate arms to sew into position.
- The hat is removable and the pumpkin stands beside the ghost, giving you separate pieces to arrange.
- Face embroidery, the orange hat band and pumpkin sculpting let you practise several finishing techniques on one coordinated project.
- The paid pattern has an illustrated edition for screen reading and a printer-friendly edition for keeping beside your yarn.
Detailed project guide
- 1
What you are making, and what the PDF adds
Think of the set as three related shapes rather than one complicated assembly. The ghost begins at its crown and grows downwards. Its body is filled and closed before the decorative hem is added. The hat starts at the point and widens into a cone, then turns out into a brim. The pumpkin begins as a rounded form; yarn sculpting creates its lobes after it has been filled and closed.
The illustrated PDF supplies the complete round tables, stitch totals, special-stitch instructions, placement diagrams and finishing sequence. The printer-friendly edition contains the core instructions without the large illustrations. This article focuses on why those stages happen in that order and what to inspect before moving on. Keep the PDF open beside the relevant section instead of trying to reconstruct the pattern from the pictures.
- 2
Choose yarn for visible stitches and consistent proportions
Smooth cotton makes the small stitch tops easier to distinguish and keeps the embroidered features visually separate from the body. The original colour plan uses ivory, charcoal, burnt orange and sage, with black for the face. Begin with the same yarn line across the main pieces so that differences in thickness do not unexpectedly change the hat-to-ghost proportions.
Worsted is the CYC 4 category, but a shared weight number does not make every yarn identical. Compare the actual strand thickness and the fabric you produce. The Craft Yarn Council’s yarn-weight reference, linked above, gives general categories and hook ranges. It does not establish the gauge of this particular stuffed project. Chenille is a separate experiment: its pile obscures loops and can change the appearance of the small bobbles and scallops. It is not a guaranteed like-for-like substitute.
- 3
Check fabric density before committing to the body
The PDF suggests a 3.5 mm hook as a starting point, not a universal requirement. Work the early ghost rounds, then gently hold a little filling behind the fabric. You want the stitches close enough to contain it without making the fabric so rigid that the hook is difficult to insert. Judge the fabric in a relaxed state and under light shaping pressure; pulling it hard apart is not a useful test.
If filling shows through ordinary stitches, test a smaller hook and compare. If the fabric is painfully tight to work, try relaxing your tension or a slightly larger hook. Restart consistently once you choose: changing hooks halfway down the body can create a visible change in width. Note the yarn, hook and your relaxed gauge in a notebook. No finished measurement or completion time is guaranteed in this guide.
- 4
Understand the top-down ghost dome
The crown is closed at the beginning; the open edge visible during construction is the bottom of the developing ghost. Increases broaden the early circle, and the following straight rounds build depth without continuing to widen it. This distinction helps you read process illustrations that show the piece tilted towards the camera.
Keep a locking marker in the first stitch of the current round and move it as you progress. These are continuous spirals, so do not add an end-of-round join or starting chain unless the written instructions specifically ask for one. Before working further down the body, check that the magic-ring centre is closed and secure its tail while the inside is still accessible. An uneven edge is a reason to recount, not a reason to add an unlisted increase.
- 5
Practise the bobble before working the arms
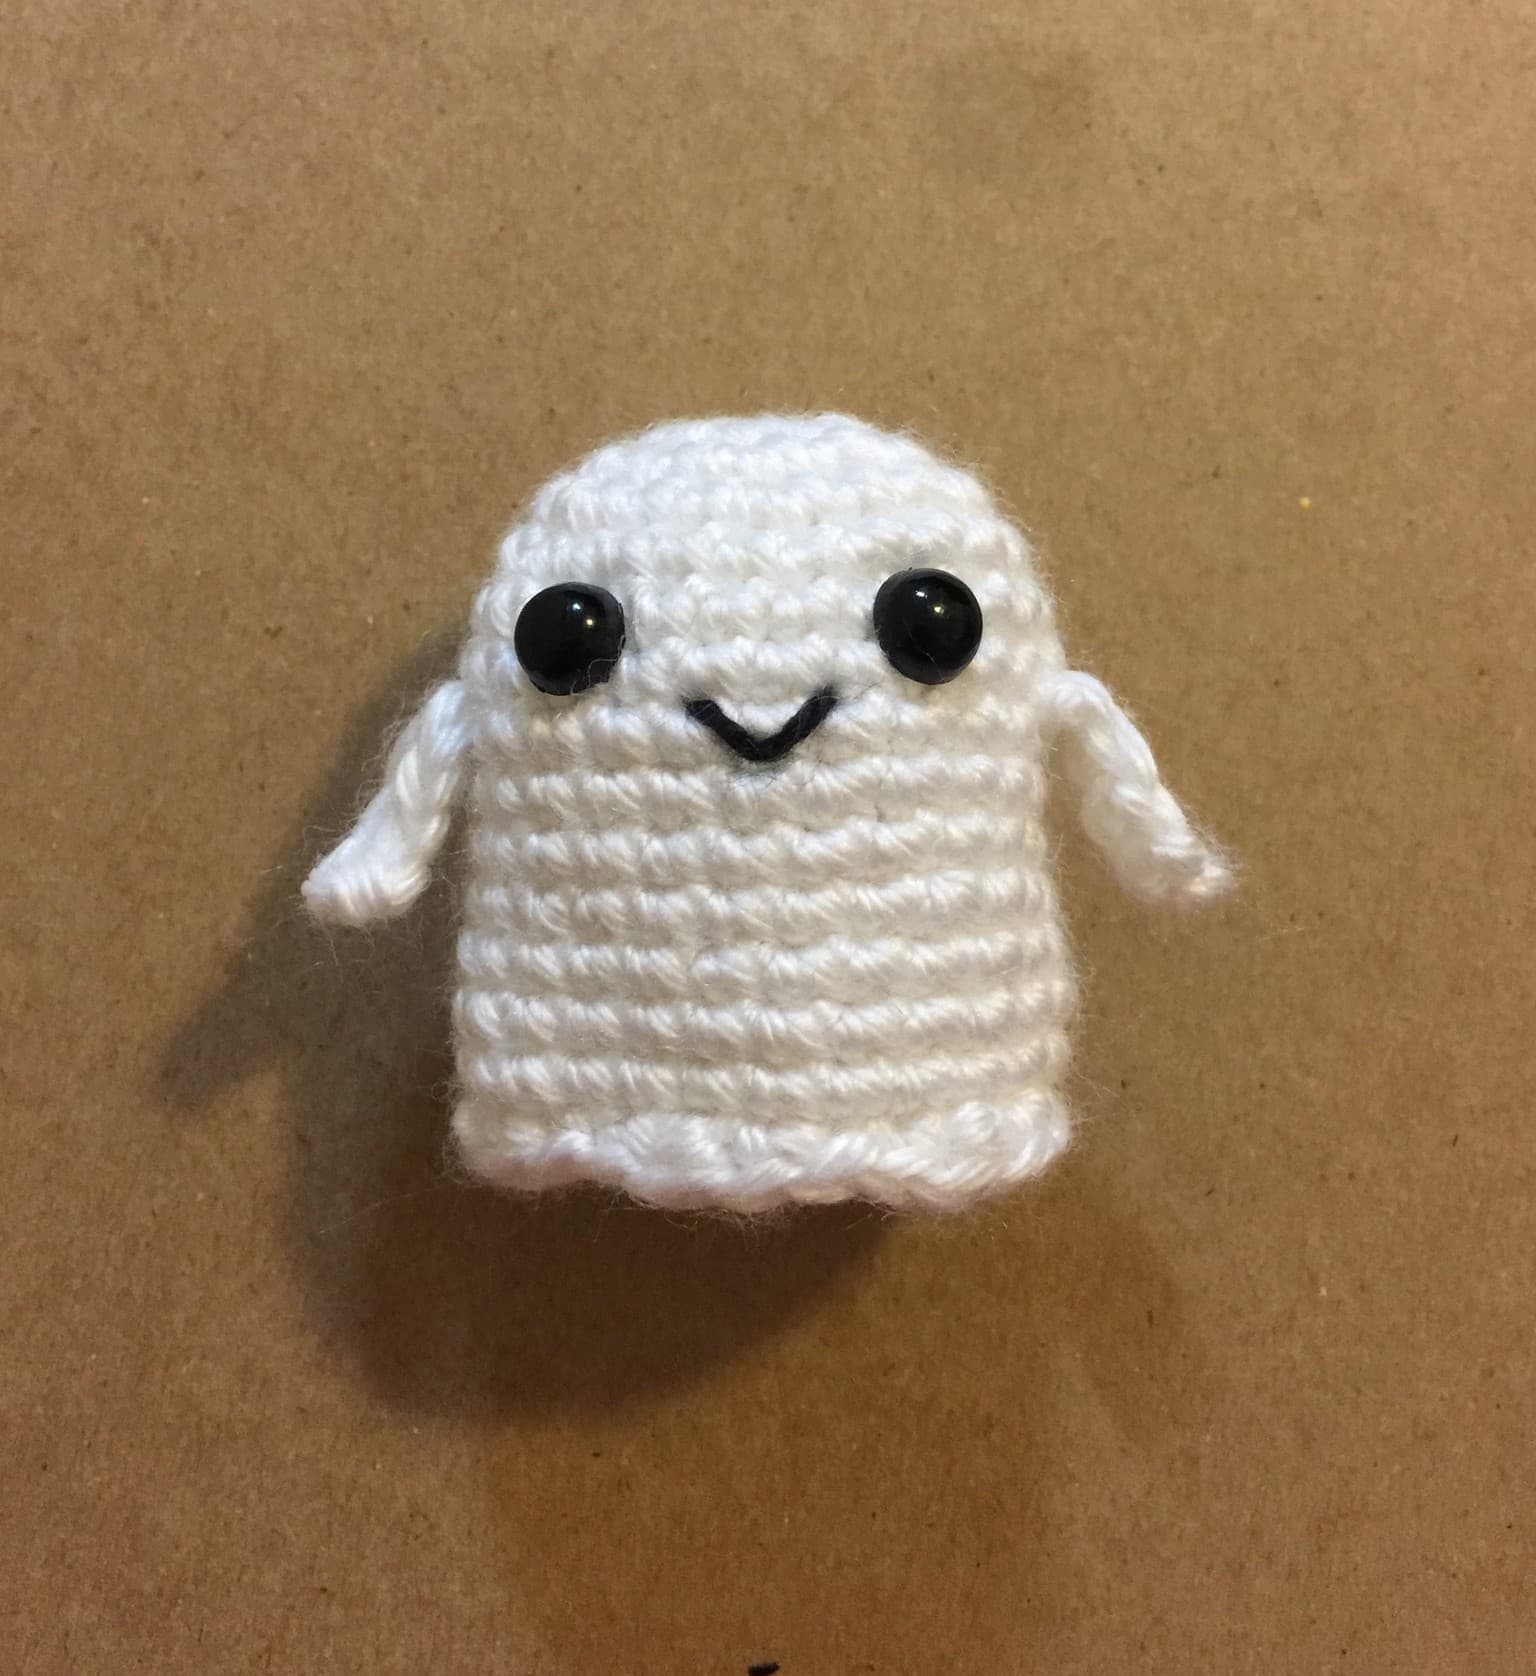
The small arms are bobbles worked into the body round, not separate pieces attached afterwards. The pictured open tube is a bobble practice swatch, not a partially completed ghost. Use a scrap swatch if you are unfamiliar with finding the single top stitch after closing a cluster of partial stitches.
In this PDF, BO means a particular four-part double-crochet bobble. It counts as one stitch and does not receive an extra closing chain. That detail matters: an added chain can look like another stitch on the next round and gradually put the body count out of alignment. Follow the PDF’s definition rather than substituting a popcorn or another designer’s bobble. After working the following stitch, gently push the bump to the outside. Check the count and both arm positions before continuing with the body.
- 6
Place the face between the actual arms
Embroider before narrowing the lower opening. This lets you reach the inside to secure the yarn ends without pulling the finished body out of shape. Lay the body down gently, orient the arms to the left and right, and identify the midpoint between them. Use the PDF’s placement map as your starting reference, then check the actual fabric for symmetry.
Spiral stitch columns can drift, so counting columns alone is not enough to judge the expression. Mark the eye positions temporarily and look at the face from a short distance before stitching. Build the black oval eyes with short, relaxed stitches; use a small curved line for the smile. If the surrounding ivory fabric dimples, loosen the embroidery instead of adding more stuffing to compensate. Secure the ends inside and remove every temporary positioning pin before filling.
- 7
Why the saved hem loops matter
The ghost’s scalloped hem is added after the stuffed base has been closed. To make that possible, the construction deliberately leaves a ring of unused loops around the lower body. This is the most important distinction to understand before you reach the base: the saved loops belong to the preceding body round, not to the new stitches you are making.
Specifically, the PDF works R17 into the back loops of R16. The unused front loops of R16 remain available for the hem. Place a contrasting removable marker in the first saved loop and check that the ridge continues all the way around before decreasing further. If you accidentally used both loops, correct that section while the opening is accessible. Picking random strands out of a closed base later does not recreate the intended hem attachment.
- 8
Stuff gradually, then close without distorting the face
Add small tufts of filling as the base narrows, spreading them into the dome and body rather than pushing one dense clump through the opening. Pause to look at the front. The expression should remain relaxed and the arms should still sit visibly at the sides. A harder body is not automatically a better-shaped body.
Keep the lower filling gentle so the base does not become a projecting ball underneath the ghost. Follow the PDF’s decreasing sequence and final closure, keeping the saved hem ridge accessible. Invisible decreases combine adjacent stitches without deliberately leaving a skipped-stitch hole; PlanetJune’s linked tutorial is useful if that technique is new to you. Before burying the last tail, check the closure for visible filling and set the ghost on a flat surface to assess its shape.
- 9
Finish the scalloped edge without adding extra stitches
Return to the marked ridge only after the base is closed. The PDF divides the saved loops into six groups, giving the hem six small scallops. Each part of the edge has a specific place in that sequence; the attachment and final fastening join are not interchangeable. Read the joining note before you begin so you do not accidentally shift the first repeat.
Slip-stitch tension is worth watching here. Very tight slip stitches can draw the border inward even when your count is correct. Strong flaring can indicate an extra stitch, a doubled insertion or a missed part of the repeat. Recount the saved loops and compare the written sequence before changing hook size. Shape the edge gently with your fingers; do not try to force the stuffed ghost flat with an iron.
- 10
Make a witch hat that perches, rather than fits
The charcoal hat is a separate, unstuffed cone with an outward-turning brim. It is intended to perch on the crown, not stretch around the ghost’s widest body measurement. Its smaller opening is therefore not, by itself, evidence that the pattern needs enlarging. Work the narrow beginning in good light, where you can identify each dark stitch top.
The brim begins with a specified front-loop-only round, then returns to both loops. Keep that transition separate from the ghost’s back-loop-only hem setup: they serve different purposes. Add the orange band as relaxed running stitches around the lower cone, rather than a tight cord tied around it. If the band puckers the fabric, ease its tension. Try the finished hat on the ghost before securing the embroidery ends, and keep the hat removable as designed.
- 11
Build the pumpkin before sculpting its lobes
The pumpkin is first crocheted as a rounded orange form. The grooves do not come from making separate panels or sewing wedges together. They are added with a separate sculpting strand after the crochet is filled and closed. This means the amount and distribution of filling directly affect the depth of the finished grooves.
Leave the pumpkin softly filled enough to indent, with no large empty pocket on one side. Keep the sculpting-position markers separate from the moving beginning-of-round marker. In this construction, the final crochet closure becomes the top and the magic-ring beginning becomes the bottom. Establish those two points before threading the long needle. If the shape feels hard and resists gentle pressure, remove some filling before closing rather than trying to overpower it with the sculpting yarn.
- 12
Sculpt six balanced pumpkin lobes
Use the PDF’s six marked equator positions and balanced working order to guide the sculpting lines. Each exterior strand travels between the top and bottom; the return path passes through the centre. Tightening that strand creates a groove in the soft filling. Work gradually and compare the opposite side after each pass so one deep indentation does not pull the entire pumpkin off-centre.
Aim for a plump shape with distinct grooves, not a group of tightly cinched balls. If a lobe looks much larger than its neighbour, inspect the marker spacing and redistribute filling before securing the yarn. The process illustration shows the general sculpting action; use the PDF’s numbered diagram for exact line placement. Keep your fingers away from the needle’s exit path and reposition the needle if it catches instead of forcing it through dense fabric.
- 13
Attach the short sage stem securely
The stem is a small crocheted cord, not a stuffed cylinder or a wrapped wire. Its short length suits the pumpkin’s scale and keeps the finishing simple. Follow the PDF’s chain-and-slip-stitch instructions, then leave the ends available for attachment. There is no separate leaf or vine in this version.
Position the base of the cord over the pumpkin’s top centre. Stitch through the stem base and neighbouring pumpkin fabric, rather than relying on a single strand at the closure. Secure the tails into the surrounding stitches and bury them inside. Give the stem a gentle checking tug before trimming the ends. If it tilts farther than you intended, adjust the attachment stitches rather than pulling the sculpting grooves tighter. The finished pumpkin stays separate from the ghost.
- 14
Check the finished set before arranging it
Start with a slow inspection in good light. Remove the round marker, saved-loop marker, pumpkin markers and any temporary pins. Look at the magic-ring centres, closure points and buried yarn ends. The intended set has two small ghost arms, six subtle ghost scallops and six pumpkin lobes. Check those features against the written instructions, not by counting visible stitches in an illustration.
Place the ghost on a level surface and gently distribute its filling if the base bulges. Perch the hat slightly off-centre and place the pumpkin beside it. If the hat will not balance, assess its size, the crown shape and the yarn substitution before making undocumented changes. Do not add pins, wire or hidden weights as a quick repair. The set is decorative; its name does not mean it contains a lantern or light.
- 15
Troubleshoot the cause, not just the appearance
An extra stitch after an arm usually calls for checking the bobble’s top and any added closing chain. A missing hem ridge calls for checking whether the designated back-loop-only round accidentally used both loops. A lopsided face calls for reassessing placement between the arms and the embroidery tension. These are different problems and need different corrections.
For visible stuffing, first distinguish a loose stitch from overfilling. Remove a little filling to test the latter; consistently open fabric needs a new hook-and-tension sample, not more pulling on the closure. For a waving hat brim, check its counts and loop transition before blocking. For uneven pumpkin lobes, loosen the sculpting yarn and rebalance spacing and filling before fastening off. Keep a note of the piece, round and actual count so any request for help is specific.
- 16
Change the palette without silently changing the pattern
An oatmeal ghost or cream pumpkin can create a softer autumn display, while a moss-green hat band changes the accent without changing the construction. Keep enough contrast for the small face to remain visible. Choosing another colour within the same yarn line is a more controlled experiment than changing fibre, weight and hook at the same time.
Treat a much larger yarn, fuzzy chenille or miniature thread version as a new sample. All three pieces may scale differently in appearance, and the hat still needs a balance check. Do not add or remove isolated rounds simply to match the proportions in a photograph; that can change the intended face, arms and border placement. Record the changes you make and measure the result instead of assuming a particular finished height.
- 17
Care, storage and seasonal display
Use the care instructions for the actual yarn, embroidery thread and filling you selected. A stuffed, embroidered object may need gentler handling than the yarn alone. Test any cleaning method on a discreet area and avoid rubbing the little facial stitches or pulling on the stem. Let the set dry thoroughly before placing it in storage.
Display the pieces indoors, away from flames and heat. Do not insert a candle or light into the ghost. Keep the removable hat, loose pieces and crafting tools away from children and pets; embroidered eyes do not turn this decoration into a tested toy. When packing it away, protect the hat cone and stem from being crushed under heavier items. A small box that supports the pieces is more useful than squeezing the set into a crowded bag.
- 18
Get the full pattern, or save the overview for later
If you want to make this exact ghost, hat and pumpkin, use the Etsy link near the top of this article for the complete Little Lantern Ghosts PDF. The illustrated edition is useful when checking construction and placement; the printer-friendly edition gives you the written instructions in a lighter printing format. The listing is for digital instructions, not a finished decoration.
For a quick reminder of the project, open the linked Pinterest pin and save the visual overview. It is intentionally shorter than this guide and does not replace the pattern’s round counts or diagrams. When you start crocheting, keep the written pattern as the working reference and use the illustrations to understand the stage you are aiming for.
Tips for success
- Use different marker colours for the moving round start, the saved hem ridge and pumpkin sculpting positions.
- Keep the face accessible until the embroidery is secured; stuffing and closure come afterwards.
- Stop and correct a count error where it occurred. An unlisted decrease can hide the number while shifting later placement.
- Treat the process images as illustrations of technique and appearance, not literal stitch-count charts.
Pattern at a glance
- Time to make
- Work in separate sittings; timing varies
- Skill level
- Intermediate
- Hook
- 3.5 mm starting point; check fabric
- Yarn weight
- Worsted cotton (CYC 4)CYC standard
- Yardage
- Use the PDF’s planning allowances and allow for practice; measured usage is not supplied here.
- Gauge
- Make a swatch and check for firm, flexible fabric that holds filling.
- Finished size
- Depends on yarn, hook and tension; measure your completed sample.
Free ebook
Get new patterns, and the ebook
New patterns as they land, plus our free beginner's crochet stitch guide. No daily blasts, unsubscribe in one click.
Frequently Asked Questions
Is this a free Halloween ghost crochet pattern?
This page is a free project guide, not the complete pattern. It explains materials, construction choices and finishing checkpoints. The full round-by-round Little Lantern Ghosts instructions are sold as a PDF through our linked Etsy listing, with illustrated and printer-friendly editions. The Pinterest overview is also a preview rather than a substitute.
Is the Little Lantern Ghost completely no-sew?
No. The bobble arms are worked into the body, so they do not need separate sewing, but the face and hat band are embroidered. Pumpkin sculpting and stem attachment also use a needle. The hat remains removable, and the pumpkin is displayed separately rather than sewn to the ghost.
Can a beginner make this crochet ghost?
An advanced beginner comfortable with continuous rounds may be ready for it, but the complete set includes more than basic single crochet. Practise the defined bobble, invisible decrease and loop-only working first. Face placement and pumpkin sculpting need patience. The full set is listed here as Intermediate rather than promising a first-ever crochet project.
Why can I not find the loops for the scalloped hem?
Check the loop-only setup before picking up arbitrary strands. The pattern works R17 into the back loops of R16, leaving the R16 front loops unused. Those saved loops are the hem attachment. If both loops were worked by mistake, undo the necessary section and correct the setup before adding the border.
Can I make it in plush or chenille yarn?
Treat plush yarn as a separate sample, not an interchangeable replacement. Its thickness and pile can change size, hide stitch tops and soften the small bobbles and scallops. Test fabric density and closure, then check the hat’s proportions on the completed ghost. Do not assume the same finished size or yarn usage.
How big is the finished ghost, and how long does it take?
Finished size and completion time depend on yarn thickness, hook choice, tension and finishing experience. Record your gauge and measure the completed piece. Plan separate sittings for the body, embroidery, accessories and finishing.