Seasonal & Holiday · Worked in the round
Tiny Ghost Crochet Pattern: A Halloween Decoration Guide
By Looplader · Project guide · Updated
- Skill
- Beginner
- Hook
- 3.25 mm
- Yarn
- Worsted / medium category 4
- Time
- Not timed; allow separate sessions for crocheting and assembly if needed.
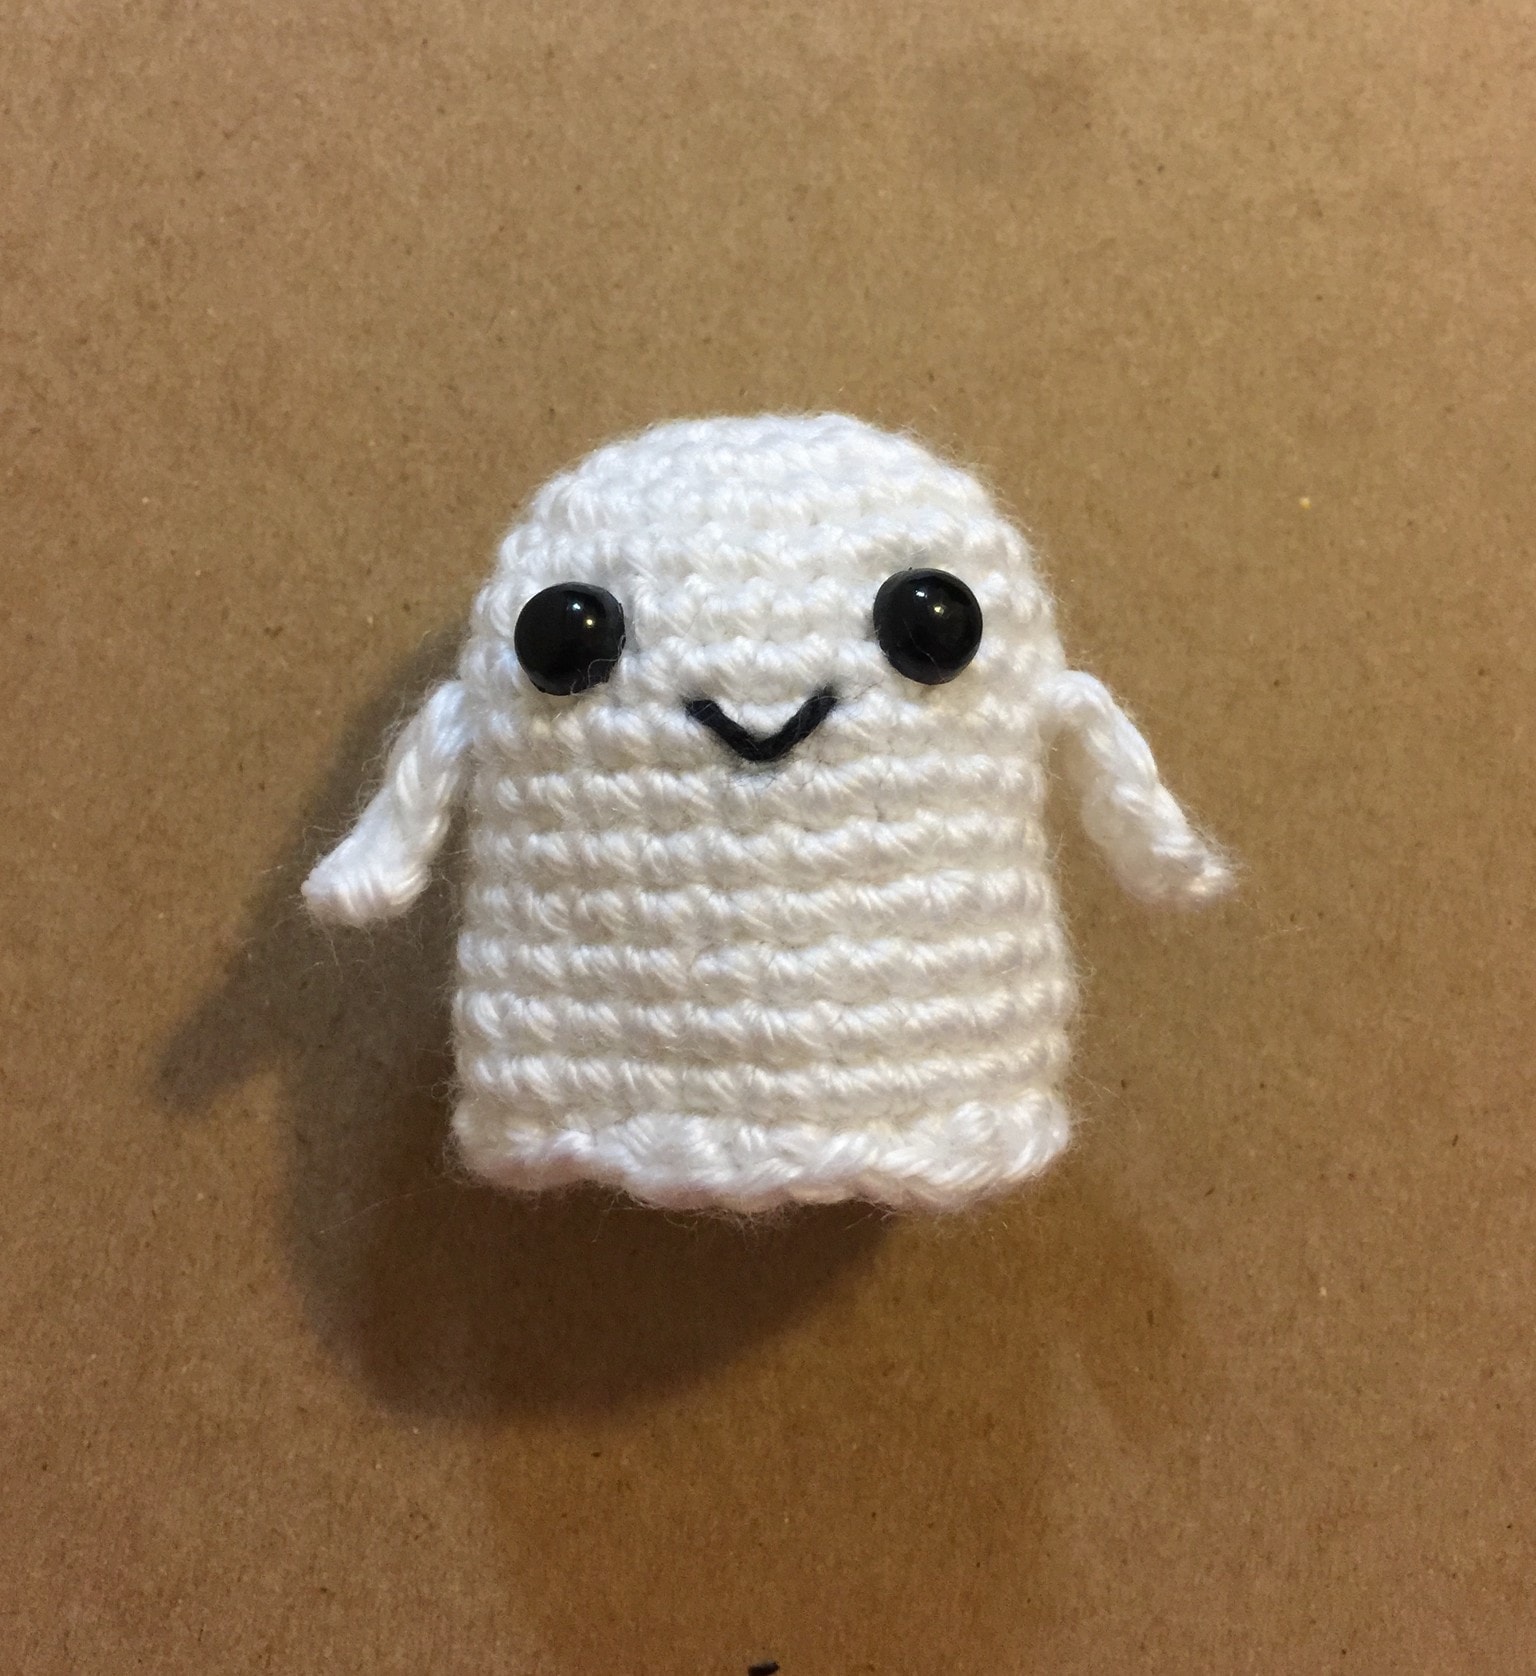
A tiny crochet ghost is a hollow, bell-shaped Halloween decoration worked from the crown down in joined rounds, with two little arms sewn onto the sides. This version uses white worsted-weight yarn, black eyes and a stitched smile. Its bottom stays open, so there is no stuffing or base-closing stage.
This companion guide helps you decide whether the project suits your skills, gather supplies and avoid common finishing mistakes. It is not the complete round-by-round pattern. For the full written instructions and project photographs, open the Tiny Ghost Crochet Pattern PDF on Etsy using the link below.
Pattern, Pinterest & resources
- Get the Tiny Ghost Crochet Pattern PDF on Etsy
Paid digital crochet pattern, not a finished ghost. Open the listing for current purchase details.
- Craft Yarn Council: yarn labels
Use the yarn label to check weight category, fibre content and care information.
- Craft Yarn Council: US crochet abbreviations
Reference for the standard stitch abbreviations used in crochet patterns.
What this project includes
- An open-bottom body means there is no stuffing or separate base to close.
- Two small sewn-on arms and an embroidered smile give a simple shape its character.
- The approximately 2-inch ghost can be displayed on a shelf or hung from an optional yarn loop.
- The PDF includes a round tracker, photographed assembly and a quick-reference page.
Detailed project guide
- 1
A small ghost, not a stuffed plush
The open lower edge is the detail to notice before starting. Unlike a stuffed amigurumi body that narrows and closes underneath, this ghost keeps a hollow bell shape. Do not add filling simply because the project is described as amigurumi. The crown forms the top, straight rounds make the body, and a gently rippled edging finishes the opening. The finished height in the PDF is approximately 2 inches / 5 cm, not a guaranteed measurement for every yarn and tension.
- 2
What comes with the PDF
The seven-page customer PDF contains the supplies list, US stitch explanations, body instructions, edging and arms, photographed assembly, troubleshooting and a condensed reference page. It includes a tracker for the straight body rounds. A hat, pumpkin, bow or other accessory pattern is not included. The Etsy purchase is for instructions rather than a finished decoration or a kit. Use the linked listing to check the current offer; this guide does not quote a price or delivery promise.
- 3
Choose yarn by its label, then check your fabric
Look for medium category 4 yarn for the closest starting point to the PDF. The Craft Yarn Council label guide is linked above if you need help reading weight and care information. A smooth, light-coloured yarn makes it easier to see where to insert the hook than a very fuzzy yarn. Keep the fibre label so you can care for the finished decoration appropriately. The pattern gives no measured yardage, so do not assume an unidentified scrap ball will be enough. Have matching white yarn available before starting.
- 4
Keep the specified hook as your starting point
The PDF specifies a 3.25 mm hook. A general hook suggestion on a yarn label serves a different purpose from the hook selected for a particular project, so do not replace the pattern hook automatically. Examine the fabric as the body develops: you should be able to work comfortably while keeping the stitches even. Changing the yarn or hook changes the finished size and stiffness. There is no supplied gauge that lets you promise an exact resized version.
- 5
Understand the crown-to-body transition
The crown begins at the top and widens before the straight body section. Once that shaping ends, the circumference should stop growing. If the ghost keeps flaring outward during the straight section, recount before adding more rounds. An extra stitch at each join can gradually change the silhouette. Compare the work with the unassembled body photo, but use the written PDF counts rather than trying to count stitches from a photograph.
- 6
Joined rounds need a consistent counting habit
This pattern uses joined rounds rather than a continuous spiral. Mark the first actual stitch, keep the starting chain and joining slip stitch out of the stitch count, and follow the PDF's joining convention consistently. Do not turn unless instructed. A visible join is not automatically an error; extra or missing stitches are the more useful warning sign. Tick off each completed straight round so you do not mistake a pause in the project for a finished section.
- 7
Keep the hem gentle
The edging uses back loops only and a short sequence of different stitch heights. It makes a modest ripple, not a deep skirt of large scallops. The crucial reading habit is to distinguish several stitches worked into separate underlying stitches from a group worked into one stitch. Those are different constructions. If the repeat no longer fits at the end of the round, check the preceding count and your stitch placement instead of adding an extra stitch to make the join reach.
- 8
Make both arms before attaching either one
The arms are small separate strips, not bobbles worked into the body. Put the two completed pieces next to each other and compare their lengths before sewing. Keep a useful tail on each arm for attachment. Pin or hold them at matching heights on opposite sides, then check the ghost from the front. Attach only the intended upper end so the little arm can hang away from the body rather than being flattened along its full length.
- 9
Check the silhouette before making the face
With both arms attached, rotate the body and choose the front. The arms should look balanced from that viewpoint, even if the join is visible elsewhere. A slight difference in yarn tension can make one arm curl more than the other; check whether repositioning the attachment is enough before remaking it. The open base gives access to the inside for securing tails and fitting the eye backs.
- 10
Let the face placement do the work
Place both eyes before fastening the backs. Check that they sit on the same level and that the smile will fit between and below them. The PDF explains that the source wording for eye spacing is ambiguous, so use its photograph as a visual guide rather than treating the gap as an exact measurement. For the smile, two short diagonal stitches can meet at a lower centre point. Pull just enough to settle the yarn; tightening hard can dent the face.
- 11
Display it as a Halloween decoration
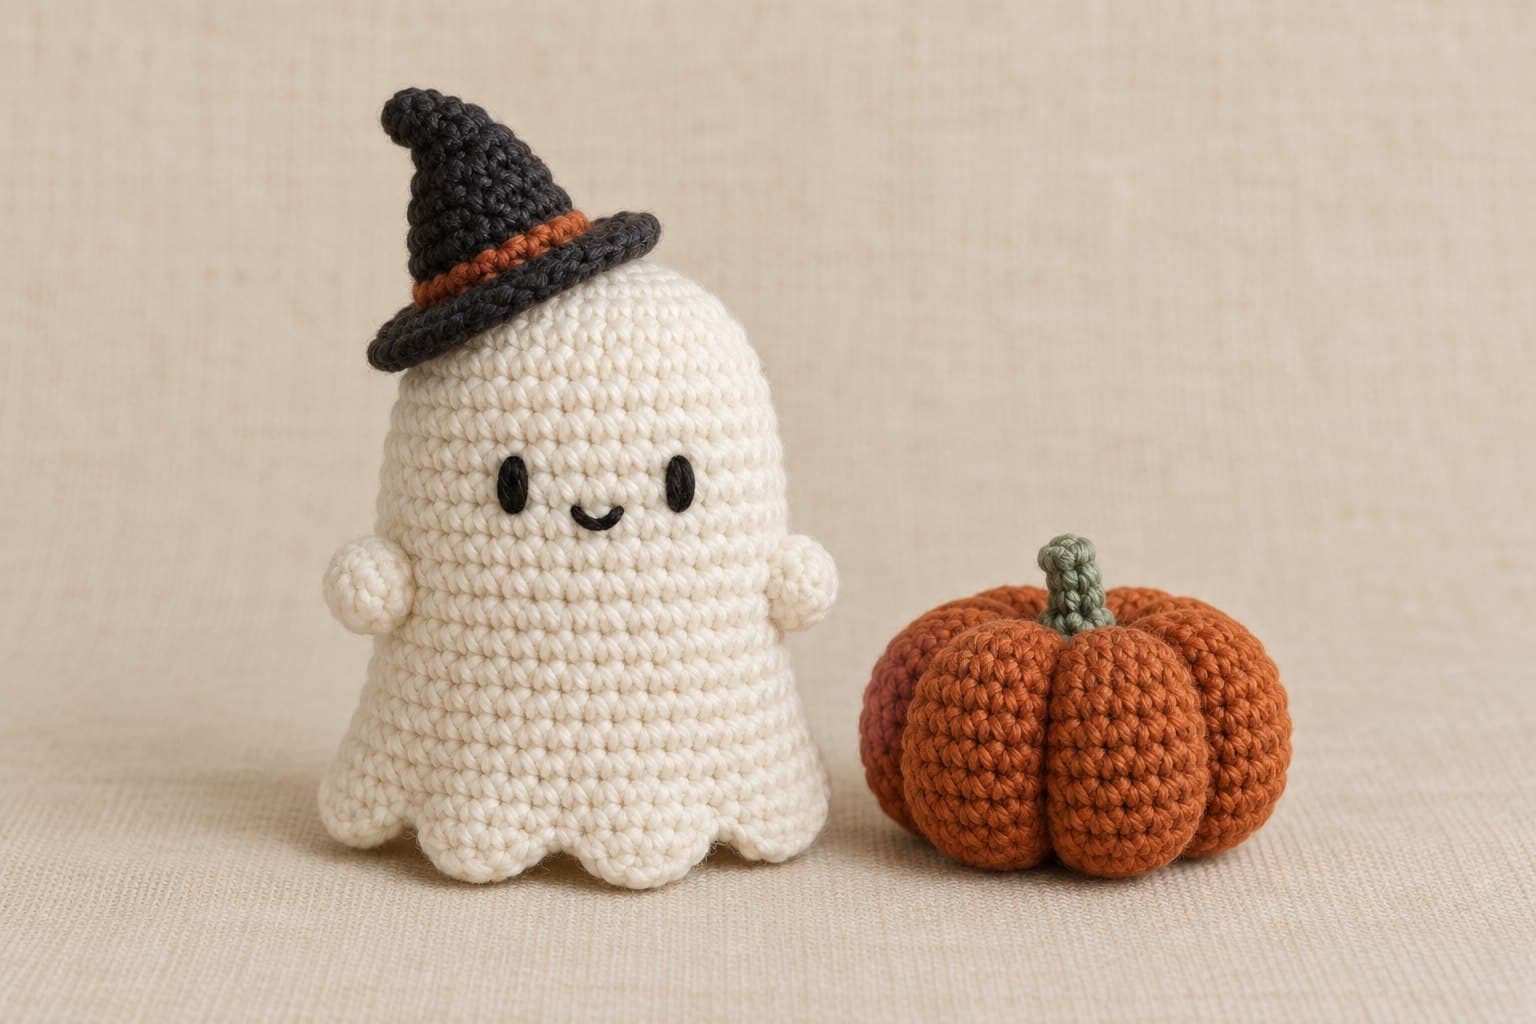
One ghost can sit beside a small pumpkin on a shelf; several can become a little group on a mantel. To hang one, use the optional yarn loop described in the PDF and check that the crown stays secure. These are display suggestions, not additional accessory patterns. Keep the decoration away from flames and heat. Small eyes, optional embellishments and hanging loops should stay out of reach of babies, young children and pets. Embroidering the eyes does not, by itself, turn the project into a toy.
- 12
Ready to make your own tiny ghost?
Open the Tiny Ghost Crochet Pattern PDF on Etsy from the first resource link above for the complete instructions. Keep the PDF beside your work for round counts and assembly placement, and return to this guide if you need to review the construction choices. The photographs in this guide show the actual project sample. The separate Pinterest graphics are promotional illustrations and should not be used as stitch charts or exact size references.
Tips for success
- If the straight body grows wider, check whether you have accidentally crocheted into the join or starting chain.
- Leave the base open; do not add stuffing or an unlisted closing round.
- Compare arm positions and eye placement before making permanent attachments.
- Save the yarn label and follow its care directions; no project-specific wash test is claimed.
Pattern at a glance
- Time to make
- Not timed; allow separate sessions for crocheting and assembly if needed.
- Skill level
- Beginner
- Hook
- 3.25 mm
- Yarn weight
- Worsted / medium category 4CYC standard
- Yardage
- Not specified; no measured usage claim.
- Gauge
- Not specified in the PDF; tension affects size.
- Finished size
- Approximately 2 in / 5 cm tall; varies with materials and tension.
Free ebook
Get new patterns, and the ebook
New patterns as they land, plus our free beginner's crochet stitch guide. No daily blasts, unsubscribe in one click.
Frequently Asked Questions
Is this a free tiny ghost crochet pattern?
No. This page is a free-to-read companion guide, not the complete pattern. The linked Etsy listing is for the paid PDF instructions. It covers preparation, construction and common mistakes here; use the PDF for the full round-by-round sequence and assembly details.
Can a beginner make this crochet ghost?
The PDF describes a beginner-level project, but it assumes familiarity with basic stitches, joined rounds and sewing small pieces. If those skills are new, practise them first. The arms are sewn on, so this is not a no-sew design or a complete introductory crochet course.
Does the ghost need stuffing?
No. This version is hollow and its lower edge stays open. That is part of its construction, not an unfinished stage. Adding stuffing would require a different closure and could change the shape. Follow the PDF rather than borrowing the base instructions from a stuffed ghost pattern.
Can I use thicker yarn to make a larger ghost?
Thicker yarn and a suitable hook will usually make a larger piece, with changes to the final proportions. Eye size, fabric stiffness and proportions may also change. Treat a yarn substitution as an experiment; the approximately 2-inch height is not a guarantee for altered materials.